
Step-by-Step – How To Master Engine Porting Using Die Grinder Tool Bits
Many enthusiasts aspire to enhance their engine performance through porting, and with the right die grinder tool bits, you can achieve impressive results. This guide will provide you with a comprehensive, step-by-step approach that will empower you to master the art of engine porting. By following these instructions, you will learn how to effectively modify intake and exhaust ports, maximizing airflow and improving overall engine efficiency. Get ready to elevate your engine building skills and unlock the full potential of your vehicle.
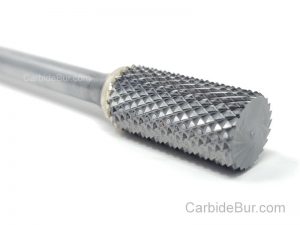
Find more carbide bur die grinder tool bits here
Selecting the Right Die Grinder Tool Bits for Engine Porting
Choosing the correct die grinder tool bits is fundamental for achieving optimal results in engine porting. The type of bit you select will influence the precision, efficiency, and finish of your work. A variety of bit types exist, each designed for specific tasks. For engine porting, diamond bits, carbide burrs, and aluminum oxide stones are some of the most popular choices. Understanding their characteristics will help you harness their full potential.
Exploring Various Bit Types and Their Applications
Different bit types offer various advantages when it comes to engine porting. For instance, diamond bits are excellent for fine detail work and are ideal for polishing and finishing surfaces. Carbide burrs come in various shapes and sizes, making them versatile for removing material quickly and efficiently. Aluminum oxide stones often serve well in smoothing rough edges and providing a consistent finish.
| Bit Type | Application |
| Diamond Bits | Detail work and finishing |
| Carbide Burrs | Material removal and shaping |
| Aluminum Oxide Stones | Smoothing edges |
| Flap Discs | Surface blending and finishing |
| Cut-off Wheels | Precision cutting of materials |
The material composition of the bits can significantly influence their lifespan and effectiveness. For heavy-duty tasks, select carbide burrs engineered for durability. If you focus on finesse, diamond bits may be your best option. The size of the bit is equally important, as smaller bits can navigate tight passages but may take longer for large areas. Conversely, larger bits provide swift material removal but may be cumbersome in restricted spaces.
Factors to Consider: Material, Size, and Coarseness
- Material selection affects durability and suitability for different tasks.
- Bit size should correlate with the passage you are working in—larger bits for open spaces and smaller ones for intricate designs.
- Coarseness determines the rate of material removal; finer grit bits should be reserved for finishing work.
- The bit shape can also be vital; various shapes serve different profiles within the engine.
- Compatibility with your die grinder is necessary to achieve optimal performance.
You should always choose bits aligned with your specific engine porting goals. For example, if your focus is on reshaping the intake or exhaust ports, carbide burrs with an extra-coarse grit will aid in swift material removal. Conversely, if your goal is to refine those ports for improved airflow, switch to finer diamond bits for a smoother finish. Assume that a well-curated selection of tool bits leads to better control and reveals the full potential of your engine modifications.
- Choose between high-speed steel, carbide, or diamond based on your requirements.
- Understand that size limitations might affect your ability to reach certain engine areas.
- Evaluating coarseness ensures that your work blends effectively from rough to fine solutions.
- Prioritize support and recommendations for specific applications, as that can impact results significantly.
- Analyze the cost versus benefit of tool bits, as investing in quality often pays off in the long run.
Preparing Your Engine for Porting: Essential Steps
Before exploring into the intricacies of engine porting, laying a solid foundation is necessary to ensure a successful project. Preparing your engine involves not only disassembly but also a keen eye for detail when identifying the areas that need work. Thorough preparation minimizes the risk of errors as you progress. Start by gathering all necessary tools and materials; this includes your die grinder, various bits, and safety equipment. A clean workspace is equally important to prevent any contamination of engine components during the porting process.
Disassembling the Engine: Best Practices and Tips
Disassembly begins with carefully removing the engine from your vehicle, ensuring that all connections are documented or labeled for reassembly. Begin with disconnecting the battery, then proceed to drain fluids, including oil and coolant, before unbolting components. The aim is to minimize any damage to gaskets and seals during the process. Employ a systematic approach by using labeled containers for bolts and brackets, making reinstallation straightforward. Pay attention to torque specifications and follow manufacturer guidelines to avoid mishaps during reassembly.
- Utilize a torque wrench for reassembly to maintain proper specifications.
- Keep a digital or written log of the steps as you disassemble; this can serve as a valuable reference.
- Work in a well-lit area to avoid overlooking small components or connections.
- Thou should also wear safety goggles and gloves to protect against sharp edges and debris.
Identifying Key Areas: Which Ports to Focus On
Focusing on the right ports can significantly enhance your engine’s performance, making it vital to accurately identify these key areas. Typically, the intake and exhaust ports provide the most noticeable gains in airflow. The intake ports can benefit from being opened up slightly for smoother airflow, whereas the exhaust ports can be shaped to reduce back pressure. Look for bottlenecks that can restrict airflow, like casting flash or uneven surfaces. Pay particular attention to any spots that show signs of excessive carbon buildup or poor flow characteristics.
Focusing on your intake and exhaust corresponds to the overall design of your specific engine. Each engine type has certain characteristics where porting can yield performance improvements. For instance, in a V8 engine, the primary focus should be on all eight ports, while in a turbocharged inline engine, the exhaust ports may take precedence due to the increased turbo spool efficiency. Understanding your engine’s flow patterns will allow for more targeted efforts, optimizing airflow and ultimately enhancing your engine’s performance.
Find more carbide bur die grinder tool bits here
Mastering the Technique: Porting with Precision
Techniques for Effective Die Grinding
Achieving optimal airflow within the engine’s intake and exhaust ports requires a careful approach to die grinding. Start with flat, sweeping motions rather than aggressive, jerky movements; this allows you to gradually remove material while keeping the surface smooth. A consistent speed is crucial; slower speeds provide better control, reducing the risk of overheating the material and distorting the port shape. It’s also beneficial to alternate between different die grinder bits, such as carbide burrs for rough shaping and polishing bits for finer details. This technique not only enhances precision but maximizes the efficiency of your grinding sessions.
Incorporating measurement tools like calipers or depth gauges throughout the porting process helps you maintain a check on your progress. Using templates made from cardboard or plastic can guide your grinding efforts. You want to keep the shape of the port consistent, and these templates can serve as visual indicators, ensuring you don’t create any unintended contours. Think of it as an artist working on a sculpture; the more accuracy you apply, the clearer the final product will be.
Maintaining Control: Tools and Grip Strategies
Your grip on the die grinder directly affects the quality of your porting work. A secure, steady grip allows you to apply consistent pressure, preventing mistakes or uneven surfaces. Utilizing both hands is ideal; one hand should operate the tool while the other stabilizes it against the engine block. This dual-hand strategy minimizes vibration and improves precise manipulation of the tool. Additionally, wearing gloves can enhance your grip and prevent slip-ups, making the process safer and more effective.
Consider adjusting your body position for the best control. Standing or kneeling in a way that aligns your body with the tool can offer better leverage. Explore different stances to find what feels most comfortable, as avoiding fatigue during long porting sessions is key. You might also find it helpful to rest your elbows on a stable surface to further aid in maintaining a steady hand. Consistent practice will sharpen your muscle memory, giving you more confidence and finesse in your die grinding technique.
Other strategies for maintaining control during porting include using a tool with a variable speed setting, allowing you to dial back on speed for detailed work. Using a finger-pinch grip can also help make minute adjustments easier; this grip allows for more precision without compromising on force. Balancing control with pressure gives you the best results and turns the process from daunting to manageable.
Common Challenges Encountered During Porting and How to Overcome Them
Porting an engine isn’t just about having the right tools; it’s also about anticipating and dealing with challenges that may arise during the process. One common issue is maintaining the desired airflow path while avoiding material removal errors that can lead to performance loss. If you accidentally grind away too much material, it can negatively impact the engine’s dynamics, potentially causing turbulence or even creating undesirable hotspots. To mitigate this risk, always measure your progress frequently and use templates or flow benches as references to ensure you remain on target.
An additional challenge lies in the debris generated during the porting process. This can clog your workspace or inadvertently enter sensitive engine components if not addressed promptly. As a preventive measure, make it a habit to regularly clean the work area and use shop vacuums to remove debris as you go. Doing so will not only keep your workspace organized but also help preserve the integrity of the porting work you’ve completed.
Avoiding Pitfalls: Mistakes That Can Ruin Your Work
Mistakes in porting, such as creating uneven surfaces or altering the angle of the ports incorrectly, can derail your efforts entirely. Uneven surfaces disrupt airflow and can lead to a decrease in power output, making your hard work ineffective. Take the time to check your work regularly using tools like calipers and straightedges to ensure that everything remains smooth and uniform; this attention to detail helps to avoid pitfalls.
<pMoreover, working too quickly can lead to errors such as over-grinding or creating hot spots. Patience is vital. Slow and steady wins the race in porting. Consider setting a pace that allows you to frequently step back and evaluate your work instead of rushing through it. This deliberate approach will yield better results in the long run.
Troubleshooting: Solutions for Common Issues
Even seasoned porters encounter issues during the process. For instance, if you notice that you’re producing an excess of grit or if the material is not removing smoothly, check the RPM of your die grinder and ensure it is aligned with the bit specifications. Mismatched RPMs can lead to ineffective cutting or even damage to your bits. Adjusting the speed of your tool or investing in high-quality bits can resolve this problem and help you achieve a smooth cut.
Dealing with misaligned ports is another common issue. When you realize that areas aren’t matching properly, it’s important to stop immediately and assess why this has happened. You might need to backtrack to identify where the error occurred or use a guide to correct your approach. Staying organized and methodical ensures fewer mistakes, which can save you time and materials in the long run.
Overall, the key to troubleshooting during engine porting lies in taking a proactive approach. Regular evaluations of your progress and being honest about mistakes made along the way will enable you to address problems before they become significant setbacks. Additionally, focusing on thorough preparation and planning can lay the foundation for a successful porting process, minimizing the likelihood of issues arising in the first place.
Ensuring Quality: Best Practices for Finishing Touches
Recommended Inspection Techniques and Tools
After you’ve completed the porting process, a thorough inspection is necessary to ensure that your work meets high-quality standards. Tools such as a set of calipers and a dial gauge can help you measure critical dimensions accurately. Utilize a flashlight to inspect for inconsistencies in surface finish or deviations in your intended airflow paths. A borescope also serves as an invaluable asset for examining hard-to-reach areas inside the ports, allowing you to visualize whether you’ve achieved the desired shapes and contours without obstructions.
Pay attention to any evident imperfections, such as tool marks or rough edges, in addition to checking your measurements. These imperfections can lead to turbulence in airflow, negatively affecting engine performance. Documenting your findings will create a reference for future projects, making it easier to identify areas for improvement and helping to hone your skills over time.
Techniques for Polishing and Improving Airflow
Polishing the ports is your next step to maximize airflow efficiency. Start with finer grit sanding rolls or flap wheels to smooth out any remaining imperfections from the die grinding process. Gradually transitioning to a finer grit, such as 400 or 600, will provide a glass-like finish that minimizes friction and enhances airflow. Use a consistent motion while polishing to achieve an even surface, avoiding spots that could disrupt the flow of air.
Applying a compound meant for metal polishing can also help in achieving superior results. Not only does this polish provide a smooth finish, but it can also reduce resistance, allowing for increased air velocity through the ports. The benefits of polishing extend beyond aesthetics; the smoother surfaces tend to help fuel atomization and improve combustion efficiency, ultimately resulting in enhanced engine performance.
Techniques for polishing should also involve checking the airflow with a flow bench whenever possible. This will provide quantifiable data on how effectively the modifications are functioning, allowing you to make adjustments if necessary. Combining empirical evidence with your polished surfaces ensures that you’re not only working towards a visually appealing engine but also optimizing its overall performance practically. Each step of polishing and inspection not only elevates your experience as a porter but also reinforces a commitment to excellence that can pay off in tangible performance gains.
To wrap up
Taking this into account, mastering engine porting using die grinder tool bits is a rewarding endeavor that can significantly enhance your engine’s performance. By following the step-by-step process outlined previously, you can develop your skills and gain a deeper understanding of the techniques involved. From selecting the right tool bits to mastering the intricacies of the porting process, each stage builds your confidence and expertise. It’s crucial to approach this task with patience, as practice makes perfect and will ultimately lead to better results in your engine modifications.
Your success in engine porting will not only improve your engine’s airflow but also enhance your understanding of its mechanics. By consistently applying what you’ve learned, you can refine your technique and potentially share your newfound knowledge with others in the automotive community. As you continue this journey, keep experimenting and learning, ensuring that each project brings you one step closer to mastering the art of engine porting using die grinder tool bits.
Find more carbide bur die grinder tool bits here
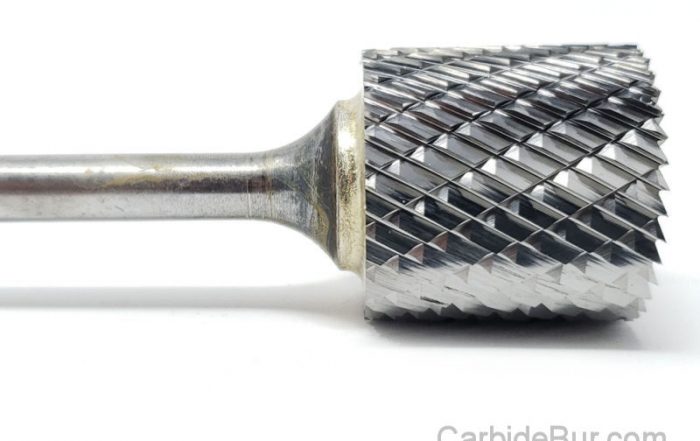
Can Carbide Burrs Cut Through Welds?
Can Carbide Burrs Cut Through Welds? Cutting through welds can feel like a battle, especially when you need clean results without harming the base metal. Carbide burrs offer a sharp edge in this fight, but [...]
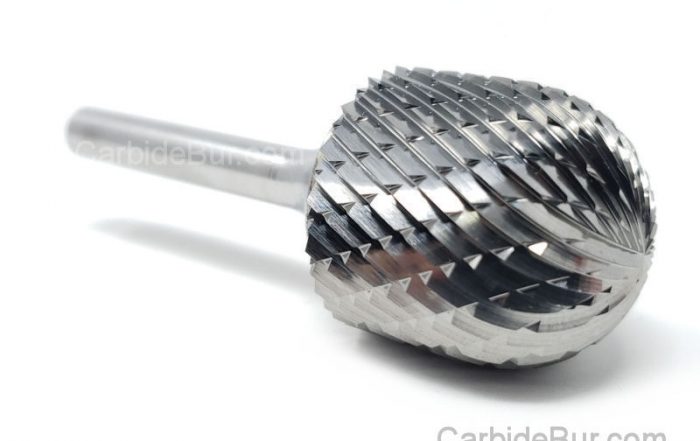
How to Use a Carbide Burr With a Die Grinder
How to Use a Carbide Burr With a Die Grinder Most people treat a carbide burr like just another tool, but using it with a die grinder takes skill. If you’ve struggled with burr installation [...]
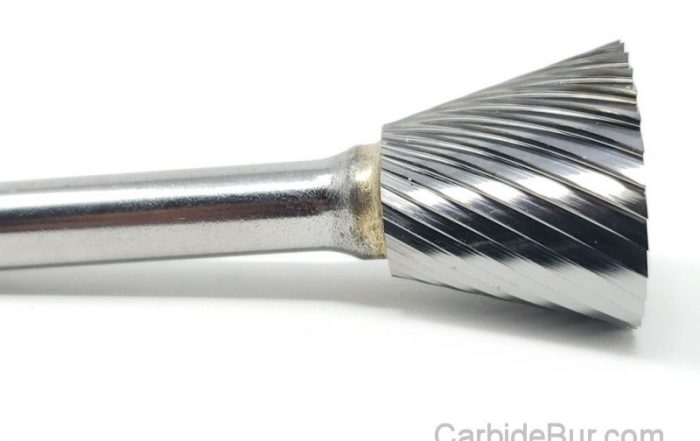
1/8 vs 1/4 Inch Carbide Burrs: What’s the Difference?
1/8 vs 1/4 Inch Carbide Burrs: What's the Difference? Choosing between a 1/8 inch carbide burr and a 1/4 inch carbide burr can change how your project turns out. Many machinists and hobbyists overlook how [...]
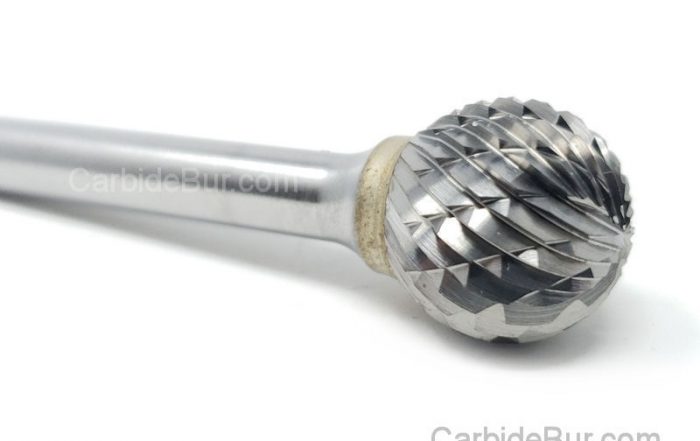
Best Carbide Burr for Removing Flash From Castings
Best Carbide Burr for Removing Flash From Castings Removing flash from castings is a task that can slow down your entire metalworking process if you don’t have the right tools. Picking the best carbide burr [...]
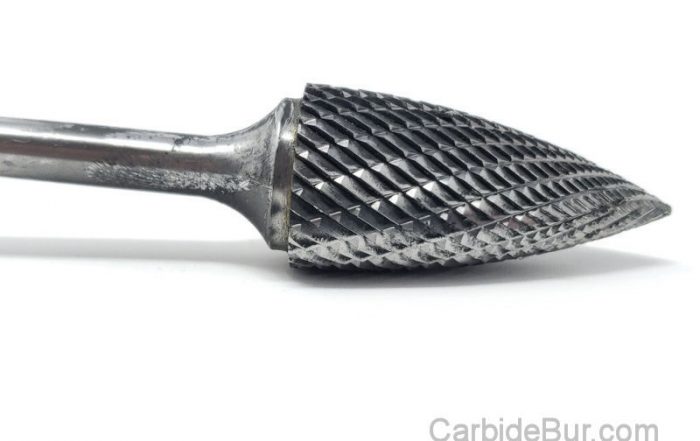
What RPM Should You Use for a 1/4 Inch Carbide Burr?
What RPM Should You Use for a 1/4 Inch Carbide Burr? Most machinists guess the right speed for a 1/4 inch carbide burr and hope for the best. Using the wrong carbide burr RPM can [...]
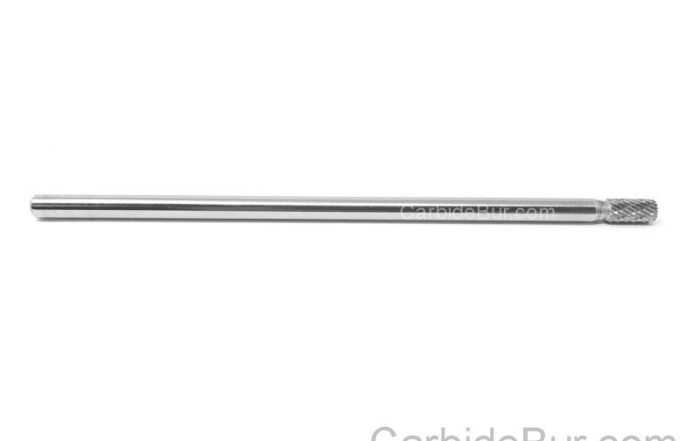
Long Shank Carbide Burrs: When Do You Need One?
Long Shank Carbide Burrs: When Do You Need One? Most machinists overlook the power of long shank carbide burrs until a project demands precision in tight spaces. When your usual tools can’t reach intricate contours, [...]
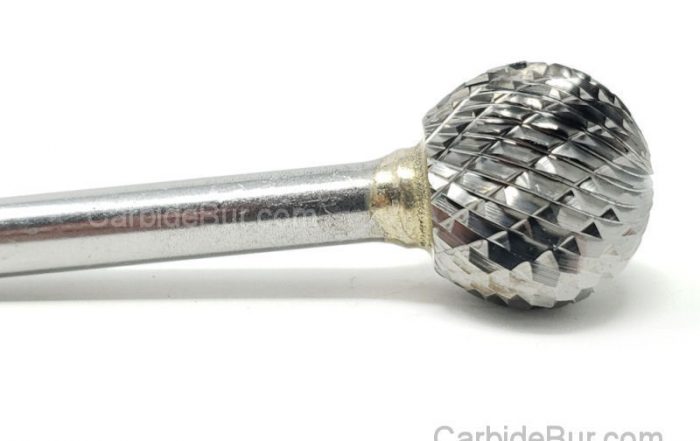
How Deep Can a Carbide Burr Cut Metal?
How Deep Can a Carbide Burr Cut Metal? Carbide burrs often get praised for their precision, but many users hit a wall wondering how deep they can actually cut metal. The truth is, cutting depth [...]
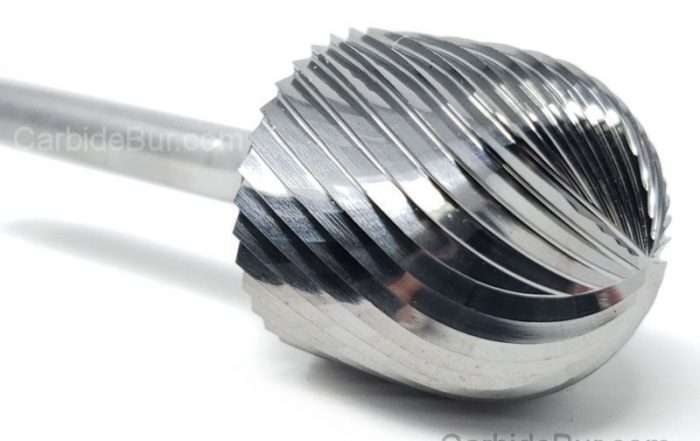
How to Use Carbide Burrs for Port Matching
How to Use Carbide Burrs for Port Matching Most engine builds hit a wall when airflow doesn’t flow smoothly between the ports and manifolds. If your engine isn’t breathing right, your performance stalls. Using the [...]
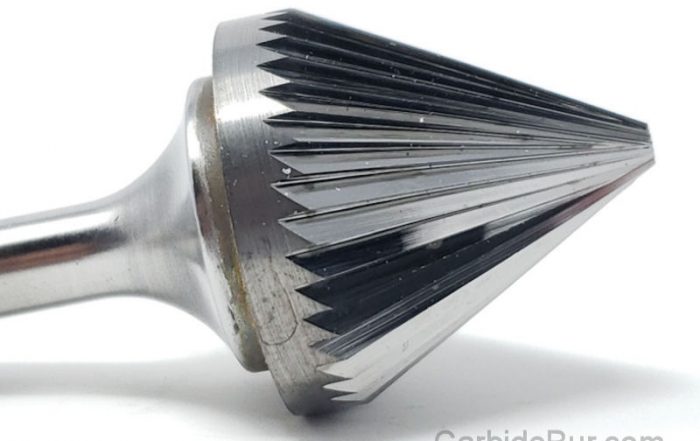
Best Carbide Burr for Porting Intake Manifolds
Best Carbide Burr for Porting Intake Manifolds Porting intake manifolds can make or break your engine’s airflow, yet many struggle with the right tools for the job. Choosing the best carbide burrs is key to [...]
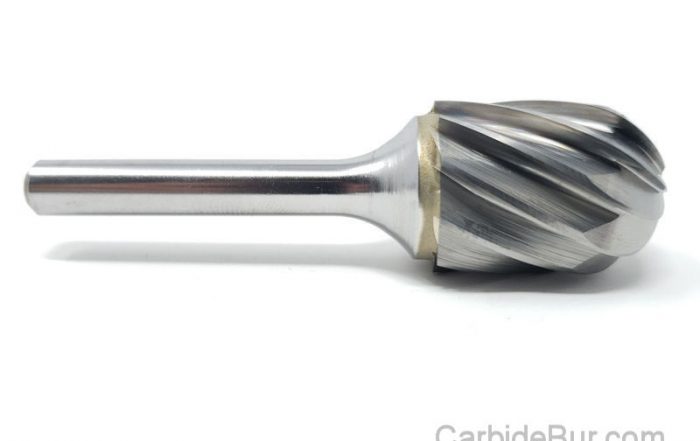
Best Carbide Burr for Concave Surfaces
Best Carbide Burr for Concave Surfaces Concave surfaces can turn a straightforward project into a frustrating challenge if you don’t have the right tool. Carbide burrs designed for these tricky curves make all the difference [...]
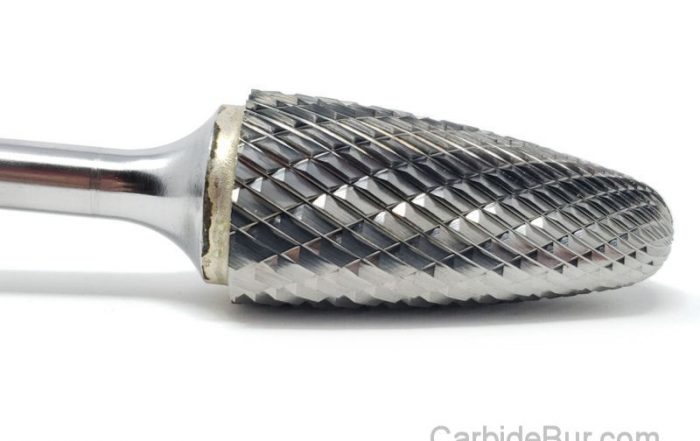
How to Grind a Slot in Metal With a Carbide Burr
How to Grind a Slot in Metal With a Carbide Burr Grinding a precise slot in metal can feel like a tricky task, especially if you’re unsure which tools to trust. Carbide burr grinding offers [...]

Best Carbide Burr for Inside Corners
Best Carbide Burr for Inside Corners Working in tight inside corners can turn even simple projects into frustrating tasks. Many carbide burrs just don’t fit or cut cleanly where you need them most. The best [...]
