
Troubleshooting Tool Performance: Understanding and Preventing Carbide Burr Chattering
Carbide burr chattering throws off your metalworking rhythm and ruins your finish. It’s frustrating when your tool jumps instead of cutting cleanly. Most chatter comes from simple things like wrong feed rates, RPM settings, or the workpiece’s material quirks. This post breaks down those causes and shares clear chatter solutions so you can keep your projects running smooth and precise. For more insights, visit this link.
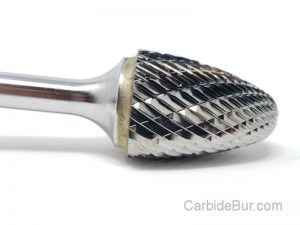
Check out this selection of USA made carbide burs
Understanding Carbide Burr Chattering
Let’s dive into the world of carbide burr chattering. This phenomenon disrupts your projects, but knowing why it happens can help you address it effectively. We’ll explore common causes and how they impact your tools.
Common Causes of Chattering
Chattering is mainly due to three key factors. First, incorrect feed rates can cause the tool to jump, affecting the cut. Second, wrong RPM settings lead to vibrations. Finally, the condition of the workpiece material can make a significant difference.
Consider a scenario where you’re machining a metal piece with a hard surface. If your settings aren’t adjusted for the hardness, chatter becomes inevitable. By aligning feed rates, RPM, and material conditions, you reduce the risk significantly.
Effects on Tool Performance
Chatter doesn’t just annoy you; it degrades your tool’s performance. Tools wear out faster when they’re not operating smoothly. This results in poor finishes and increased costs.
Think of it like driving a car with a flat tire. You won’t get far without causing more problems. Similarly, a chattering tool leads to early replacements and less precise work. Ensuring your tools run smoothly can save time and money.
Identifying Problematic Conditions
Spotting conditions that cause chatter is crucial. Listen for unusual sounds during operation. These vibrations indicate something is off.
Check the surface finish. If it’s rough or uneven, you might be dealing with chatter. By recognizing these signs early, you can adjust settings and minimize damage. Always stay alert to changes in tool behavior to maintain quality.
Key Factors Contributing to Chatter
Now that you understand the basics, let’s examine specific factors leading to chatter. This knowledge empowers you to take proactive steps for better results.
Improper Feed Rates
Feed rates are vital in controlling tool movement. If they’re too high, the tool can skip, but too low, and it may stall.
Imagine you’re pushing a heavy cart too fast—it might tip over. The same applies to tools; balance is key. Always start with recommended settings and tweak them based on material feedback.

Need a longer reach for your die grinder?
Incorrect RPM Settings
RPM settings determine how fast your tool spins. Incorrect settings can lead to vibrations that cause chatter.
For instance, using high RPMs on a soft material might be overkill. Lowering the speed can stabilize the tool, reducing vibrations. Always adjust RPMs to match material density and thickness.
Workpiece Material Condition
The material’s condition directly affects machining. Hard materials require different settings than softer ones.
Think of cutting through wood versus metal. Each needs a unique approach. Understanding material properties helps you select the right settings, minimizing chatter risks. For more on this, check this guide.
Practical Solutions for Chatter
Armed with knowledge about causes, let’s explore practical solutions. These adjustments ensure smoother operations and better finishes.
Adjusting Feed Rates and RPM
Fine-tuning feed rates and RPM settings is essential. Start by adjusting one factor at a time.
For example:
-
Reduce feed rates gradually until vibrations lessen.
-
Lower RPMs in small increments and observe changes.
By methodically testing different settings, you find the sweet spot for smooth operations.
Optimizing Tool Path Techniques
Tool paths can impact chatter. Optimize paths to reduce unnecessary stress on tools.
Use techniques such as:
-
Minimizing tool travel distance.
-
Ensuring smooth transitions between cuts.
These strategies can decrease vibrations and prevent chatter. For more techniques, consider learning from industry experts.
Ensuring Proper Tool Setup
Proper setup is crucial for preventing chatter. Secure tools and materials tightly before machining.
Double-check alignments and ensure everything is stable. A wobbly setup increases the chance of chatter, so prioritize stability for best results.
Preventing Chatter in Future Projects
Adopting preventive measures ensures long-term success. Let’s discuss how regular habits can keep chatter at bay.
Regular Tool Maintenance
Maintaining tools extends their lifespan and prevents issues. Clean and inspect them regularly to spot wear and tear early.
Replacing worn parts before they fail reduces the risk of chatter. Keep tools in top condition for optimal performance.
Monitoring and Adjusting Machine Settings
Machines require regular checks to function correctly. Monitor settings and adjust them based on material and tool conditions.
Regularly update software or firmware to benefit from improvements. Staying proactive with machine upkeep ensures consistent quality.
Best Practices for Metalworking
Adopt best practices to enhance metalworking efficiency. Always prioritize safety and follow guidelines for each material type.
Consider joining online communities like this group to learn from peers and share experiences. Continuous learning helps you stay updated with the latest techniques.
Achieving Precision and Efficiency
Combining these strategies leads to greater precision and tool efficiency. Let’s explore the benefits of reducing chatter.
Benefits of Reducing Chatter
Reducing chatter means smoother finishes and longer-lasting tools. It saves time and resources, leading to more successful projects.
By minimizing vibrations, you achieve consistent results. This translates to higher quality outputs and satisfied clients or stakeholders.
Enhancing Overall Tool Performance
Improving tool performance boosts productivity. Reliable tools mean fewer interruptions and more focus on creativity.
Your efficiency increases, allowing you to complete projects faster without sacrificing quality. This enhances your reputation as a skilled machinist.
Striving for Better Machining Results
With these insights, you’re equipped to tackle chatter confidently. Strive for excellence in each project by applying these techniques.
By focusing on continuous improvement, you ensure your work stands out. Aim for precision and let your craftsmanship shine.
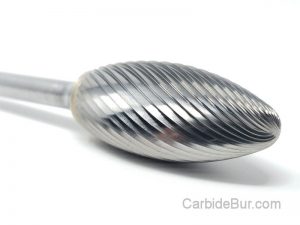
Looking for Carbide Bur Tools?
Check out our entire selection of USA made carbide bur die grinder tool bits
Follow us on Twitter

Return to CarbideBur.com
Carbide Burs – 1/4″ on 1/8″ Shanks – Accessories – Aluminum Cut – Bur Sets – End Mills – Long Shank – Solid Burs
1/8 vs 1/4 Inch Carbide Burrs: What’s the Difference?
1/8 vs 1/4 Inch Carbide Burrs: What's the Difference? Choosing between a 1/8 inch carbide burr and a 1/4 inch carbide burr can change how your project turns out. Many machinists and hobbyists overlook how [...]
Best Carbide Burr for Removing Flash From Castings
Best Carbide Burr for Removing Flash From Castings Removing flash from castings is a task that can slow down your entire metalworking process if you don’t have the right tools. Picking the best carbide burr [...]
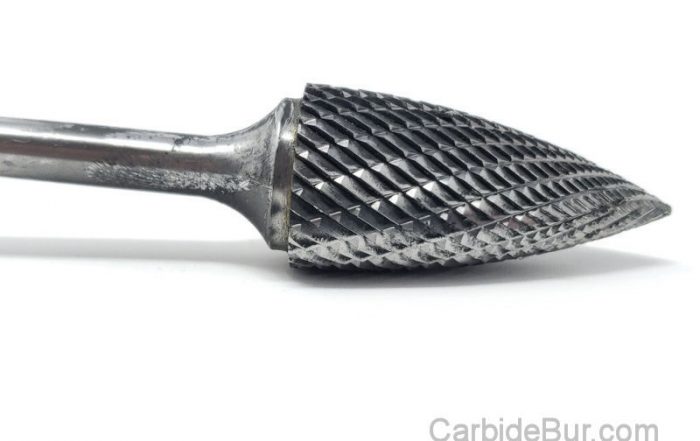
What RPM Should You Use for a 1/4 Inch Carbide Burr?
What RPM Should You Use for a 1/4 Inch Carbide Burr? Most machinists guess the right speed for a 1/4 inch carbide burr and hope for the best. Using the wrong carbide burr RPM can [...]
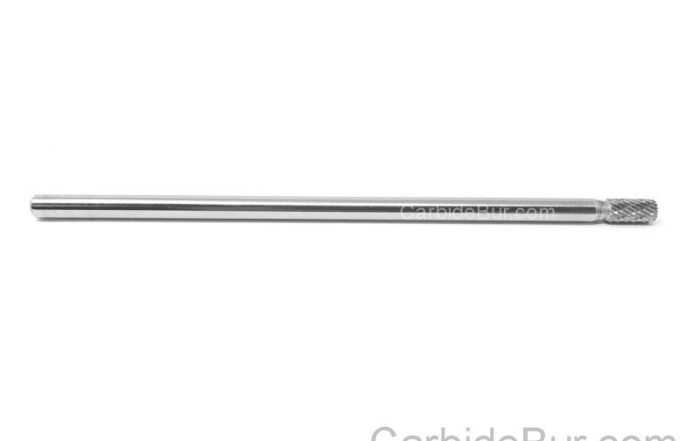
Long Shank Carbide Burrs: When Do You Need One?
Long Shank Carbide Burrs: When Do You Need One? Most machinists overlook the power of long shank carbide burrs until a project demands precision in tight spaces. When your usual tools can’t reach intricate contours, [...]
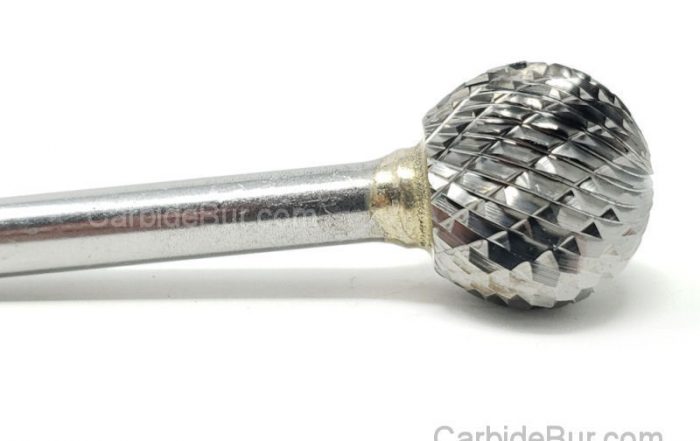
How Deep Can a Carbide Burr Cut Metal?
How Deep Can a Carbide Burr Cut Metal? Carbide burrs often get praised for their precision, but many users hit a wall wondering how deep they can actually cut metal. The truth is, cutting depth [...]
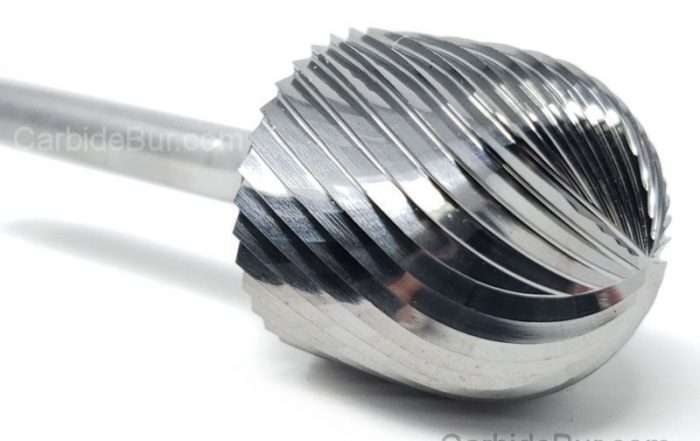
How to Use Carbide Burrs for Port Matching
How to Use Carbide Burrs for Port Matching Most engine builds hit a wall when airflow doesn’t flow smoothly between the ports and manifolds. If your engine isn’t breathing right, your performance stalls. Using the [...]
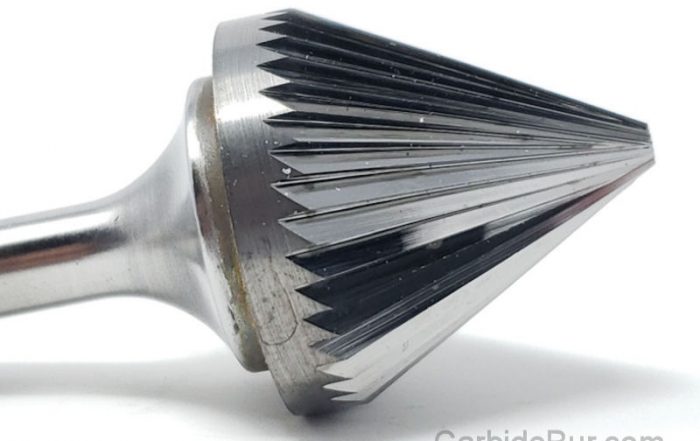
Best Carbide Burr for Porting Intake Manifolds
Best Carbide Burr for Porting Intake Manifolds Porting intake manifolds can make or break your engine’s airflow, yet many struggle with the right tools for the job. Choosing the best carbide burrs is key to [...]
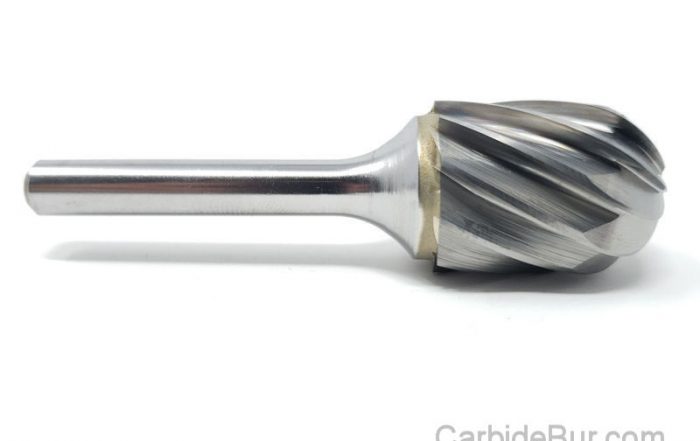
Best Carbide Burr for Concave Surfaces
Best Carbide Burr for Concave Surfaces Concave surfaces can turn a straightforward project into a frustrating challenge if you don’t have the right tool. Carbide burrs designed for these tricky curves make all the difference [...]
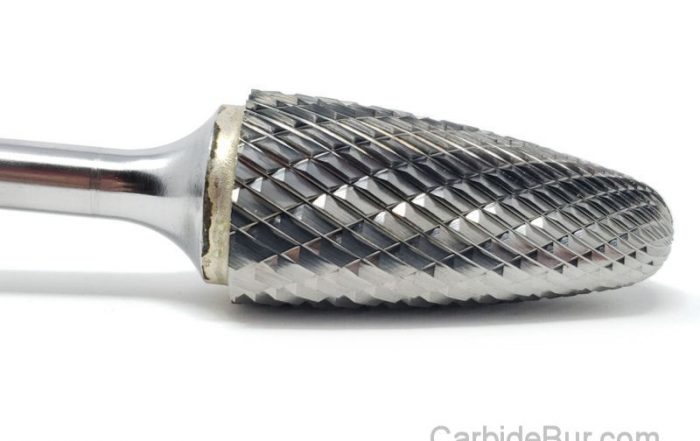
How to Grind a Slot in Metal With a Carbide Burr
How to Grind a Slot in Metal With a Carbide Burr Grinding a precise slot in metal can feel like a tricky task, especially if you’re unsure which tools to trust. Carbide burr grinding offers [...]

Best Carbide Burr for Inside Corners
Best Carbide Burr for Inside Corners Working in tight inside corners can turn even simple projects into frustrating tasks. Many carbide burrs just don’t fit or cut cleanly where you need them most. The best [...]
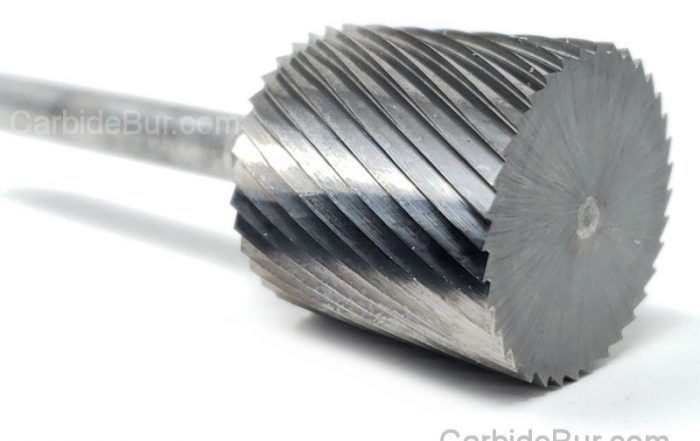
What Size Carbide Burr Do I Need?
What Size Carbide Burr Do I Need? Picking the wrong carbide burr can turn a simple project into a frustrating mess. You might have the best machining tools but still miss the mark if your [...]
How to Smooth Sharp Metal Edges With a Carbide Burr
How to Smooth Sharp Metal Edges With a Carbide Burr Sharp metal edges can turn your project from professional to risky in seconds. If you’ve struggled with smoothing metal edges without scratching or weakening the [...]
