
Step-by-Step Guide: How to Remove Welds Safely and Effectively
Removing welds is one of those skills every metalworker needs but few master. If you’ve struggled with uneven finishes or wasted time trying to fix welds, this guide is for you. We’ll walk you through how to remove welds using grinding, cutting, and chemical methods, plus share safety tips that protect you and your work. Ready to sharpen your metalworking skills and get cleaner results? Keep reading. For further insights, check out this link.
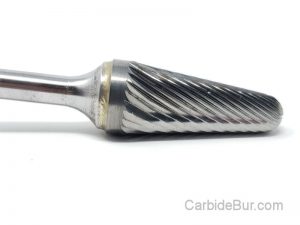
Have you tried using carbide burr tools for your job?
Introduction to Weld Removal
Weld removal is a critical skill for every metalworker. Understanding the best methods for this task can elevate your craft significantly. Let’s explore why weld removal matters and when it’s necessary.
Importance for Metalworkers
You might wonder why mastering weld removal is vital. It’s not just about fixing mistakes; it’s crucial for adjustments and repairs. Whether you’re dealing with a flawed weld or modifying an existing structure, knowing how to remove welds efficiently ensures your projects meet high standards. This skill not only saves time but also improves the quality of your work. Mastering this can set you apart in your field.
Common Scenarios Requiring Weld Removal
Picture this: you’ve welded a joint, but it doesn’t fit quite right. Or maybe you’re tasked with updating an old piece. These are just a couple of scenarios where weld removal becomes essential. Common situations include correcting errors, replacing worn parts, and making structural modifications. Such tasks demand precision and skill. Each scenario presents unique challenges, making it important to adapt your technique.
Tools and Techniques Overview
Once you understand the need for weld removal, the next step is choosing the right tools. Each method—grinding, cutting, or using chemicals—has its pros and cons. Let’s delve into these options.
Grinding: Pros and Cons
Grinding is often the go-to method for many metalworkers. It’s straightforward and effective for removing welds from various surfaces. The major benefit is its precision, allowing you to tackle specific areas without affecting the surrounding material. However, it can be time-consuming and requires careful handling to avoid damaging the workpiece. If you’re considering this method, weigh the balance between accuracy and effort.
Cutting Methods Explained
Cutting provides a quicker alternative to grinding. Methods include oxy-fuel or plasma cutting, each with its own advantages. Quick and efficient, cutting is ideal for larger welds. Yet, it requires a steady hand to maintain control and prevent excess material loss. Understanding the specifics of each technique can greatly enhance your efficiency. Want to learn more about cutting techniques? This resource offers valuable insights.
Chemical Weld Removers
For those looking to avoid physical methods, chemical removers offer a solution. These products dissolve welds, making them easier to remove. They are less labor-intensive, which can save you time. However, proper handling is crucial to ensure safety and effectiveness. It’s essential to follow the instructions meticulously and use protective gear. Consider this method for delicate work where precision is key.

Safety in Weld Removal
Safety should always be your top priority during any metalworking task. Protecting yourself while working is as important as the work itself. Let’s look at some essential safety considerations.
Essential Gear and Equipment
Before you start removing welds, ensure you have the right safety gear. This includes gloves, goggles, and a mask to protect against metal shards and fumes. Wearing the correct equipment minimizes risk and lets you focus on the task at hand. Always double-check your gear before starting a project. A small oversight can lead to significant injuries.
Best Practices for Safe Removal
Safety isn’t just about gear; it involves best practices too. Clear your workspace of any clutter and ensure good ventilation. Take regular breaks to avoid fatigue, which can lead to mistakes. Always keep a fire extinguisher nearby when working with heat-producing tools. Remember, careful preparation can prevent accidents and ensure a smoother process.
Step-by-Step Weld Removal Process
Ready to start removing welds? Let’s go through the process step-by-step to ensure you get the best results.
Preparing the Workspace
Start by setting up a clear, organized area. Remove any unnecessary items to create a safe environment. Ensure your tools are readily accessible. Good lighting is crucial to see the weld clearly. Check that all equipment is functioning correctly before you begin. A well-prepared workspace is the foundation of successful weld removal.
Executing the Removal Techniques
Now that your workspace is ready, it’s time to apply your chosen method. If grinding, maintain a steady hand and precise movements. For cutting, follow a clean line to avoid damaging nearby areas. If using chemicals, apply them evenly and allow enough time for them to work. Each technique requires patience and attention to detail. Follow through with care for the best outcomes.
Enhancing Metalworking Skills
Improving your weld removal skills contributes to overall better project results. Here’s how you can refine these skills for cleaner finishes and successful projects.
Achieving Cleaner Finishes
Attention to detail makes all the difference. By focusing on precision and technique, you can achieve cleaner finishes. Practice is key; the more you work on refining your method, the better your results will be. It’s about making small adjustments and learning from each project. Cleaner finishes enhance the overall quality of your work.
Improving Project Outcomes
Refining your weld removal skills leads to improved project outcomes. With practice, you’ll work more efficiently, saving time and resources. Enhanced skills lead to more successful projects and satisfied clients. By consistently learning and adapting, you grow as a metalworker. The effort you invest now will pay off in the long run, advancing your craft and your career.
To dive deeper into the world of weld removal, consider joining a community of like-minded individuals. Explore this group for tips and shared experiences from fellow metalworkers.
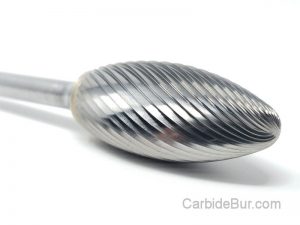
Looking for Carbide Bur Tools?
Check out our entire selection of USA made carbide bur die grinder tool bits
Follow us on Twitter

Return to CarbideBur.com
Carbide Burs – 1/4″ on 1/8″ Shanks – Accessories – Aluminum Cut – Bur Sets – End Mills – Long Shank – Solid Burs
How to Use a Carbide Burr With a Die Grinder
How to Use a Carbide Burr With a Die Grinder Most people treat a carbide burr like just another tool, but using it with a die grinder takes skill. If you’ve struggled with burr installation [...]
1/8 vs 1/4 Inch Carbide Burrs: What’s the Difference?
1/8 vs 1/4 Inch Carbide Burrs: What's the Difference? Choosing between a 1/8 inch carbide burr and a 1/4 inch carbide burr can change how your project turns out. Many machinists and hobbyists overlook how [...]
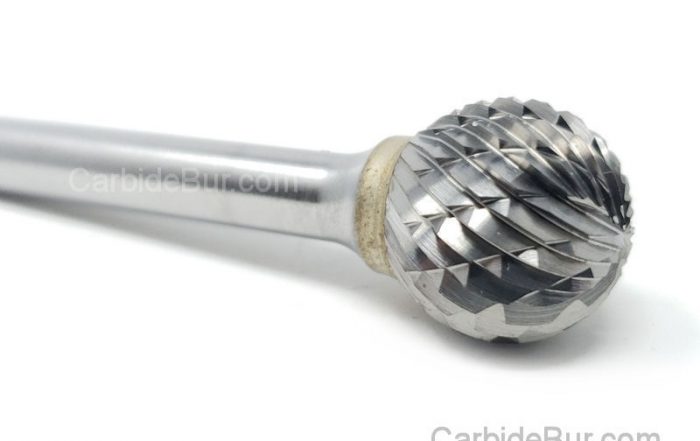
Best Carbide Burr for Removing Flash From Castings
Best Carbide Burr for Removing Flash From Castings Removing flash from castings is a task that can slow down your entire metalworking process if you don’t have the right tools. Picking the best carbide burr [...]
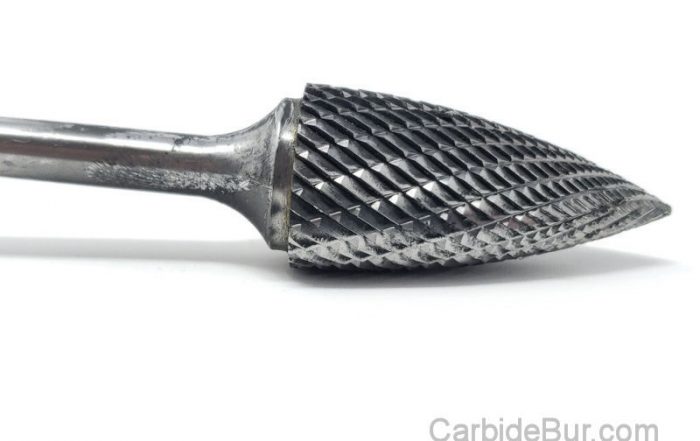
What RPM Should You Use for a 1/4 Inch Carbide Burr?
What RPM Should You Use for a 1/4 Inch Carbide Burr? Most machinists guess the right speed for a 1/4 inch carbide burr and hope for the best. Using the wrong carbide burr RPM can [...]
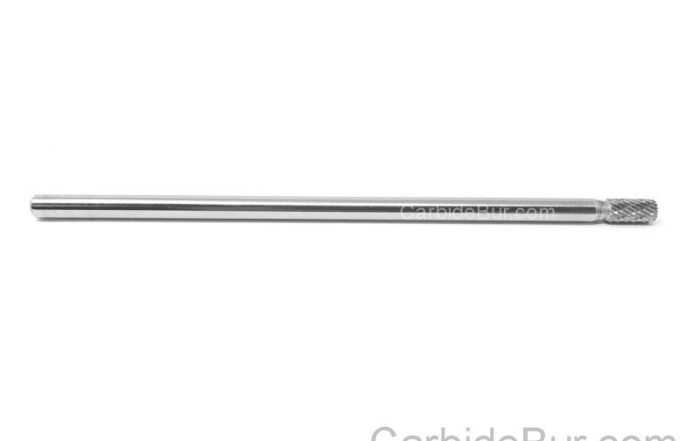
Long Shank Carbide Burrs: When Do You Need One?
Long Shank Carbide Burrs: When Do You Need One? Most machinists overlook the power of long shank carbide burrs until a project demands precision in tight spaces. When your usual tools can’t reach intricate contours, [...]
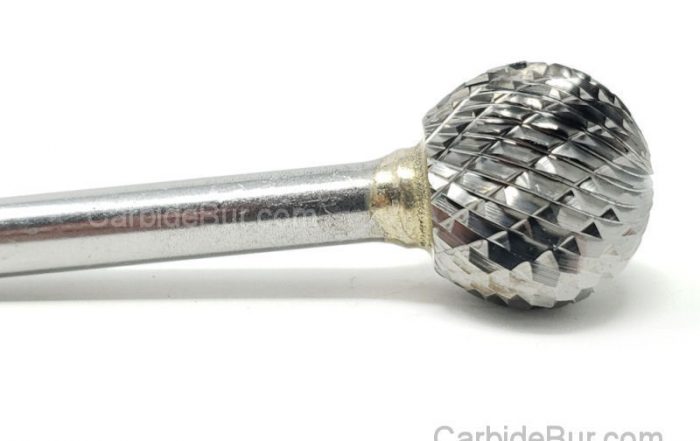
How Deep Can a Carbide Burr Cut Metal?
How Deep Can a Carbide Burr Cut Metal? Carbide burrs often get praised for their precision, but many users hit a wall wondering how deep they can actually cut metal. The truth is, cutting depth [...]
How to Use Carbide Burrs for Port Matching
How to Use Carbide Burrs for Port Matching Most engine builds hit a wall when airflow doesn’t flow smoothly between the ports and manifolds. If your engine isn’t breathing right, your performance stalls. Using the [...]
Best Carbide Burr for Porting Intake Manifolds
Best Carbide Burr for Porting Intake Manifolds Porting intake manifolds can make or break your engine’s airflow, yet many struggle with the right tools for the job. Choosing the best carbide burrs is key to [...]
Best Carbide Burr for Concave Surfaces
Best Carbide Burr for Concave Surfaces Concave surfaces can turn a straightforward project into a frustrating challenge if you don’t have the right tool. Carbide burrs designed for these tricky curves make all the difference [...]
How to Grind a Slot in Metal With a Carbide Burr
How to Grind a Slot in Metal With a Carbide Burr Grinding a precise slot in metal can feel like a tricky task, especially if you’re unsure which tools to trust. Carbide burr grinding offers [...]

Best Carbide Burr for Inside Corners
Best Carbide Burr for Inside Corners Working in tight inside corners can turn even simple projects into frustrating tasks. Many carbide burrs just don’t fit or cut cleanly where you need them most. The best [...]
What Size Carbide Burr Do I Need?
What Size Carbide Burr Do I Need? Picking the wrong carbide burr can turn a simple project into a frustrating mess. You might have the best machining tools but still miss the mark if your [...]
