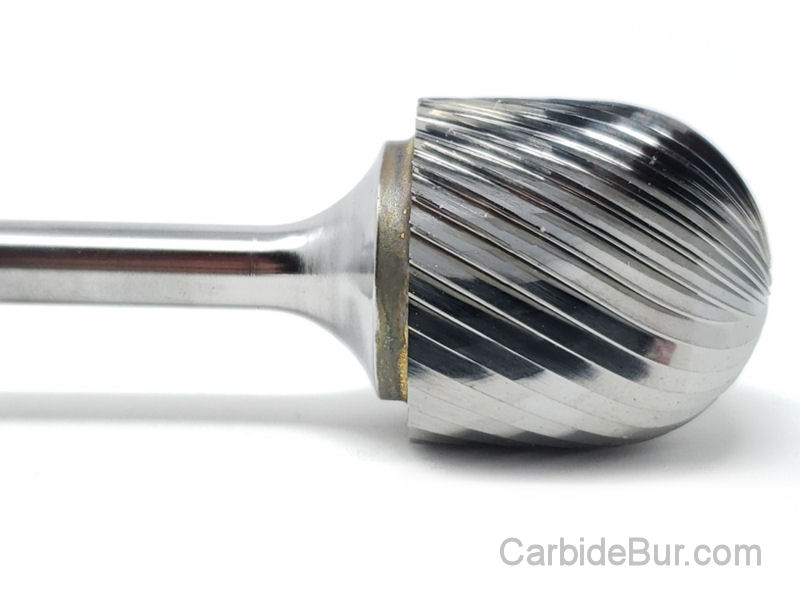
How to Get More Life from Your Carbide Burrs
Carbide burrs are valuable tools for welders, fabricators, machinists, automotive enthusiasts, and anyone who regularly works with metal. They can remove material, shape edges, clean up welds, and refine contours. But even a high-quality carbide burr can wear out prematurely when it is used incorrectly.
If you want to improve carbide burr tool life, focus on the way you select, operate, clean, and inspect your tools. Choosing the correct burr for the material, following the recommended operating speed, applying controlled pressure, and avoiding unnecessary stress can help reduce premature wear and make better use of your tooling investment.
Here are practical ways to get more life from your carbide burrs.

Do you need a longer reach for your die grinder tool bits?
1. Choose the Correct Carbide Burr for the Material
One of the easiest ways to shorten a burr’s life is to use a cutting profile that is poorly suited to the material.
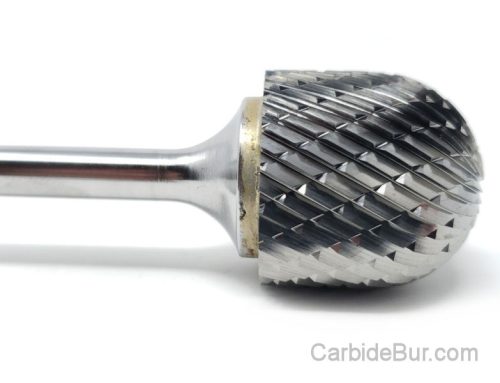
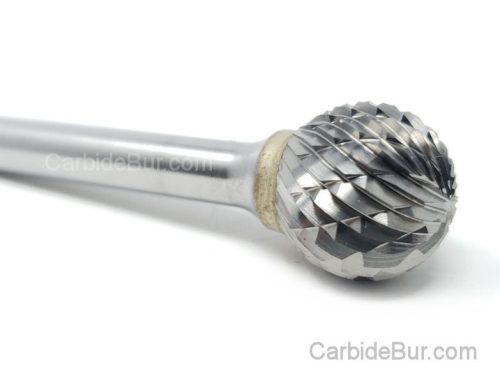
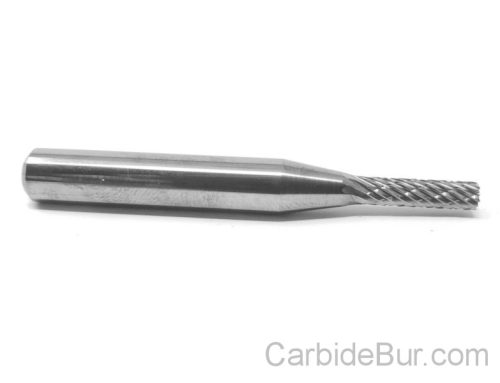
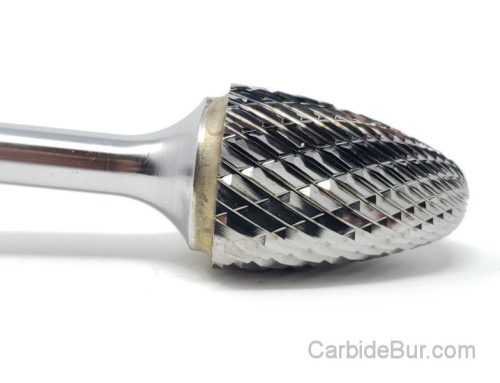
Carbide burrs are available in different shapes and cutting profiles for different applications. A burr intended for one type of material may not perform as well on another.
Before starting a job, consider the following:
- Steel: Choose a carbide burr with a cutting profile suitable for the type of steel and the work being performed.
- Stainless steel: Select an appropriate burr and use controlled technique to manage heat and cutting resistance.
- Aluminum: Consider a burr designed for aluminum, since specialized flute geometry can help reduce material buildup.
- Cast iron: Use a burr suitable for cast iron and take appropriate precautions to control dust and debris.
For example, aluminum can accumulate on unsuitable cutting flutes, making the burr less effective. Continuing to work with loaded flutes can increase friction and heat rather than removing material efficiently.
The takeaway: Match the burr to the material before you begin. The right cutting geometry can help the tool work as intended and reduce unnecessary wear.
2. Use the Correct Operating Speed
Operating speed has a major influence on carbide burr performance and service life.
Running a burr too slowly may reduce cutting efficiency, depending on the tool and application. Running it too fast can increase heat, vibration, and the risk of damage. The appropriate speed depends on the burr diameter, cutting profile, material, and the maximum rated RPM of both the accessory and the tool.
To select the right speed:
- Check the carbide burr manufacturer’s recommended operating range.
- Confirm the maximum RPM of your die grinder or rotary tool.
- Make sure the burr’s rated speed is not exceeded.
- Adjust the tool within the permitted range to suit the application.
- Stop if you notice unusual vibration, excessive heat, or inconsistent cutting.
Larger cutting heads and smaller cutting heads may have different appropriate speed ranges. Do not assume that every burr should run at the highest available setting.
Never exceed the accessory’s maximum rated RPM, even if your grinder can run faster.
3. Apply Light, Controlled Pressure
Pressing harder does not necessarily make a carbide burr remove material faster. Excessive pressure can overload the cutting edges, generate unnecessary heat, and make the tool more difficult to control.
A better approach is to let the burr’s cutting flutes do the work.
Use these habits to improve control:
- Apply steady, moderate pressure appropriate to the tool and material.
- Keep the burr moving as appropriate for the operation instead of dwelling in one spot.
- Remove material gradually rather than trying to accomplish everything in one pass.
- Inspect your progress frequently.
- Reduce pressure if cutting performance deteriorates or heat builds up.
If the burr stops cutting effectively, do not automatically push harder. Check for loaded flutes, a worn cutting head, an unsuitable cutting profile, or an incorrect operating speed.
Controlled pressure helps you manage material removal while reducing unnecessary stress on the cutting edges.
4. Avoid Side Loading and Excessive Bending Forces
Carbide is hard, but carbide cutting tools can be brittle. Excessive lateral force, bending, or twisting can damage the cutting head or shank.
Side loading occurs when the accessory experiences force in a direction that places excessive stress on the tool rather than allowing the cutting edges to engage the workpiece as intended.
To avoid unnecessary side loading:
- Maintain a stable grip on the grinder.
- Approach the workpiece at a controlled angle.
- Avoid levering the burr against the metal.
- Do not force a large burr into a small opening.
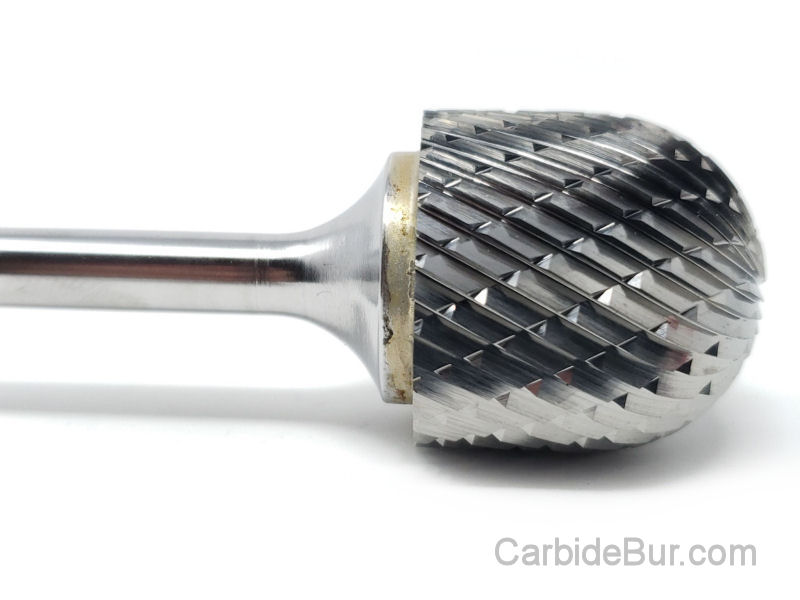
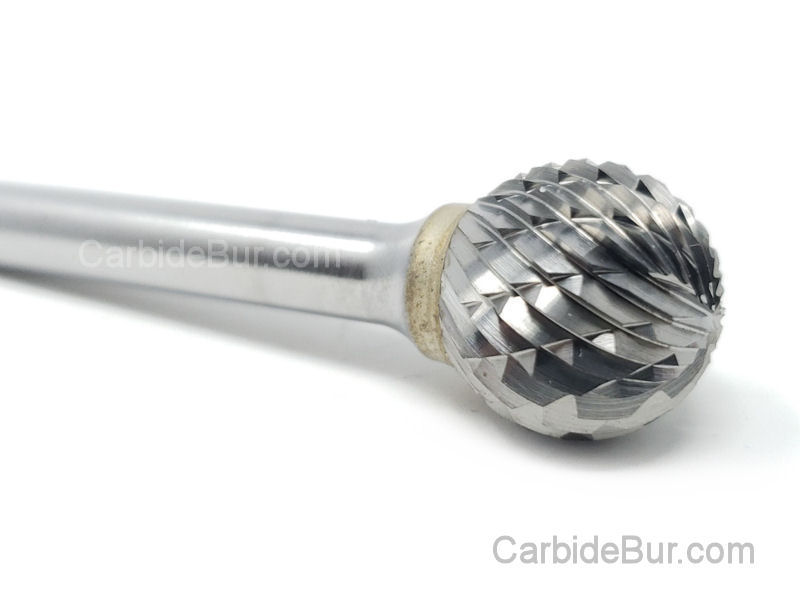
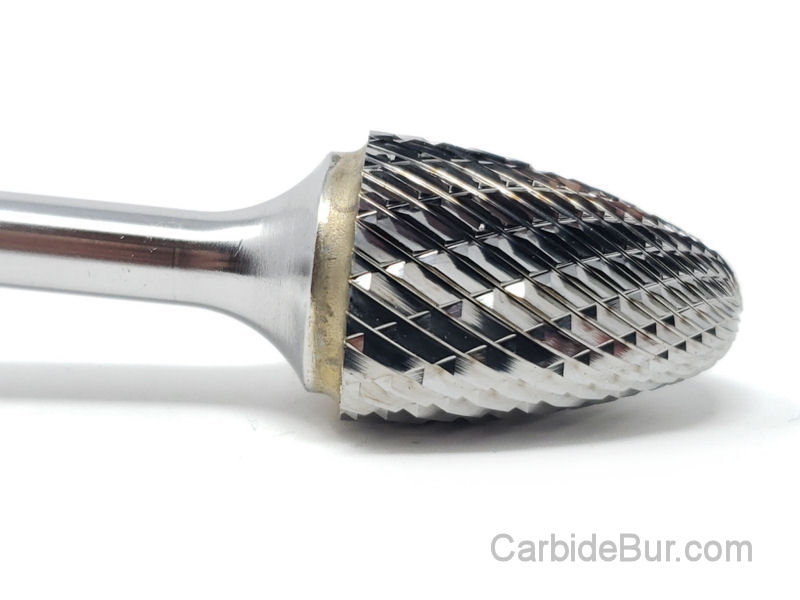
- Choose a burr shape that provides suitable access to the area.
- Use an appropriate extension or longer-reach tool when the application requires additional reach, provided the setup is rated and compatible.
If a burr is difficult to position, reconsider the tool geometry or workpiece setup rather than forcing it into place.
A broken carbide burr can create a safety hazard as well as interrupt your work. Proper technique helps protect both the tool and the operator.
5. Keep the Cutting Flutes Clear of Metal Buildup
Metal buildup is a common problem when carbide burrs are used on materials that tend to load the cutting flutes, especially aluminum.
When chips and material accumulate between the flutes, the burr may stop cutting efficiently. The operator may then apply more pressure, increasing friction and heat.
To reduce loading:
- Choose a cutting profile suitable for the material.
- Use controlled pressure and the recommended speed.
- Avoid forcing the burr into the workpiece.
- Stop periodically to inspect the cutting head.
- Clean the burr using a method approved by the tool manufacturer.
For aluminum applications, an aluminum-cut burr may help reduce loading compared with an unsuitable general-purpose profile. However, no cutting tool is completely immune to buildup under all conditions.
Never attempt to clear the flutes while the burr is rotating. Switch off the tool, disconnect its power source, and allow the accessory to stop completely before inspecting or cleaning it.
6. Inspect Your Carbide Burrs Regularly
A quick inspection can help you identify problems before they affect the quality of your work or create a safety concern.
Before each use, examine the burr for:
- Chipped or missing cutting edges
- Cracks or visible damage
- A bent or damaged shank
- Excessive wear
- Material buildup that interferes with cutting
- Signs of unusual overheating or discoloration
During operation, pay attention to changes in cutting performance. Excessive vibration, unusual noise, or a burr that repeatedly slips in the collet may indicate a problem with the accessory, tool, or setup.
Do not continue using a damaged burr. Replace it when the cutting edges are worn beyond useful service or when its condition makes continued use unsafe.
Also inspect the collet and tool according to the manufacturer’s instructions. A worn or damaged holding system can affect accessory stability and create problems that might otherwise be mistaken for burr wear.
7. Store Carbide Burrs Properly
Carbide burrs can be damaged when their cutting heads strike other tools or hard surfaces. Their cutting edges should be protected when the accessories are not in use.
For better storage:
- Keep burrs in a suitable case, holder, or organized storage tray.
- Separate cutting heads so they do not repeatedly knock against one another.
- Keep accessories clean and dry.
- Avoid dropping burrs onto concrete or other hard surfaces.
- Store them where the shanks and cutting heads will not be bent or damaged.
Organized storage also makes it easier to find the correct profile for the next job, reducing the temptation to use an unsuitable burr simply because it is close at hand.
8. Don’t Confuse a Worn Burr with the Wrong Burr
If a carbide burr is removing material slowly, wear is only one possible explanation.
The cutting profile may be unsuitable for the material. The burr may be too large or too small for the task. The operating speed may be outside the recommended range, or the cutting flutes may be clogged with material.
Before replacing an accessory, check the cause of the poor performance:
- Inspect the flutes for buildup or damage.
- Verify the burr is appropriate for the material.
- Confirm the speed setting is within the manufacturer’s recommendations.
- Check that the tool and collet are holding the shank securely.
- Review your technique and avoid excessive pressure.
If the burr is clean, compatible, and undamaged but still performs poorly, it may be worn or unsuitable for the application. Replacing it with the correct profile is often better than trying to force it through the job.
9. Choose Quality Carbide Burrs for Your Work
Technique is important, but the quality and suitability of the tool matter too. A carbide burr should be selected according to the material, cutting task, head shape, shank size, and equipment being used.
When choosing a replacement or adding to your tool collection, consider:
- The material you work with most often
- The burr shapes you need for your typical projects
- The cutting profile suited to your application
- The shank size required by your grinder or rotary tool
- The accessory’s operating-speed rating
- The amount of reach and clearance required
Buying the correct burr for a specific job can be more useful than purchasing a large assortment of profiles you rarely use.
Shop USA-Made Carbide Burrs at CarbideBurr.net
Getting better value from your carbide burrs starts with choosing the right tool and using it correctly. Proper speed selection, controlled pressure, suitable cutting profiles, and regular inspections can help reduce premature wear and support consistent performance.
At CarbideBurr.net, we offer USA-made carbide burr tools for metalworkers, welders, fabricators, and automotive enthusiasts. Explore our available shapes and cutting profiles to find options suited to your applications.
Before ordering, check the product specifications to confirm material suitability, shank compatibility, and operating-speed requirements.
Choose the right carbide burr, use it with care, and get more from your tooling investment. Visit CarbideBurr.net to explore our USA-made carbide burr selection.
Looking for Carbide Bur Tools?
Check out our entire selection of USA made carbide bur die grinder tool bits
Follow us on Twitter

Return to CarbideBur.com
Carbide Burs – 1/4″ on 1/8″ Shanks – Accessories – Aluminum Cut – Bur Sets – End Mills – Long Shank – Solid Burs
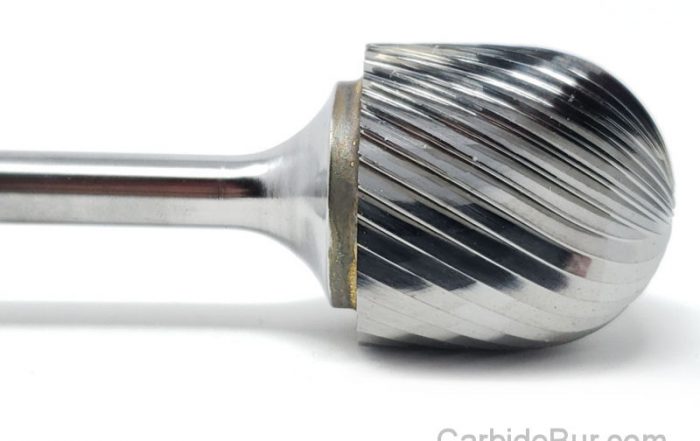
How to Get More Life from Your Carbide Burrs
How to Get More Life from Your Carbide Burrs Carbide burrs are valuable tools for welders, fabricators, machinists, automotive enthusiasts, and anyone who regularly works with metal. They can remove material, shape edges, clean up [...]
Are Expensive Carbide Burrs Worth It? Comparing Price and Performance
Are Expensive Carbide Burrs Worth It? Comparing Price and Performance When shopping for carbide burrs, it's easy to assume that the cheapest option saves money. But if you use rotary cutting tools regularly for welding, [...]
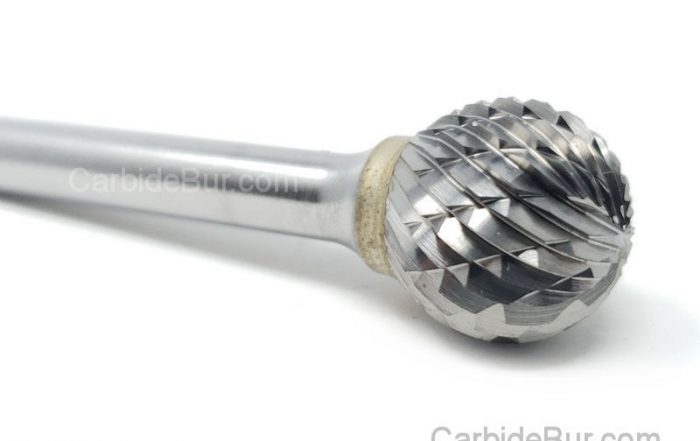
Carbide Burr vs. Grinding Stone: Which Is Better for Metal Removal?
Carbide Burr vs. Grinding Stone: Which Is Better for Metal Removal? When you need to remove metal, smooth a rough edge, or shape a metal component, two common options are carbide burrs and grinding stones. [...]
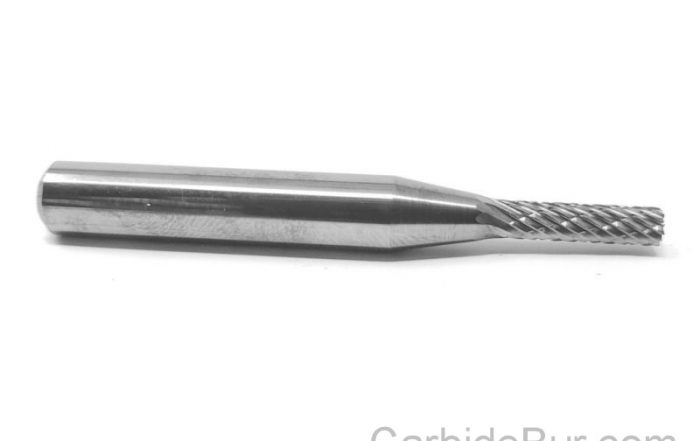
Carbide Burr Safety: RPM, Eye Protection, and Common Mistakes
Carbide Burr Safety: RPM, Eye Protection, and Common Mistakes Carbide burrs are versatile cutting tools used for metal fabrication, welding cleanup, engine porting, deburring, and general material removal. When used correctly, they can help remove [...]
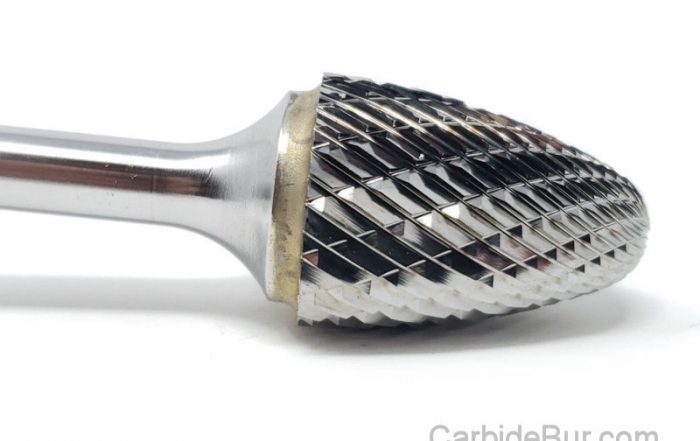
How to Stop Aluminum from Clogging Your Carbide Burr
How to Stop Aluminum from Clogging Your Carbide Burr Aluminum is widely used in automotive work, welding, metal fabrication, aerospace components, and general machining. It is lightweight, relatively easy to machine, and versatile across many [...]
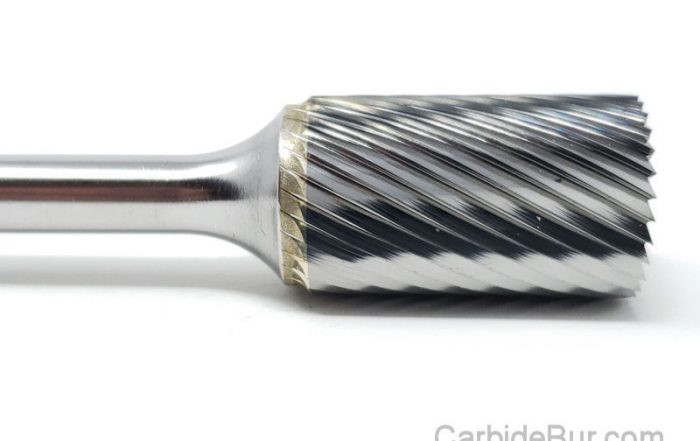
Carbide Burrs for Intake Manifolds: Shaping, Cleanup, and Fitment
Carbide Burrs for Intake Manifolds: Shaping, Cleanup, and Fitment Intake manifold work often involves more than simply bolting a component onto an engine. Depending on the application, metal intake components may have casting irregularities, rough [...]
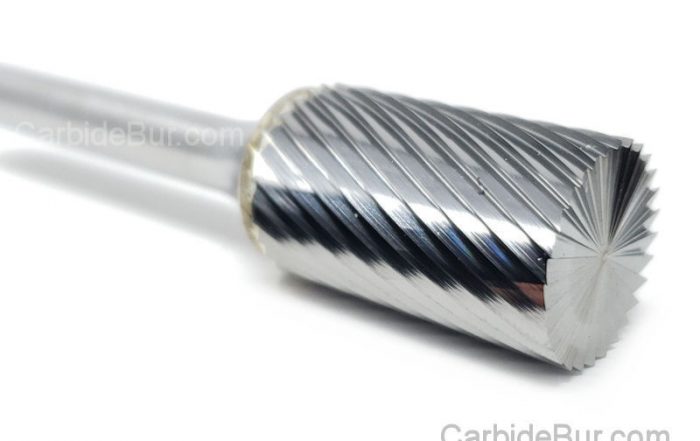
Why Long-Shank Carbide Burrs Are Useful for Hard-to-Reach Areas
Why Long-Shank Carbide Burrs Are Useful for Hard-to-Reach Areas When working on metal parts, the area that needs grinding or shaping is not always easy to reach. Recessed openings, deep cavities, interior surfaces, and complicated [...]
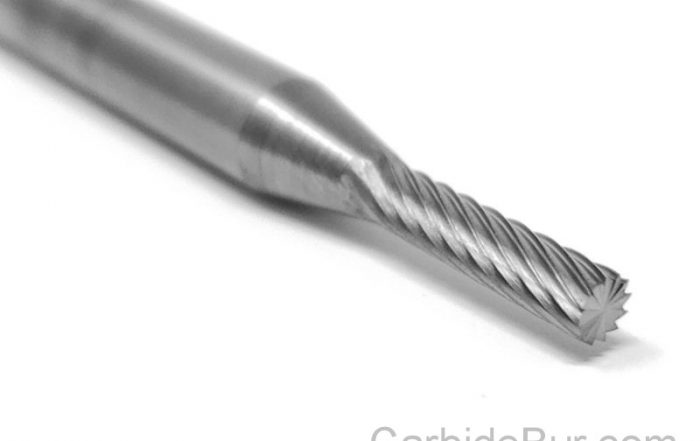
Choosing Carbide Burrs for Stainless Steel Fabrication
Choosing Carbide Burrs for Stainless Steel Fabrication Stainless steel is widely used in fabrication because of its corrosion resistance, strength, and durability. However, those same properties can make it challenging to machine and finish. Removing [...]
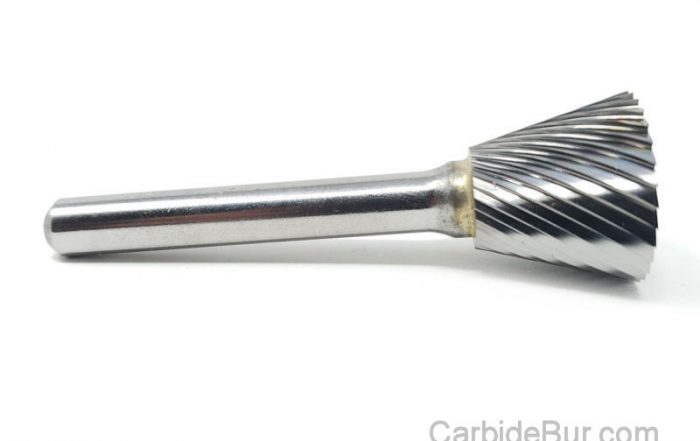
Can You Use Carbide Burrs in a Dremel? Shank Sizes Explained
Can You Use Carbide Burrs in a Dremel? Shank Sizes Explained If you use a Dremel or another rotary tool for detail work, metal shaping, or small fabrication projects, you may wonder whether you can [...]
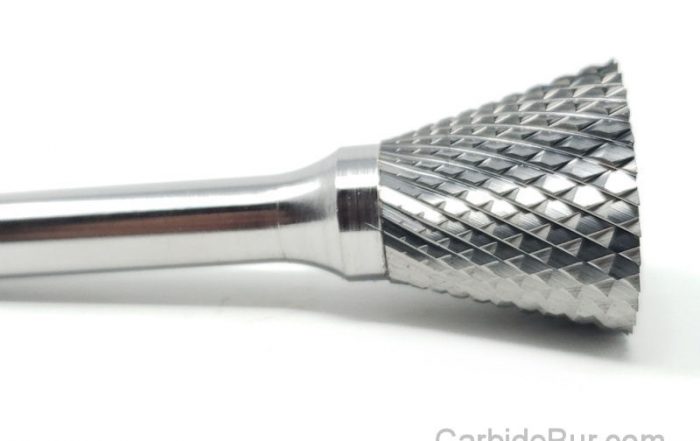
How to Choose the Best Carbide Burr for Welding and Metal Fabrication
How to Choose the Best Carbide Burr for Welding and Metal Fabrication Welding and metal fabrication often require more than joining two pieces of metal together. Once the welding is finished, fabricators frequently need to [...]
Carbide Burrs for Cylinder Heads: What Automotive Enthusiasts Need to Know
Carbide Burrs for Cylinder Heads: What Automotive Enthusiasts Need to Know Cylinder head work is an important part of engine building, restoration, and performance machining. Whether you are cleaning up casting imperfections, refining port surfaces, [...]
Engine Porting 101: How Carbide Burrs Help Shape Cylinder Head Ports
Engine Porting 101: How Carbide Burrs Help Shape Cylinder Head Ports Engine performance enthusiasts, automotive machinists, and engine builders often look for ways to improve airflow through an engine's cylinder heads. One technique used in [...]