Carbide Burrs for Intake Manifolds: Shaping, Cleanup, and Fitment
Intake manifold work often involves more than simply bolting a component onto an engine. Depending on the application, metal intake components may have casting irregularities, rough edges, small obstructions, or areas that need careful cleanup to achieve proper fitment. An intake manifold carbide burr can help with these tasks by allowing controlled material removal in areas that are difficult to reach with larger grinding tools.
However, intake manifold modification requires a careful approach. Removing material in the wrong location can damage gasket sealing surfaces, weaken thin walls, alter important dimensions, or negatively affect airflow. The goal should be to improve the component where appropriate while preserving the design features that make it function correctly.

Do you need a longer reach for your die grinder tool bits?
What Are Carbide Burrs Used for on Intake Manifolds?
Carbide burrs are rotary cutting tools designed to remove material from compatible metals. When installed in a compatible die grinder or rotary tool, they can help with detailed automotive work that requires more control than a conventional grinding wheel may provide.
Depending on the manifold material and the job, common applications include:
- Cleaning up minor casting irregularities in suitable, noncritical areas.
- Removing small burrs and sharp edges left from machining or fabrication.
- Carefully blending selected transitions where the engine design permits modification.
- Cleaning up accessible metal edges around openings without altering sealing dimensions.
- Performing localized fitment work on compatible aftermarket or custom intake components.
Not every rough surface or casting feature should be removed. Some features are intentional parts of the casting, and changing them may have little benefit or may negatively affect component strength, airflow, or engine operation.
Before grinding, identify the purpose of the feature and determine whether modifying it is appropriate for the specific engine.
Choosing an Intake Manifold Carbide Burr
Burr shape influences how easily you can reach a particular area, control material removal, and work around corners or curved surfaces. For intake manifold work, the best choice depends on the component’s geometry, the material, and the amount of material that needs to be removed.
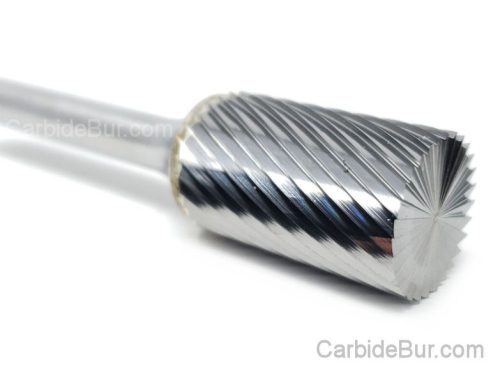
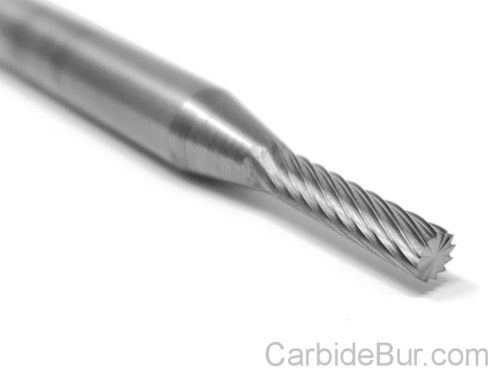
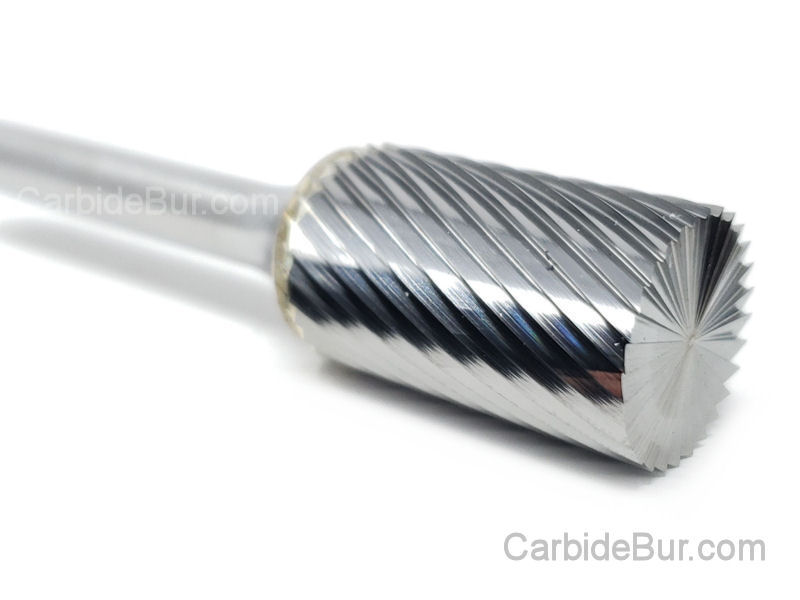
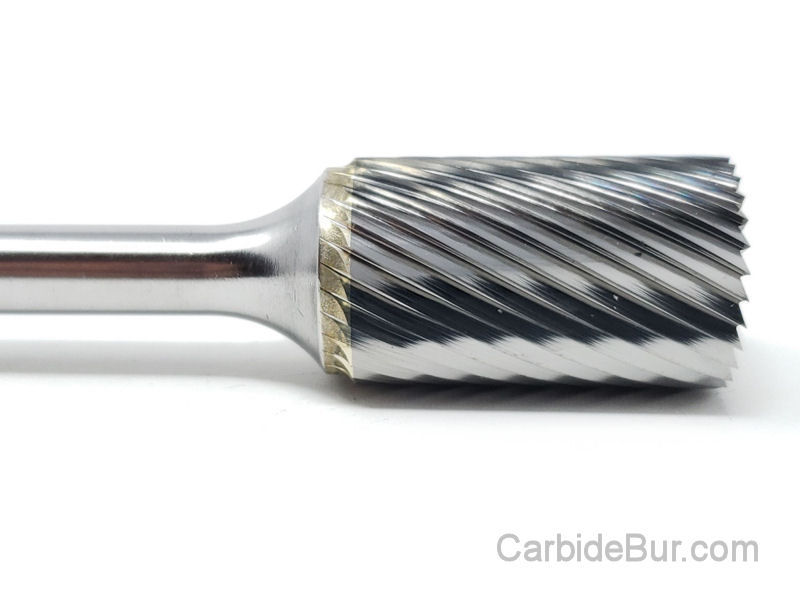
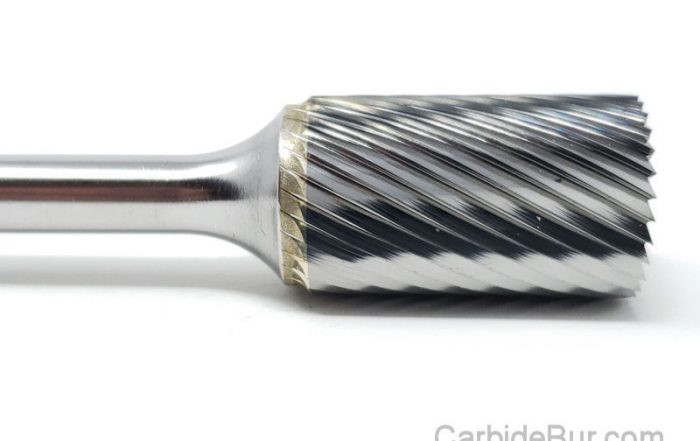
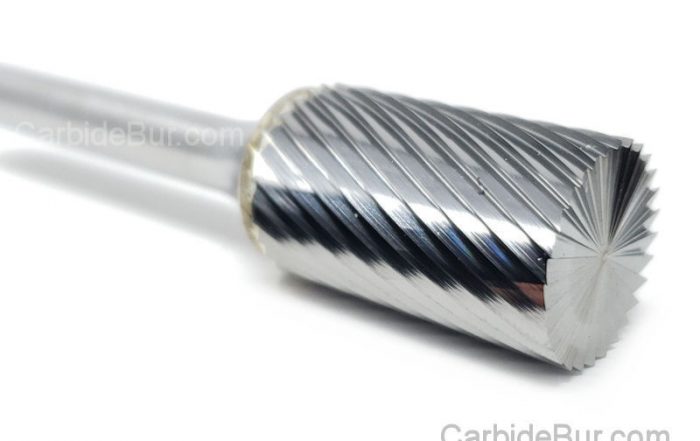
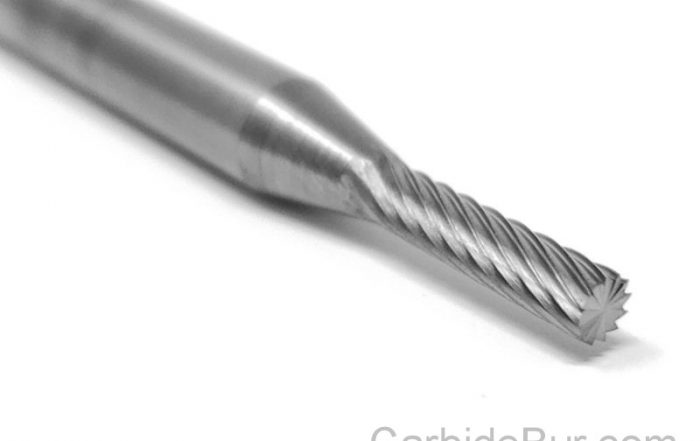
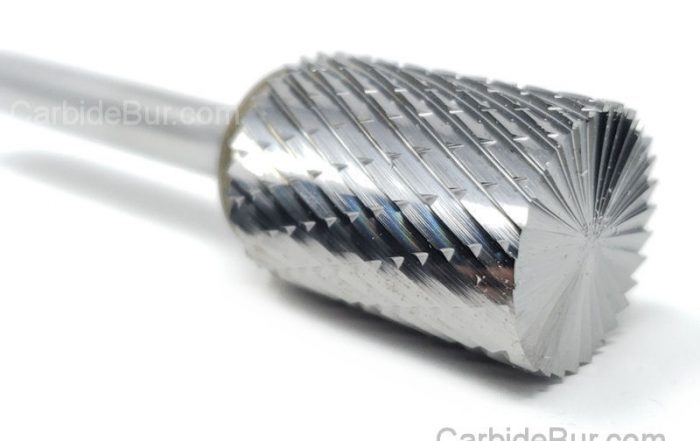
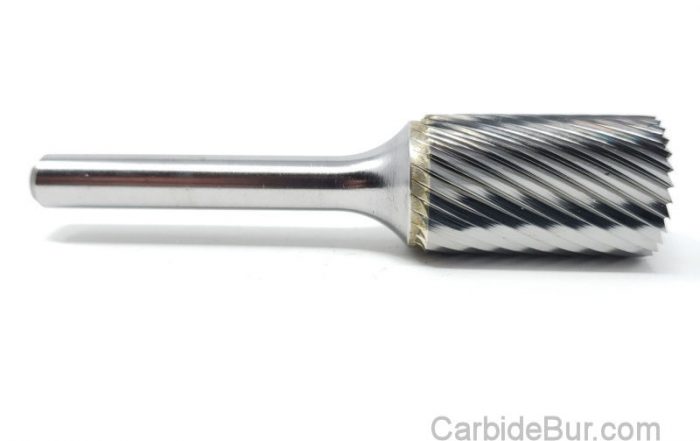
Cylindrical burrs
Cylindrical burrs can be useful for controlled work on accessible, relatively flat areas and for carefully cleaning up suitable edges. Their shape can help maintain a consistent contact area when working along an appropriate surface.
Use caution around port openings and sealing surfaces. A cylindrical burr can remove material quickly, and an unintended pass may alter the shape or dimensions of the opening.
Ball burrs
Ball-shaped burrs can help with localized work in rounded areas, curved transitions, and selected recessed contours. Their profile is useful when the work area does not have a flat surface.
Keep the tool moving with light, controlled contact. Avoid deepening a depression simply to make the surface look uniform.
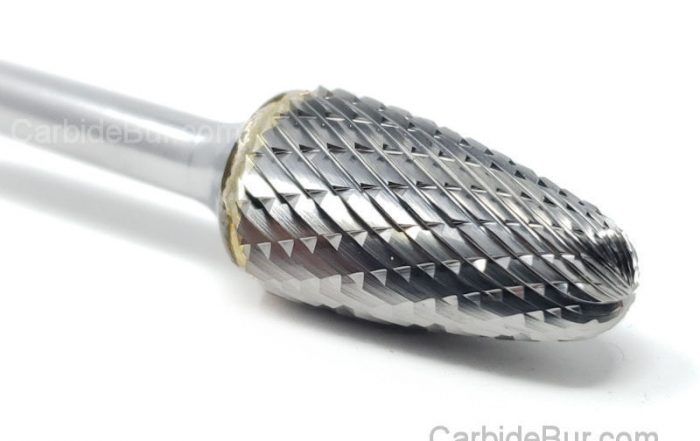
Oval burrs
Oval burrs can be useful for smoothing selected curved contours and blending appropriate transitions. Their rounded profile can help when a cylindrical shape would be difficult to maneuver.
They are not a substitute for measuring the port or understanding the intended shape. Remove only the material necessary for the specific task.
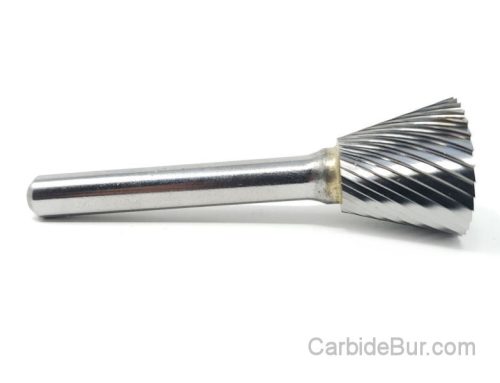
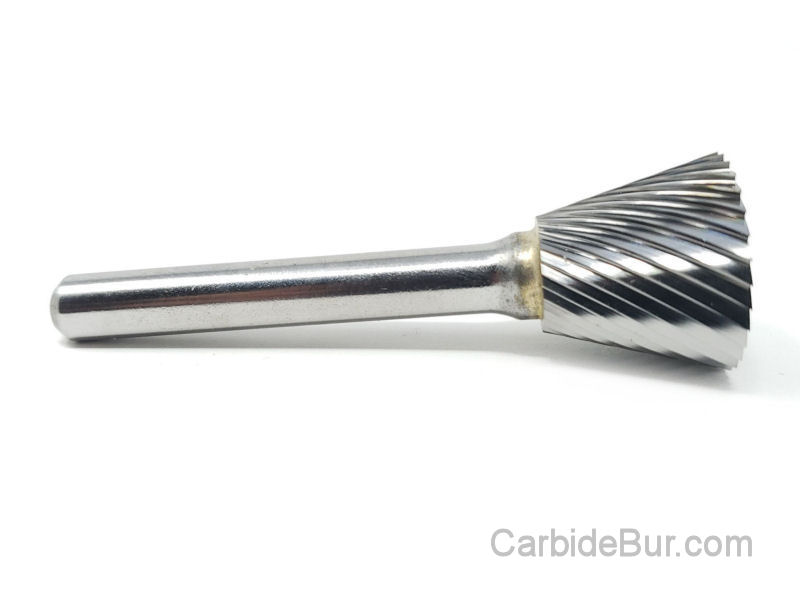
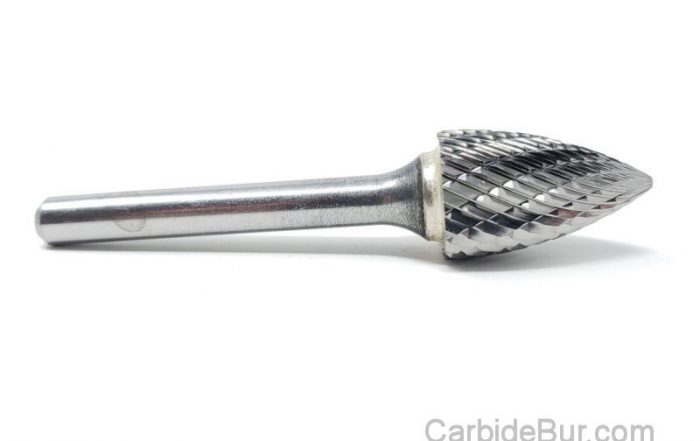
Tree-shaped burrs
Tree burrs can help reach angled areas and selected internal contours. Depending on the tip design, they may be useful for detailed cleanup around transitions and irregular shapes.
Pay attention to the tip and the sides of the burr. An angled approach can make it easy to contact an adjacent wall or remove material from an unintended area.
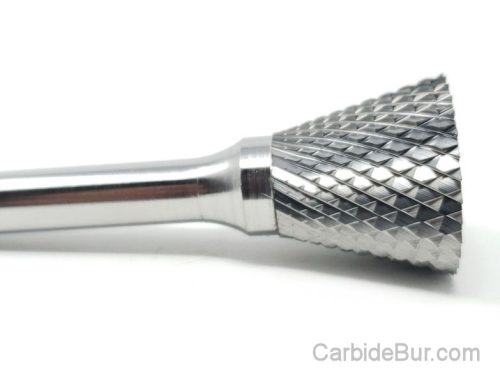
Select the cut for the material
The burr’s cutting style also matters. Aluminum and cast iron behave differently under a rotary cutting tool, and a burr that performs well on one material may not be the best choice for another.
For aluminum intake components, an appropriate aluminum-cut burr can help reduce the tendency of soft material to build up in the flutes. For cast iron, choose a burr suited to the material and manage the dust produced during grinding.
Always confirm that the burr, shank, tool, and any extension or adapter are compatible and rated for the intended operating speed.
Cleaning Up Casting Irregularities Without Overdoing It
Cast metal components can have surface variations, parting-line remnants, and localized irregularities. Some are cosmetic, while others may affect fitment or the geometry of a passage.
Start by inspecting the intake manifold carefully. Clean away oil, dirt, and deposits so you can distinguish actual casting features from contamination. Use good lighting and, where practical, compare the component with the manufacturer’s specifications or a known-good part.
A cautious cleanup process should include the following steps:
- Identify the problem area. Determine whether the irregularity is genuinely interfering with fitment or function.
- Protect nearby features. Mark or otherwise identify surfaces that must remain untouched, including sealing faces and precision-machined areas.
- Secure the component. Hold it in a stable fixture that will not distort or damage the manifold.
- Start with minimal material removal. Use a suitable burr and light pressure rather than attempting to remove the entire irregularity in one pass.
- Inspect frequently. Stop periodically to check the surface, dimensions, and remaining wall thickness where relevant.
- Clean the component thoroughly. Remove all metal chips and abrasive debris before reassembly.
The objective is controlled cleanup, not making every surface perfectly smooth. Unnecessary grinding can enlarge an opening, alter a transition, or weaken the casting without providing a meaningful improvement.
Protect Gasket Surfaces and Sealing Areas
Gasket surfaces are among the most important areas to protect during intake manifold work. These surfaces are designed to seal against another component, and even a small unintended change can contribute to leaks or fitment problems.
Avoid using a freehand carbide burr on a precision-machined gasket face unless a specific, approved procedure calls for that operation. A rotary burr can create grooves, low spots, and uneven edges that are difficult to correct by hand.
Pay particular attention to:
- Intake manifold-to-cylinder-head sealing faces.
- Throttle body mounting surfaces.
- Gasket lands surrounding individual ports.
- Bolt holes, locating features, and alignment surfaces.
- Areas containing inserts, seals, or other precision components.
If a sealing face is damaged, use the appropriate machining or repair procedure rather than attempting to correct it by casually grinding the surface. Follow the engine or component manufacturer’s requirements for flatness, finish, and dimensional tolerances.
Avoid Damaging Thin Walls and Critical Dimensions
Intake manifolds can contain thin cast sections, closely spaced passages, and areas where external surfaces are not far from internal walls. Removing too much material can create a breakthrough, a weak spot, or a passage that no longer matches the intended design.
This is especially important when working inside runners, near mounting flanges, around bolt bosses, and close to coolant passages or other adjacent cavities where applicable.
Use these precautions:
- Know the wall thickness. Do not assume that a thick-looking external section has plenty of material behind it.
- Avoid blind grinding. If you cannot determine what lies behind a surface, stop and obtain reliable dimensional information before removing material.
- Preserve port dimensions. Enlarging an opening is not automatically an improvement. Port cross-section and shape affect airflow velocity and engine behavior.
- Keep mounting features intact. Bolt bosses and locating features may be essential to secure installation and maintain alignment.
- Measure instead of guessing. Use suitable inspection tools, manufacturer specifications, and documented build requirements when dimensions matter.
- Stop if the component is questionable. Cracks, deep defects, and suspected thin spots may require professional inspection or replacement.
A carbide burr makes material removal convenient, but it cannot tell you how much material is safe to remove. That decision must come from the component design and the requirements of the particular engine.
Intake Port Shaping Must Match the Engine Design
Port shaping is sometimes discussed as though making intake passages larger and smoother always improves performance. In reality, intake manifold geometry is part of a larger engine system that includes the cylinder head, valves, camshaft, displacement, operating speed, and fuel delivery strategy.
Changing port shape or cross-sectional area can affect airflow velocity, pressure distribution, fuel behavior in applicable systems, and the engine’s torque characteristics. A modification that helps one combination may provide no benefit—or may reduce performance—on another.
Before modifying intake runners, consider:
Port alignment: The manifold opening should match the intended cylinder-head interface. A mismatch may create a restriction, but removing too much material can also damage the sealing area or create an undesirable transition.
Runner cross-section: Larger is not always better. The correct area depends on the engine’s airflow requirements and intended operating range.
Transition geometry: Abrupt steps and poorly shaped transitions may be worth evaluating, but changes should be based on the actual design rather than appearance alone.
Surface condition: A mirror-like finish is not automatically necessary or beneficial. The appropriate surface depends on the material, fuel system, passage design, and engineering objective.
Manufacturer requirements: Factory specifications and established performance-engineering guidance should take precedence over guesswork, especially on modern engines with complex intake systems.
For performance builds, consult a qualified engine builder or flow-bench specialist when substantial port modifications are planned. Measurements and testing are more reliable than assuming that more grinding means better airflow.
Fitment Checks Before Reinstalling the Manifold
After cleaning up or modifying an intake manifold, verify that it still fits correctly before final assembly.
Check that the manifold aligns with the cylinder head and mounting points, that the correct gasket seats properly, and that no material has been removed from a sealing surface. Inspect nearby ports and passages for burrs, chips, cracks, and other damage.
Also confirm that no metal debris remains inside the manifold. Small fragments can be carried into the engine and cause serious damage. Use a suitable cleaning method for the component and its materials, then inspect all passages before installation.
If the manifold includes sensors, seals, throttle components, or other removable parts, follow the manufacturer’s service procedures for removal, cleaning, and reassembly. Replace damaged gaskets and seals as required, and tighten fasteners to the specified torque and sequence.
Work Safely With Carbide Burrs
Carbide burrs can remove metal rapidly, and broken tools or flying chips can cause serious injury. Before starting, inspect the burr for damage, verify that the shank is seated securely, and confirm that the tool’s speed does not exceed the lowest applicable rating of the grinder, burr, and any extension or adapter.
Wear suitable eye protection and a face shield, secure the workpiece, and keep hands, clothing, and cords away from rotating equipment. Use appropriate dust extraction and respiratory protection for the material being ground. Cast iron dust deserves particular care, and aluminum dust must also be controlled.
Do not force the burr, use excessive side pressure, or continue with a tool that vibrates unexpectedly. Stop the grinder before inspecting the work or clearing accumulated debris.
Choose the Right Carbide Burr for Automotive Detail Work
Successful intake manifold cleanup depends on choosing the right tool for the material and the specific task. Cylindrical, ball, oval, and tree-shaped carbide burrs each offer different ways to reach contours and remove material in suitable areas.
At CarbideBurr.net, you can explore USA-made carbide burr tools for automotive, fabrication, and metalworking applications. Choose a burr shape and cut suited to your material, verify compatibility with your grinder or rotary tool, and use controlled material removal to help preserve critical dimensions.
Whether you’re cleaning up a minor casting irregularity or preparing a compatible metal intake component for fitment, a properly selected carbide burr can be a useful addition to your automotive tool collection. The best results come from careful inspection, accurate measurements, and modifications that respect the original engine design.
Looking for Carbide Bur Tools?
Check out our entire selection of USA made carbide bur die grinder tool bits
Follow us on Twitter

Return to CarbideBur.com
Carbide Burs – 1/4″ on 1/8″ Shanks – Accessories – Aluminum Cut – Bur Sets – End Mills – Long Shank – Solid Burs
Carbide Burrs for Intake Manifolds: Shaping, Cleanup, and Fitment
Carbide Burrs for Intake Manifolds: Shaping, Cleanup, and Fitment Intake manifold work often involves more than simply bolting a component onto an engine. Depending on the application, metal intake components may have casting irregularities, rough [...]
Why Long-Shank Carbide Burrs Are Useful for Hard-to-Reach Areas
Why Long-Shank Carbide Burrs Are Useful for Hard-to-Reach Areas When working on metal parts, the area that needs grinding or shaping is not always easy to reach. Recessed openings, deep cavities, interior surfaces, and complicated [...]
Choosing Carbide Burrs for Stainless Steel Fabrication
Choosing Carbide Burrs for Stainless Steel Fabrication Stainless steel is widely used in fabrication because of its corrosion resistance, strength, and durability. However, those same properties can make it challenging to machine and finish. Removing [...]
Can You Use Carbide Burrs in a Dremel? Shank Sizes Explained
Can You Use Carbide Burrs in a Dremel? Shank Sizes Explained If you use a Dremel or another rotary tool for detail work, metal shaping, or small fabrication projects, you may wonder whether you can [...]
How to Choose the Best Carbide Burr for Welding and Metal Fabrication
How to Choose the Best Carbide Burr for Welding and Metal Fabrication Welding and metal fabrication often require more than joining two pieces of metal together. Once the welding is finished, fabricators frequently need to [...]
Carbide Burrs for Cylinder Heads: What Automotive Enthusiasts Need to Know
Carbide Burrs for Cylinder Heads: What Automotive Enthusiasts Need to Know Cylinder head work is an important part of engine building, restoration, and performance machining. Whether you are cleaning up casting imperfections, refining port surfaces, [...]
Engine Porting 101: How Carbide Burrs Help Shape Cylinder Head Ports
Engine Porting 101: How Carbide Burrs Help Shape Cylinder Head Ports Engine performance enthusiasts, automotive machinists, and engine builders often look for ways to improve airflow through an engine's cylinder heads. One technique used in [...]
When to Use a 4-Inch or 9-Inch Die Grinder Extension
When to Use a 4-Inch or 9-Inch Die Grinder Extension Metal fabrication, welding, automotive repair, and engine building often require working in places where a standard die grinder and carbide burr cannot easily reach. Recessed [...]
Why Buy USA-Made Carbide Burr Tools? What Buyers Should Compare
Why Buy USA-Made Carbide Burr Tools? What Buyers Should Compare When shopping for carbide burr tools, it's tempting to compare products based on price alone. However, professionals who use rotary cutting tools for welding, metal [...]
How to Use 1/8-Inch Rotary Bits with a Die Grinder
How to Use 1/8-Inch Rotary Bits with a Die Grinder Die grinders are popular tools for metalworking, fabrication, deburring, and precision material removal. However, many die grinders use a 1/4-inch collet, while smaller rotary tools [...]

Can You Use a Carbide Burr With an Electric Die Grinder?
Can You Use a Carbide Burr With an Electric Die Grinder? Most people don’t realize how much a carbide burr can change the way an electric die grinder works. Using the right burr type can [...]
How to Deburr Holes With a Carbide Burr
How to Deburr Holes With a Carbide Burr Most people think any tool will do for deburring holes. The truth is, using the right carbide burr with the correct size and shape changes everything. In [...]