The Complete Guide to Removing Rough Welds and Sharp Metal Edges
Welding and metal fabrication often leave behind rough edges, excess weld material, sharp burrs, and uneven surfaces that need attention before a project is finished. Whether you’re building custom metal parts, repairing equipment, fabricating brackets, or working on automotive projects, having the right tools makes a difference.
A carbide burr for weld cleanup is a useful tool for removing excess material, smoothing selected weld areas, rounding sharp edges, and shaping metal in places that larger grinding tools cannot easily reach. When paired with a compatible die grinder and the right cutting technique, carbide burrs provide controlled material removal for a wide range of metalworking applications.
At CarbideBurr.net, we offer USA-made carbide burr tools designed for metalworkers who need practical cutting tools for fabrication, repair, and finishing work.

Do you need a longer reach for your die grinder tool bits?
1. Inspect the Weld and Identify What Needs to Be Removed
Before reaching for a grinder, take a close look at the weld and surrounding metal. Not every rough-looking weld needs to be ground down, and removing too much material can weaken a joint.
Look for areas that genuinely need cleanup, including:
- Sharp metal projections that could cause cuts during handling.
- Excess weld material that interferes with the fit of another component.
- Uneven edges that need to be blended into an adjoining surface.
- Localized high spots that prevent parts from fitting together properly.
- Rough metal around openings, corners, and other difficult-to-reach areas.
It is important to distinguish between cosmetic cleanup and structural weld preparation. If the weld is load-bearing, subject to inspection, or required to meet a welding specification, follow the applicable requirements before grinding. Never remove material simply to make a weld look smooth if doing so could compromise its strength.
2. Choose the Right Carbide Burr for Weld Cleanup
Choosing the correct burr shape helps you reach the area you need to work on without unnecessarily removing surrounding material.
Different profiles serve different purposes.
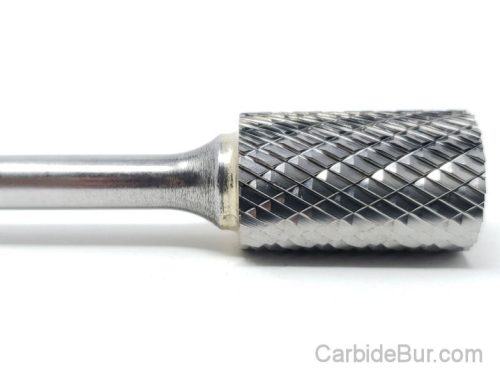
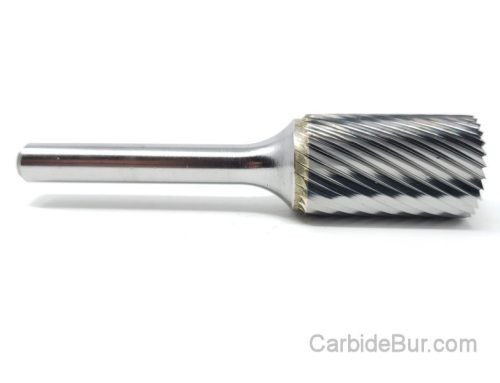
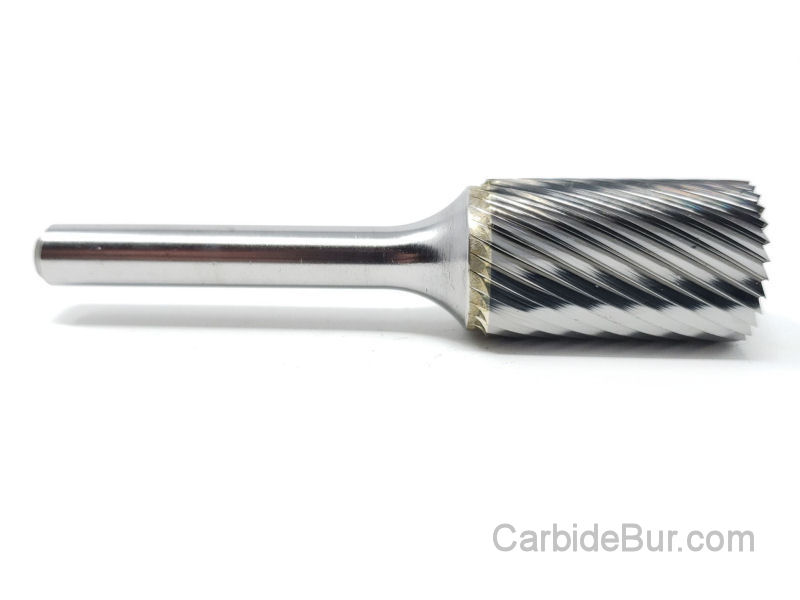
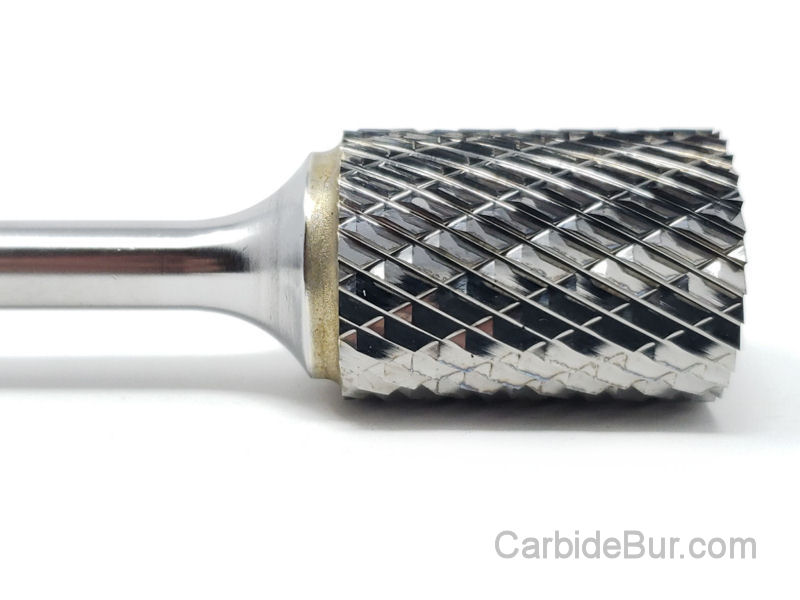
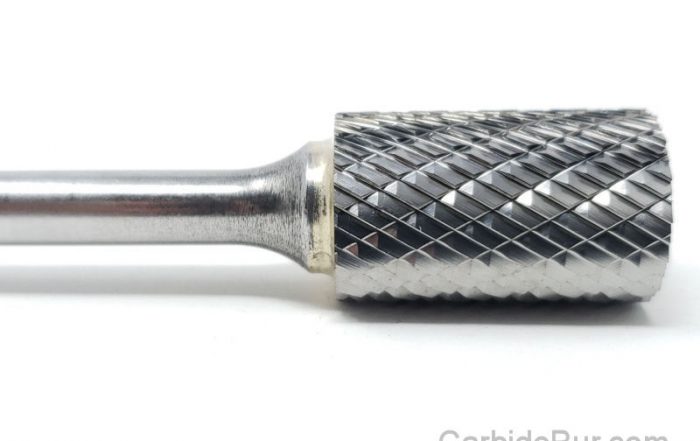
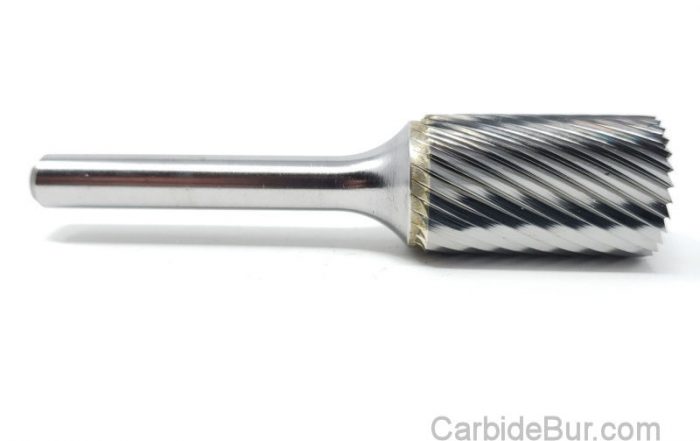
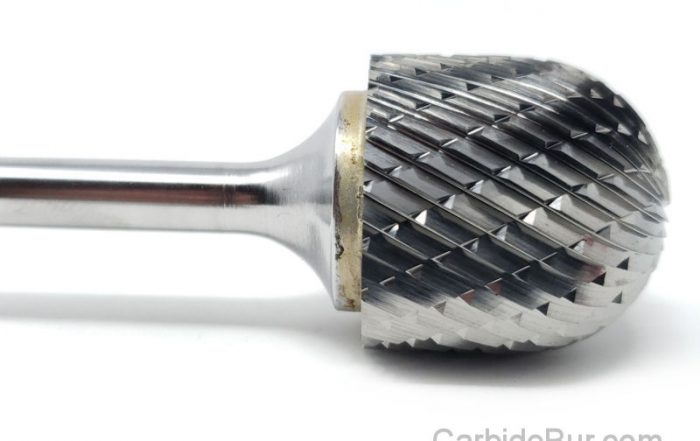
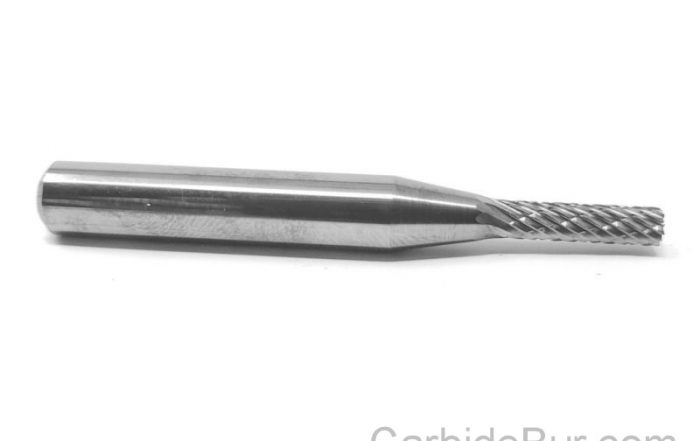
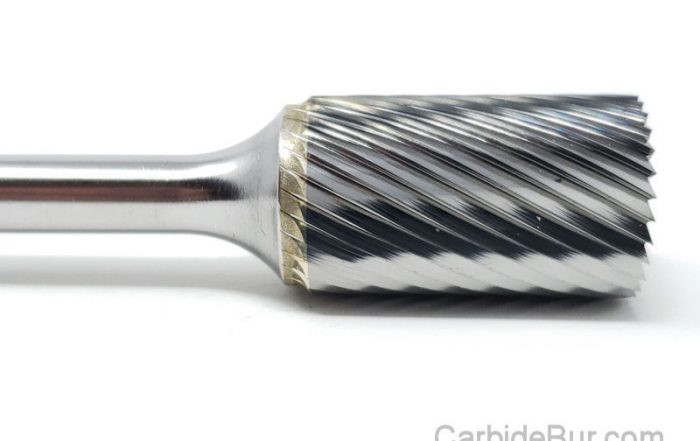
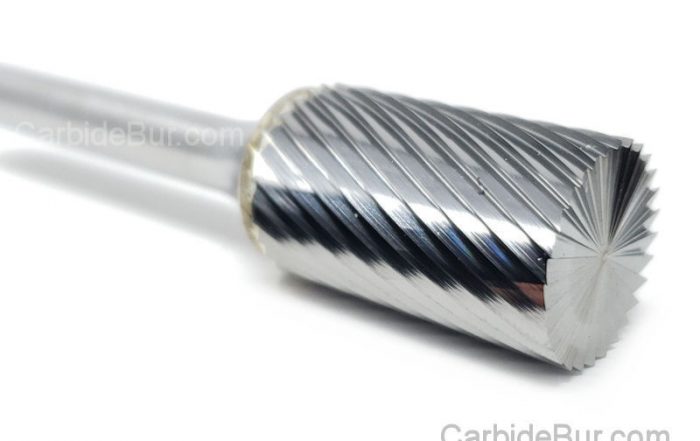
Cylindrical carbide burrs are useful for working on accessible surfaces, flattening selected high spots, and cleaning up certain edges.
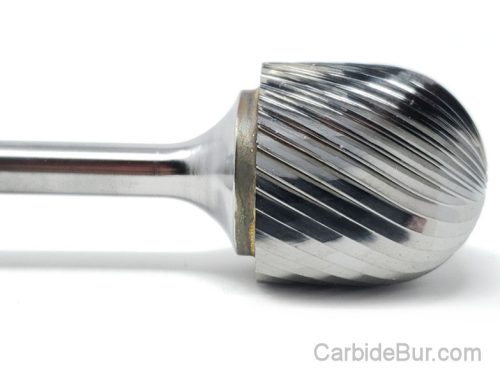
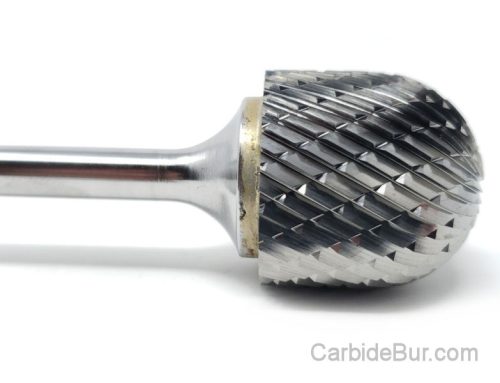
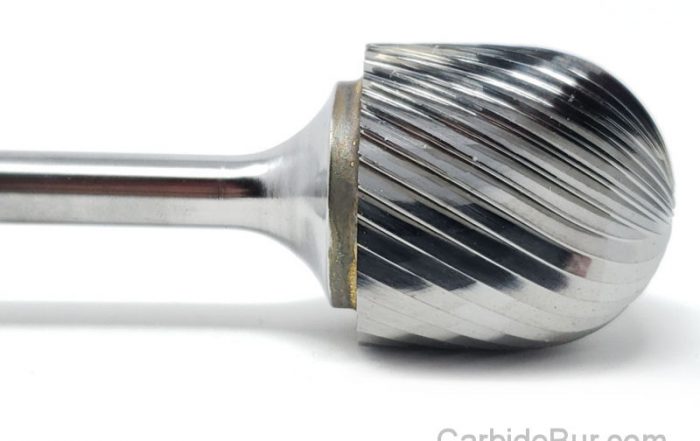
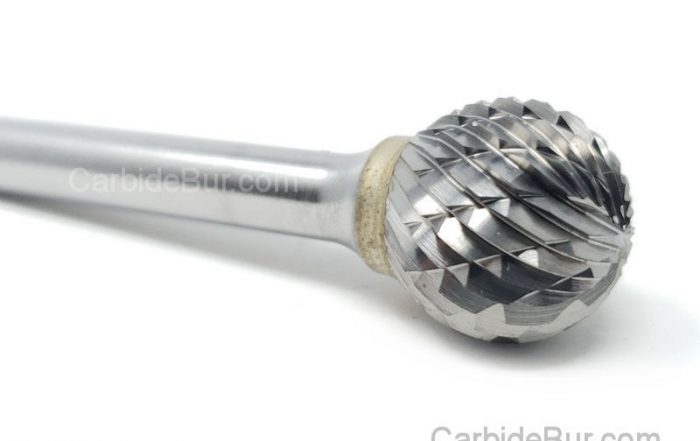
Ball-shaped carbide burrs can help with rounded contours, curved surfaces, and selected internal areas.
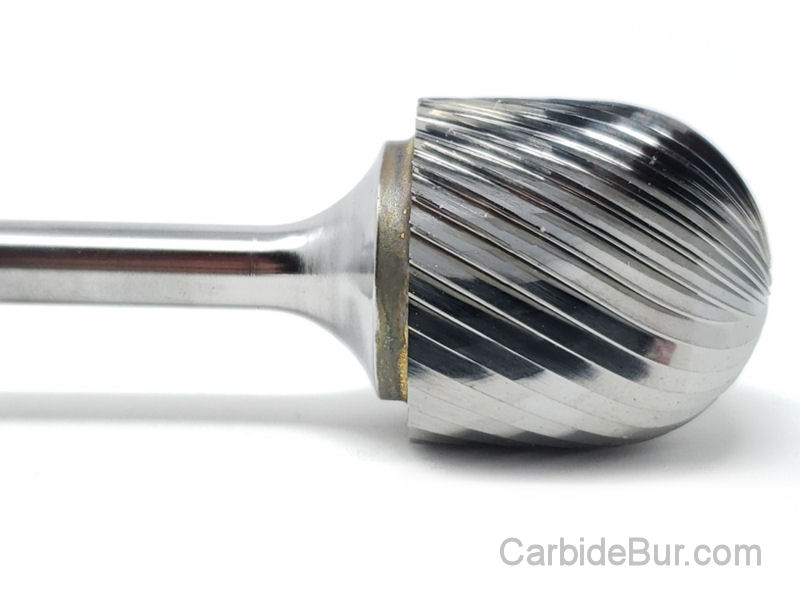
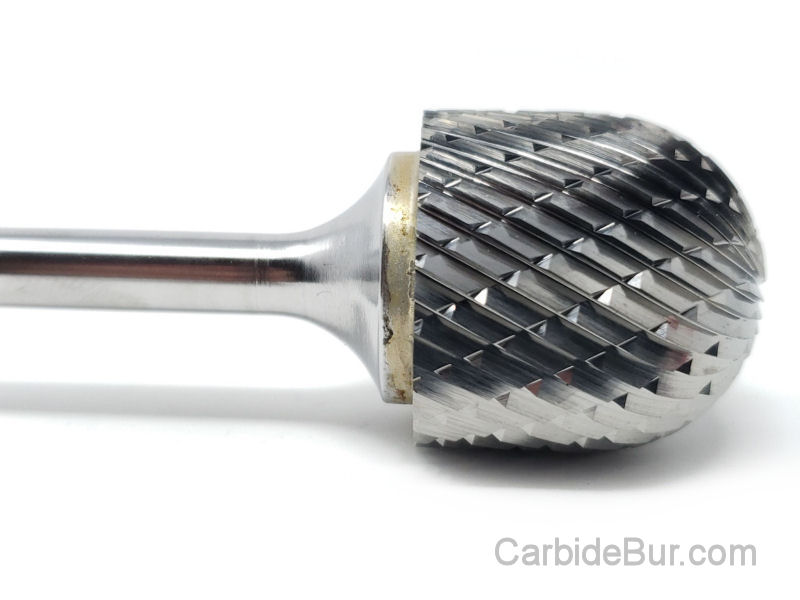
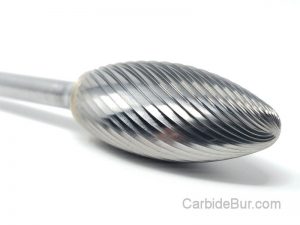
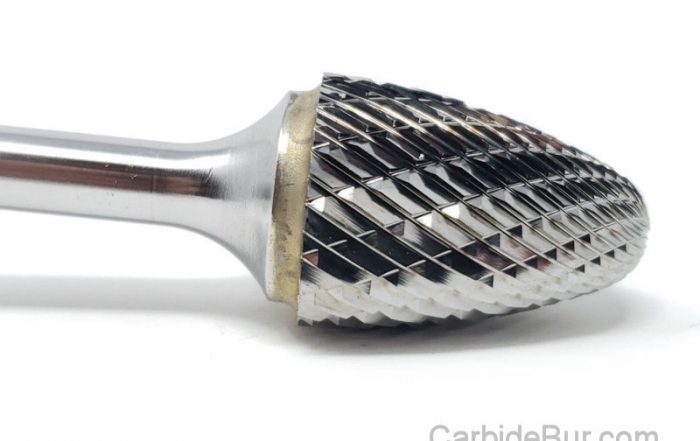
Oval-shaped burrs are useful for working around curved transitions and rounded recesses.
Tree-shaped carbide burrs can help reach corners, grooves, and areas where a straight cylindrical profile may not provide the desired access.
The best shape depends on the weld geometry, base metal, available working space, and amount of material that needs to be removed.
Explore our selection of USA-made carbide burr tools to find a profile suited to your metalworking application.
3. Secure the Workpiece Before Grinding
Proper workholding is essential for controlled grinding. A loose workpiece can shift unexpectedly, damage the part, or cause the burr to catch.
Before beginning:
- Secure the metal component in a suitable vise, fixture, or other stable workholding arrangement.
- Make sure the workpiece cannot rotate or slide under cutting pressure.
- Keep your hands away from the rotating burr and its potential contact path.
- Check that the burr is correctly installed and securely held in the grinder’s collet.
- Inspect the burr and grinder for damage before use.
Wear appropriate eye and face protection, along with any additional protective equipment required by your workplace. Metal chips can travel at high speed, and grinding may create hazardous dust or sparks. Remove flammable materials from the work area and follow the equipment manufacturer’s safety instructions.
Always use a burr rated for the operating speed of your grinder. Do not exceed the burr’s maximum permitted RPM.
4. Remove Excess Weld Material Gradually
Once the workpiece is secure and the correct burr is installed, begin by removing only the material that needs to come off.
Start with controlled contact rather than pressing hard into the weld. Let the cutting flutes do the work, and move the burr steadily across the intended area. Excessive pressure can create heat, damage the cutting edges, cause chatter, and remove more metal than intended.
For weld cleanup, a practical approach is to:
- Identify the specific high spots or projections that need attention.
- Begin with light passes over the target area.
- Keep the tool moving instead of dwelling in one spot.
- Stop periodically to inspect the surface and check the remaining weld profile.
- Repeat only where necessary until the desired fit or finish is achieved.
A carbide burr is a cutting tool, not simply an abrasive polishing accessory. Its flutes remove metal by cutting, so it can remove material aggressively when used incorrectly. Take your time, especially on thin metal, small brackets, and components with critical dimensions.
If you’re choosing tooling for broader metalworking tasks, our carbide burr selection is another place to explore available options.
5. Smooth Sharp Edges Without Over-Grinding
Sharp edges can make fabricated parts difficult to handle and may interfere with assembly. A carbide burr can help remove unwanted projections and break an edge where the application permits it.
Work along the edge using light, controlled passes. Keep the burr at a suitable angle and avoid cutting a deep groove into the adjoining surface.
The goal is to remove the sharpness or unwanted material—not automatically to create a large radius or grind the entire edge away. For precision parts, use the specified edge break or radius if one is required.
For thin sheet metal, delicate components, or edges that require a uniform finish, a hand file or suitable abrasive finishing tool may offer better control. The appropriate tool depends on the material thickness, required tolerance, and final finish.
6. Know When to Preserve the Weld Profile
One of the most important parts of weld cleanup is knowing when to stop.
A weld’s shape can be important to its strength and performance. Grinding away excessive reinforcement or cutting into the base metal can reduce the effective weld section and potentially compromise the joint.
Avoid removing material from the weld simply to achieve a perfectly flat appearance. Instead, follow the applicable weld design, drawing, inspection criteria, or qualified welding procedure.
If you discover cracks, significant porosity, undercut, incomplete fusion, or other possible weld defects, grinding the surface smooth does not necessarily correct the problem. Have the weld evaluated and repaired using an appropriate procedure when needed.
For many fabrication jobs, the best result is a clean, functional weld with sharp projections removed—not a weld that has been ground down unnecessarily.
7. Reach Difficult Areas with the Right Tooling
Some welds are located inside brackets, recessed assemblies, narrow openings, or other areas that are difficult to access with a conventional grinding wheel.
A suitably sized carbide burr can provide access to selected areas where larger grinding accessories cannot fit. The burr’s shape, shank length, and grinder compatibility all matter.
For additional reach, consider our 4-inch die grinder extensions or 9-inch die grinder extensions. Choose an extension specifically compatible with your grinder and burr setup, and follow the manufacturer’s speed and safety requirements. Longer setups can increase vibration and reduce control, so use them only where appropriate.
If you need to fit smaller rotary-tool accessories into a compatible die grinder setup, you can also explore our reducing collet adapter. Verify the shank diameter, collet compatibility, and operating-speed requirements before use.
8. Inspect the Finished Surface
After removing the excess material, stop the grinder and inspect the workpiece. Check that sharp projections are gone, the component fits as intended, and the weld profile remains within the applicable requirements.
Look for gouges, unintended flat spots, excessive material removal, and any signs of damage. If the component requires a particular surface finish or dimensional tolerance, verify those requirements using the appropriate inspection method.
Clean away metal chips using a suitable method and inspect the burr for wear or damage before storing it. Replace damaged tooling rather than continuing to use it.
Why Choose USA-Made Carbide Burr Tools?
The right carbide burr can make difficult metalworking tasks more manageable, especially when you need to remove localized excess material or work in confined spaces. Choosing the right profile and using proper technique are just as important as the tool itself.
At CarbideBurr.net, we offer USA-made carbide burr tools for welders, fabricators, machinists, automotive enthusiasts, and other metalworking professionals. Our selection includes tools for a range of shaping, cutting, and finishing applications, along with extended-reach accessories for compatible setups.
When choosing your next burr, consider the metal you’re working on, the amount of material to remove, the access you need, and the finish required.
Ready to improve your metalworking setup? Visit CarbideBurr.net to explore our carbide burr tools and find options for weld cleanup, metal fabrication, and precision finishing.
Looking for Carbide Bur Tools?
Check out our entire selection of USA made carbide bur die grinder tool bits
Follow us on Twitter

Return to CarbideBur.com
Carbide Burs – 1/4″ on 1/8″ Shanks – Accessories – Aluminum Cut – Bur Sets – End Mills – Long Shank – Solid Burs

The Complete Guide to Removing Rough Welds and Sharp Metal Edges
The Complete Guide to Removing Rough Welds and Sharp Metal Edges Welding and metal fabrication often leave behind rough edges, excess weld material, sharp burrs, and uneven surfaces that need attention before a project is [...]
Using Carbide Burrs on Cast Iron: Tips for Automotive and Industrial Work
Using Carbide Burrs on Cast Iron: Tips for Automotive and Industrial Work Cast iron is used in a wide range of automotive and industrial components because of its strength, wear resistance, and ability to withstand [...]
Carbide Burr Shapes Explained: Cylindrical, Ball, Oval, and Tree Burrs
Carbide Burr Shapes Explained: Cylindrical, Ball, Oval, and Tree Burrs Choosing the right carbide burr shape can make metalworking easier, improve control, and help you remove material where it is actually needed. Whether you are [...]
How to Get More Life from Your Carbide Burrs
How to Get More Life from Your Carbide Burrs Carbide burrs are valuable tools for welders, fabricators, machinists, automotive enthusiasts, and anyone who regularly works with metal. They can remove material, shape edges, clean up [...]
Are Expensive Carbide Burrs Worth It? Comparing Price and Performance
Are Expensive Carbide Burrs Worth It? Comparing Price and Performance When shopping for carbide burrs, it's easy to assume that the cheapest option saves money. But if you use rotary cutting tools regularly for welding, [...]
Carbide Burr vs. Grinding Stone: Which Is Better for Metal Removal?
Carbide Burr vs. Grinding Stone: Which Is Better for Metal Removal? When you need to remove metal, smooth a rough edge, or shape a metal component, two common options are carbide burrs and grinding stones. [...]
Carbide Burr Safety: RPM, Eye Protection, and Common Mistakes
Carbide Burr Safety: RPM, Eye Protection, and Common Mistakes Carbide burrs are versatile cutting tools used for metal fabrication, welding cleanup, engine porting, deburring, and general material removal. When used correctly, they can help remove [...]
How to Stop Aluminum from Clogging Your Carbide Burr
How to Stop Aluminum from Clogging Your Carbide Burr Aluminum is widely used in automotive work, welding, metal fabrication, aerospace components, and general machining. It is lightweight, relatively easy to machine, and versatile across many [...]
Carbide Burrs for Intake Manifolds: Shaping, Cleanup, and Fitment
Carbide Burrs for Intake Manifolds: Shaping, Cleanup, and Fitment Intake manifold work often involves more than simply bolting a component onto an engine. Depending on the application, metal intake components may have casting irregularities, rough [...]
Why Long-Shank Carbide Burrs Are Useful for Hard-to-Reach Areas
Why Long-Shank Carbide Burrs Are Useful for Hard-to-Reach Areas When working on metal parts, the area that needs grinding or shaping is not always easy to reach. Recessed openings, deep cavities, interior surfaces, and complicated [...]
Choosing Carbide Burrs for Stainless Steel Fabrication
Choosing Carbide Burrs for Stainless Steel Fabrication Stainless steel is widely used in fabrication because of its corrosion resistance, strength, and durability. However, those same properties can make it challenging to machine and finish. Removing [...]
Can You Use Carbide Burrs in a Dremel? Shank Sizes Explained
Can You Use Carbide Burrs in a Dremel? Shank Sizes Explained If you use a Dremel or another rotary tool for detail work, metal shaping, or small fabrication projects, you may wonder whether you can [...]