
Say Goodbye to Slag and Spatter: The Best Tools for Weld Cleanup
Welding leaves behind slag and spatter that can ruin the look and strength of your work. Cleaning these messes takes the right weld cleanup tools and solid weld cleaning techniques. In this post, you’ll find the best weld cleaning tools for every job and learn how to remove slag and spatter safely and thoroughly. Get ready to make your projects shine and hold up like a pro’s. Check out this guide for more tips.
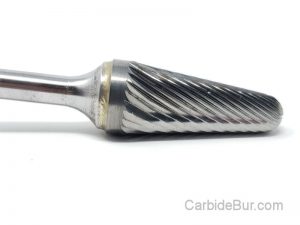
Have you tried using carbide burr tools for your job?
Essential Weld Cleanup Tools
Your welding project isn’t complete until you’ve cleaned up the slag and spatter. The right tools make all the difference, transforming your work into a polished masterpiece.
Wire Brushes for Slag Removal
Wire brushes are indispensable in removing slag. These brushes come in various shapes and sizes, ensuring you can tackle any weld bead. With each stroke, you’ll see the slag disappear, leaving a clean surface behind. Always use a brush with bristles suitable for the metal you’re working on to avoid damage.
When choosing a wire brush, consider the handle. A comfortable grip reduces fatigue, making your cleanup more efficient. For more information on choosing the right wire brushes, explore these options.
Grinders for Smooth Finishes
A grinder is essential for smoothing out welds. It levels out the surface, getting rid of any imperfections. Choose between angle grinders, which are versatile, and die grinders, which are great for detail work. Remember to select the right disc for the job: flapper discs for finishing or grinding discs for tougher jobs.
Grinding takes patience. Move slowly and evenly over the surface. This not only perfects the appearance but prevents overheating the metal. Consider investing in a good quality grinder to ensure durability and performance. Find quality grinders here.
Specialized Solutions for Spatter
Weld spatter can be stubborn, but specialized solutions can help. These sprays and gels prevent spatter from sticking, making cleanup easier. Apply them before you start welding, and you’ll save time later.
In addition to sprays, some DIY enthusiasts use basic household items like cooking spray as an affordable alternative. However, always ensure that whatever you use is safe for the material you’re working on. For recommended solutions, check this list.
Choosing the Right Tool
Selecting the right tool depends on the specific needs of your project. Consider factors like the material of the workpiece, the complexity of the weld, and your budget. Online forums and groups can be an excellent resource for advice from experienced welders. Join discussions here.
Techniques for Effective Cleaning
Now that you have the tools, let’s delve into the techniques that ensure a spotless finish. Perfecting these techniques can significantly impact the quality and durability of your welds.
Mastering the Wire Brush
Using a wire brush effectively is all about technique. Apply steady pressure and move in one direction to lift the slag efficiently. Avoid scrubbing back and forth, as this can mar the surface.
Consistency is key. Develop a rhythm that works for you, and stick to it. With practice, you’ll find that cleaning becomes second nature. Remember, patience leads to perfection.

Grinding Techniques for Professionals
Grinding isn’t just about removing excess material; it’s about creating a flawless finish. Start with a coarse disc for heavy removal, then switch to a finer one for a smooth polish.
Keep the grinder moving to avoid creating divots. Overlap your passes to ensure even coverage. This might take some practice, but the results are worth it. Your work will look professional and ready for any inspection.
Applying Cleaning Solutions Safely
When using cleaning solutions, safety is paramount. Always follow the manufacturer’s instructions and wear appropriate protective gear. Some solutions can be harsh on skin or emit fumes, so proper ventilation is crucial.
Test the solution on a small area first to ensure it doesn’t damage the material. With the right precautions, these solutions can make your cleanup process faster and easier.
Safety Measures in Weld Cleanup
Safety is a priority during weld cleanup. Proper precautions protect you from injuries and ensure a smooth workflow. Let’s cover the essentials.
Protective Gear Essentials
Always gear up before beginning your cleanup. Safety glasses protect your eyes from flying debris, while gloves shield your hands from sharp edges and chemicals. A dust mask or respirator is also advisable, especially when grinding, to avoid inhaling harmful particles.
Having the right gear not only keeps you safe but also makes the process more comfortable and efficient. Never skip this step.
Safe Handling Techniques
Proper handling techniques reduce the risk of accidents. Maintain a clean workspace to prevent trips and falls. Secure your workpiece before starting to avoid unexpected movements.
Use tools according to their guidelines, and never rush through the process. Taking your time reduces mistakes and ensures a safer environment.
Preventing Common Injuries
Common injuries during cleanup include cuts, eye injuries, and burns. Stay vigilant and maintain focus on your task. If you’re tired, take a break rather than pushing through, as fatigue can lead to accidents.
Training and practice improve safety. The more familiar you are with your tools and techniques, the safer and more confident you’ll feel.
Achieving Professional Results
With the right tools and techniques, your welds can reach a professional level. Let’s explore how to add those final touches and maintain your tools for optimal results.
Final Touches for Perfection
After cleaning, inspect your workpiece for any remaining imperfections. Use fine sandpaper for any minor touch-ups. This attention to detail can elevate your project from good to outstanding.
Stand back and view the work from different angles. Often, a fresh perspective reveals areas that may need extra work.
Ensuring Optimal Functionality
A spotless finish isn’t just about aesthetics; it’s about functionality too. Clean welds mean stronger, more reliable joints. This is especially critical in structural applications where integrity is key.
Regularly inspect your welds, even after the project is complete. This proactive approach ensures long-term performance and safety.
Maintaining Your Cleanup Tools
Proper maintenance of your tools extends their lifespan and keeps them functioning at their best. Clean them after each use to remove any debris and store them in a dry, safe place.
Regular checks for wear and tear prevent unexpected failures. Investing time in maintenance saves money and ensures you’re always ready for the next project.
By mastering these tools and techniques, you’ll achieve welds that not only look professional but perform optimally. Keep practicing, stay safe, and watch your skills evolve.
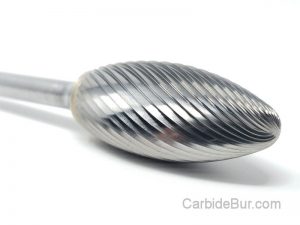
Looking for Carbide Bur Tools?
Check out our entire selection of USA made carbide bur die grinder tool bits
Follow us on Twitter

Return to CarbideBur.com
Carbide Burs – 1/4″ on 1/8″ Shanks – Accessories – Aluminum Cut – Bur Sets – End Mills – Long Shank – Solid Burs
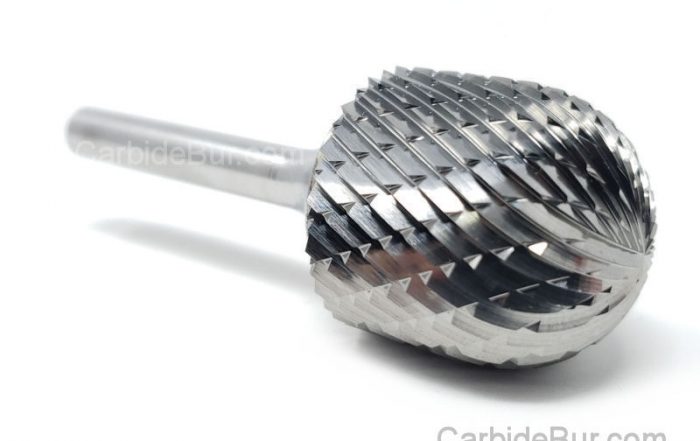
How to Use a Carbide Burr With a Die Grinder
How to Use a Carbide Burr With a Die Grinder Most people treat a carbide burr like just another tool, but using it with a die grinder takes skill. If you’ve struggled with burr installation [...]
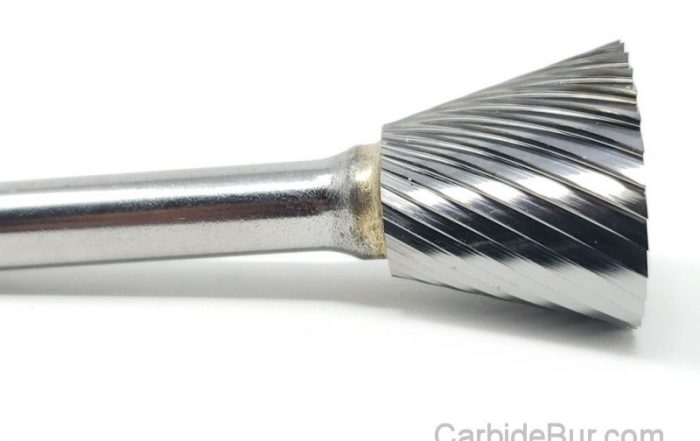
1/8 vs 1/4 Inch Carbide Burrs: What’s the Difference?
1/8 vs 1/4 Inch Carbide Burrs: What's the Difference? Choosing between a 1/8 inch carbide burr and a 1/4 inch carbide burr can change how your project turns out. Many machinists and hobbyists overlook how [...]
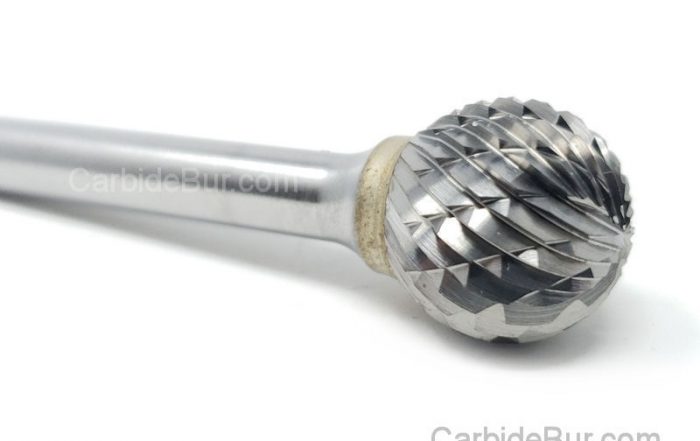
Best Carbide Burr for Removing Flash From Castings
Best Carbide Burr for Removing Flash From Castings Removing flash from castings is a task that can slow down your entire metalworking process if you don’t have the right tools. Picking the best carbide burr [...]
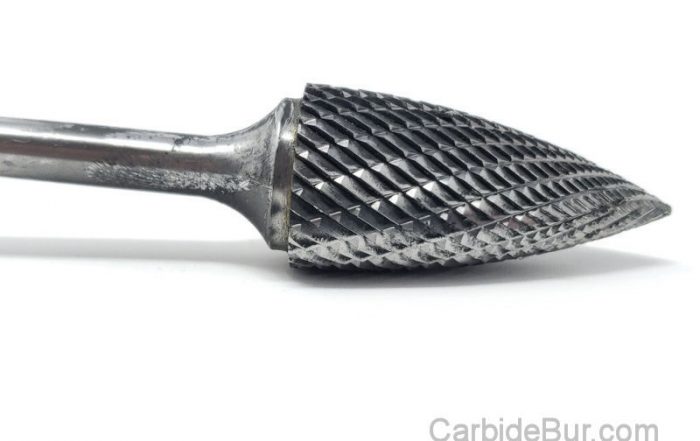
What RPM Should You Use for a 1/4 Inch Carbide Burr?
What RPM Should You Use for a 1/4 Inch Carbide Burr? Most machinists guess the right speed for a 1/4 inch carbide burr and hope for the best. Using the wrong carbide burr RPM can [...]
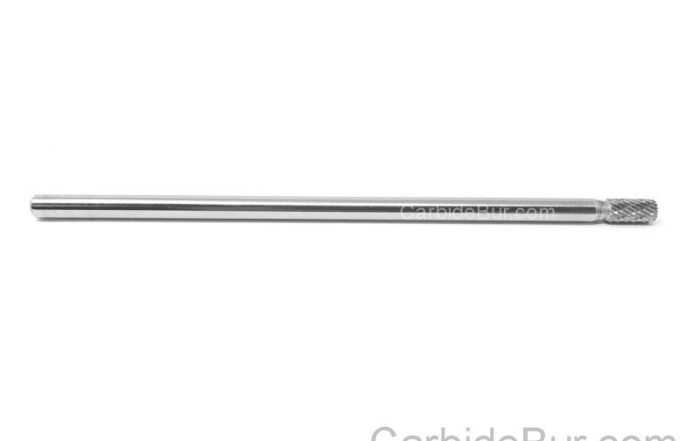
Long Shank Carbide Burrs: When Do You Need One?
Long Shank Carbide Burrs: When Do You Need One? Most machinists overlook the power of long shank carbide burrs until a project demands precision in tight spaces. When your usual tools can’t reach intricate contours, [...]
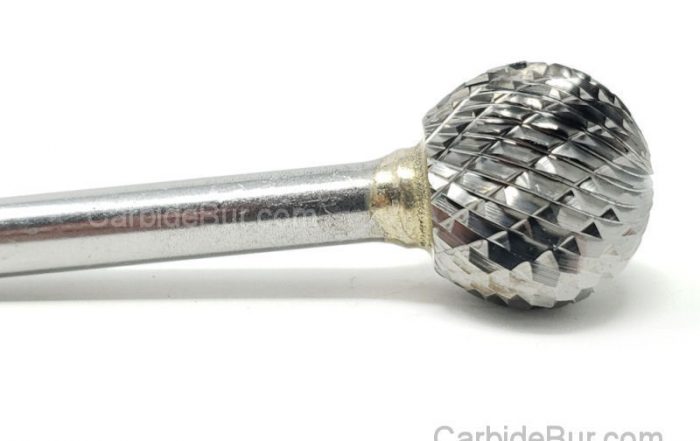
How Deep Can a Carbide Burr Cut Metal?
How Deep Can a Carbide Burr Cut Metal? Carbide burrs often get praised for their precision, but many users hit a wall wondering how deep they can actually cut metal. The truth is, cutting depth [...]
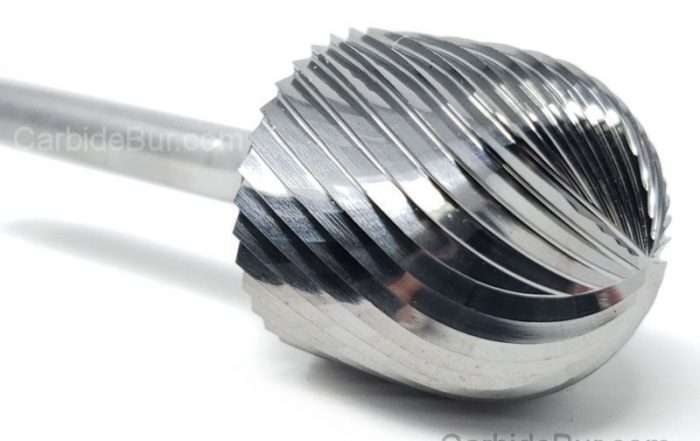
How to Use Carbide Burrs for Port Matching
How to Use Carbide Burrs for Port Matching Most engine builds hit a wall when airflow doesn’t flow smoothly between the ports and manifolds. If your engine isn’t breathing right, your performance stalls. Using the [...]
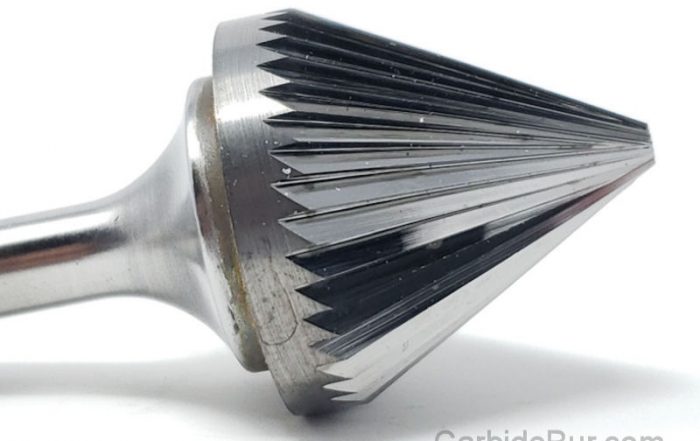
Best Carbide Burr for Porting Intake Manifolds
Best Carbide Burr for Porting Intake Manifolds Porting intake manifolds can make or break your engine’s airflow, yet many struggle with the right tools for the job. Choosing the best carbide burrs is key to [...]
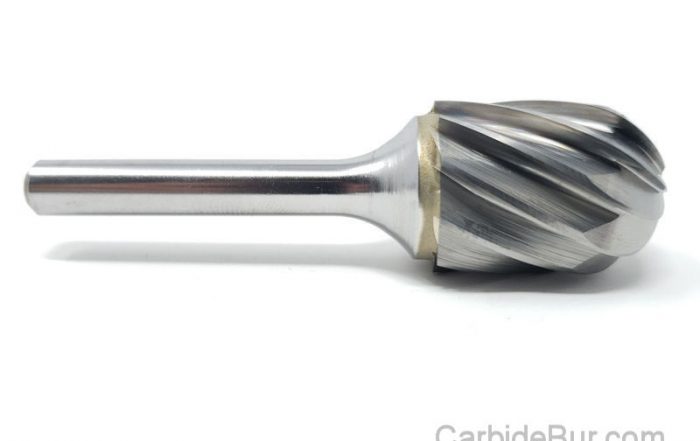
Best Carbide Burr for Concave Surfaces
Best Carbide Burr for Concave Surfaces Concave surfaces can turn a straightforward project into a frustrating challenge if you don’t have the right tool. Carbide burrs designed for these tricky curves make all the difference [...]
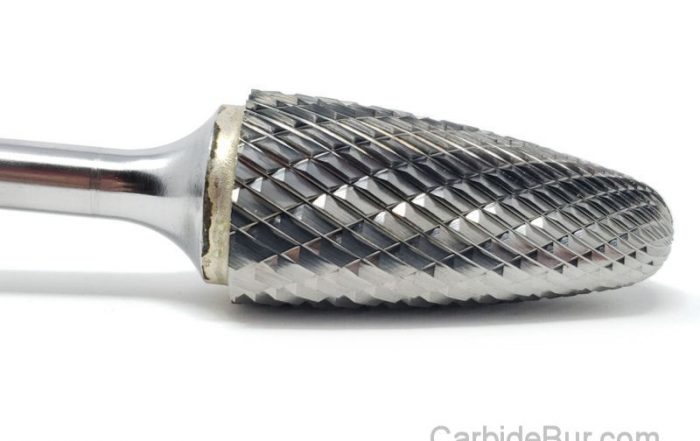
How to Grind a Slot in Metal With a Carbide Burr
How to Grind a Slot in Metal With a Carbide Burr Grinding a precise slot in metal can feel like a tricky task, especially if you’re unsure which tools to trust. Carbide burr grinding offers [...]

Best Carbide Burr for Inside Corners
Best Carbide Burr for Inside Corners Working in tight inside corners can turn even simple projects into frustrating tasks. Many carbide burrs just don’t fit or cut cleanly where you need them most. The best [...]
What Size Carbide Burr Do I Need?
What Size Carbide Burr Do I Need? Picking the wrong carbide burr can turn a simple project into a frustrating mess. You might have the best machining tools but still miss the mark if your [...]
