
How To Achieve Smooth Cylinder Head Finishes With Carbide Bur Techniques
You will discover effective methods to achieve smooth finishes on your cylinder heads using carbide bur techniques. In this guide, we will walk you through the necessary steps and best practices to ensure that your cylinder head modifications not only enhance performance but also maintain precision. By employing the right techniques and understanding the tools at your disposal, you can elevate your engine work and ensure optimal results. Let’s investigate the techniques that will transform your cylinder heads into high-performance components.
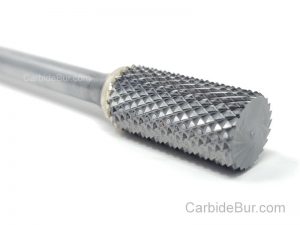
Find more carbide bur die grinder tool bits here
Choosing the Right Carbide Bur for Cylinder Head Finishing
Shapes and Sizes of Carbide Burs
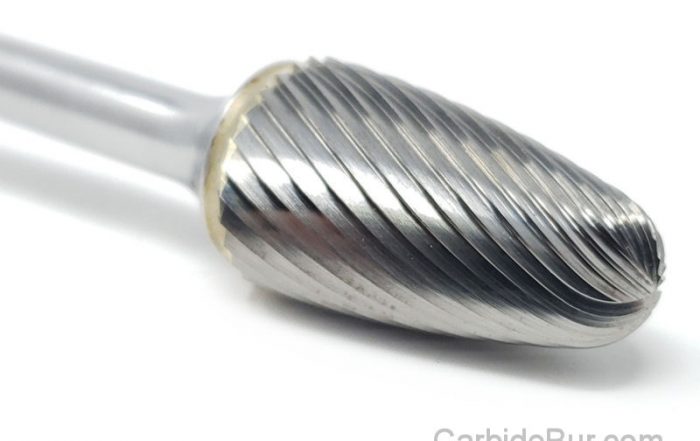
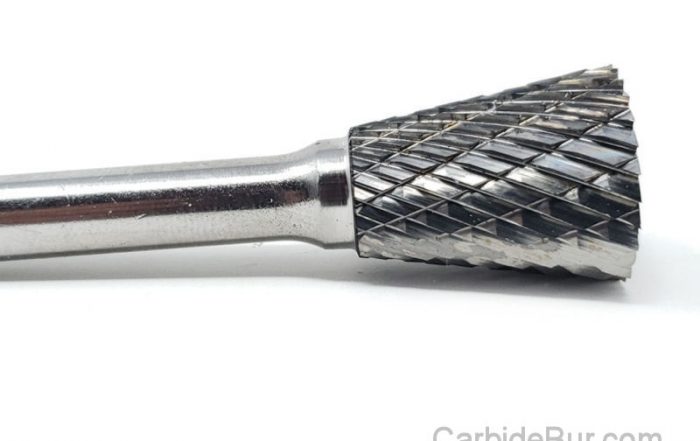
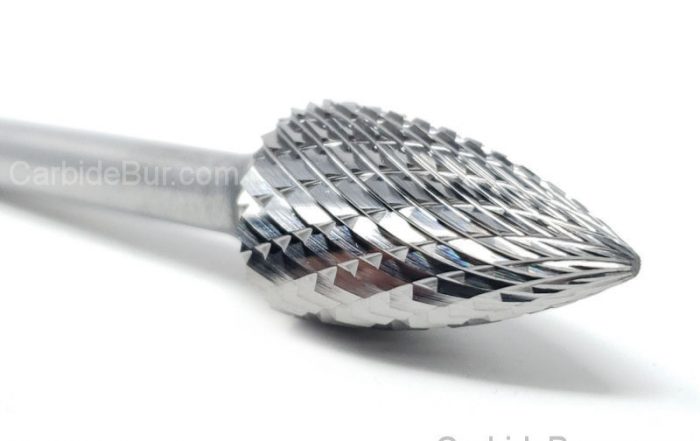
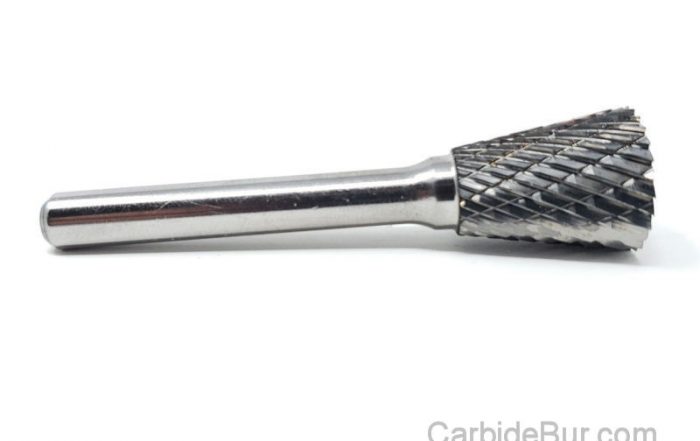
Selecting the right shape and size of carbide bur for finishing cylinder heads has a direct impact on both finish quality and efficiency. In your toolkit, you’ll find a variety of shapes like ball, cylinder, flame, and oval, each designed for specific tasks. For instance, ball burs excel in creating concave areas and producing smooth finishes in rounded corners, while cylindrical burs are ideal for flat surface work. Flame-shaped burs are particularly useful for blending and smoothing out edges, while oval burs can navigate tight spaces with ease.
Material Compatibility and Performance
Material compatibility is a key factor in your choice of carbide bur, as different materials respond uniquely to tooling. Most cylinder heads are constructed from either aluminum or cast iron, each presenting its own challenges. Aluminum heads tend to clog burs more quickly due to their soft nature, so opting for carbide burs with a finer fluting or sharper cutting edges can enhance performance and longevity. For cast iron heads, the bur’s durability is paramount, as the material is much harder and requires a grind that can withstand significant wear and tear. The carbide bur selection should reflect the specific characteristics of the material being worked on to ensure that you achieve that smooth finish effectively.
Moreover, the quality of the burr’s carbide coating is important in determining wear resistance. Some burs are designed with advanced coating features that not only improve cutting efficiency but also reduce friction, allowing you to work at higher speeds without overheating. Investing in high-performance burs tailored for either aluminum or cast iron can lead to noticeable improvements in both quality and speed of your finishing process.
Mastering the Techniques for Optimal Finishing
Hand-Held vs. Machine-Based Techniques
Choosing between hand-held tools and machine-based solutions greatly influences your finishing results. Hand-held techniques offer a higher degree of control, allowing you to feel the feedback from the cylinder head as you work. This tactile feedback enables you to immediately adjust pressure or angle, which is particularly advantageous when navigating intricate or tight spaces. Conversely, machine-based techniques often provide a more uniform finish with consistent results over larger areas. The challenge lies in achieving the right balance—using a hand-held tool for detailed work and switching to a machine for broader surfaces can yield the best of both worlds.
Your decision may also depend on the specific material of the cylinder head. For instance, harder materials might benefit from the consistent rotation of a CNC machine, while softer alloys can be managed well with a hand-held bur for more precision. Consider the scope of your project; if you’re working on multiple heads, a machine might save time while maintaining quality. However, for custom modifications, relying on hand-held techniques can elevate your craftsmanship.
Find more carbide bur die grinder tool bits here
Speed, Pressure, and Movement Patterns
Understanding how speed, pressure, and movement patterns interact will take your finishing techniques to an advanced level. Too high of a speed can lead to heat buildup, which negatively affects not only the bur but the surface you’re working on. Ideally, you should target a moderate speed that allows the bur to cut efficiently without generating excess heat. Applying the right amount of pressure feels somewhat intuitive, as each burr and surface requires different handling. For instance, when working on aluminum, moderate pressure can quickly remove material, while on harder materials, you need to ease off slightly to prevent wearing down the bur prematurely.
Your movement patterns should focus on smooth, consistent strokes that follow the contours of the cylinder head. Avoid abrupt changes in direction or speed, which can create uneven surfaces. Instead, practice maintaining a steady hand while varying your movements based on the shape of the area you are working on; for radii and curves, sweeping motions tend to be more effective. Building this muscle memory will allow you to achieve a professional finish with less effort over time.
Avoiding Common Pitfalls During Finishing
Identifying and Overcoming Surface Imperfections
During the finishing process, surface imperfections can emerge, affecting both performance and aesthetics. Pitting, scratches, and improper tool usage may all lead to an uneven finish. Regularly inspecting your work as you go is invaluable; utilize a magnifying glass or direct lighting to identify flaws before they become larger issues. Adjusting your technique in real-time enables you to maintain greater control over the final outcome. Should you encounter imperfections, address them immediately by switching to a finer burr or utilizing polishing compounds specifically designed for metals.
Techniques to Prevent Tool Damage
Tool damage can significantly hamper your ability to achieve a smooth finish. Proper maintenance of your carbide burrs is necessary for longevity and performance efficiency. Avoid excess pressure during use, as this can lead to premature wear or breakage. Utilizing the correct RPM for your specific tool and material combination will help preserve the integrity of both the burr and the workpiece. If you notice the tool starting to load up with material, take a moment to clean it or adjust your feeding technique.
Adjusting your feed rate is one of the most effective methods to prevent tool damage. A slower feed rate allows the carbide to cut instead of drag, minimizing undue stress on the tool. Additionally, keeping your burr cool through intermittent periods of rest can mitigate thermal damage. Ensure you’re using quality carbide tools that are suited specifically to the material you’re working with. Investing in high-quality tools not only improves performance but also reduces the likelihood of experiencing tool failure while you work on achieving that perfect finish.
Post-Finishing Procedures for Superior Results
Cleaning and Inspecting Finished Surfaces
Your finishing work isn’t complete until you take the time to clean and inspect the surfaces. After achieving that smooth finish with carbide burrs, dust and debris can linger, preventing a proper assessment of the quality you’ve attained. Use a dedicated parts cleaner or a mild solvent to wipe down the cylinder head, ensuring all residue is removed. This step not only guarantees a pristine surface but also allows you to closely examine each area for any remaining imperfections or inconsistencies that may require touch-ups.
Utilizing Coatings for Enhanced Performance
The Art of Tuning Your Process for Consistency
Establishing a Repeatable Workflow
Your finishing process should mimic a well-oiled machine, where each step flows seamlessly into the next. Start by creating a standardized checklist that outlines the specific series of actions you undertake during cylinder head finishing. This checklist can include everything from the preparation of the workspace and tools to the selection of appropriate carbide burs based on the unique head geometry you are working with. Ensuring that you always follow these steps in the same order eliminates variability that can lead to inconsistencies in your results.
<pFurthermore, consider documenting techniques such as the ideal angles for your burs and the specific RPM settings on your tools. By taking detailed notes and keeping a journal of your processes, you train yourself to stay consistent over time. You might even employ a set time limit per operation if you’re dealing with multiple cylinder heads in one session. This allows you to maintain a rhythmic pace that enhances focus, leading to more uniform finishes.
Troubleshooting Inconsistencies
Even with a well-laid plan, inconsistencies can still arise during finishing. This is where your observational skills become critical. Pay attention to changes in tooling performance, surface textures, and the overall time it takes to achieve desired results. If you notice a variation, first consider the most obvious factors: Are your carbide burs worn out? Is your equipment calibrated correctly? Regular checks on tool conditions can prevent unwanted surprises and maintain quality.
If you identify an inconsistency, take a step back and assess the situation holistically. Are there fluctuations in your work environment such as lighting, humidity, or temperature that could affect your finishing? Sudden environmental changes can impact your process without you even realizing it. Establish a controlled working environment whenever possible, and make adjustments to your workflow based on these observations.
To wrap up
Hence, achieving smooth cylinder head finishes with carbide bur techniques requires a thoughtful approach to both the selection of tools and the execution of your techniques. By understanding the characteristics of your carbide burs and leveraging their unique designs, you can effectively manage material removal while maintaining precision. Pay close attention to the speed and pressure applied during the process, as these elements significantly influence the final finish. Additionally, investing time in practice will enhance your skill, leading to an improved outcome in your engine work.
Ultimately, your goal is to produce a surface that not only enhances performance but also prepares your cylinder head for subsequent processes such as polishing or coating. By integrating these techniques into your workflow, you will not only elevate the quality of your engine work but also gain a deeper understanding of the relationship between tool choice and surface finish. As you refine your methods, you’ll find that a consistent practice will yield impressive results in achieving that smooth finish you desire.
Find more carbide bur die grinder tool bits here

Can You Use a Carbide Burr With an Electric Die Grinder?
Can You Use a Carbide Burr With an Electric Die Grinder? Most people don’t realize how much a carbide burr can change the way an electric die grinder works. Using the right burr type can [...]
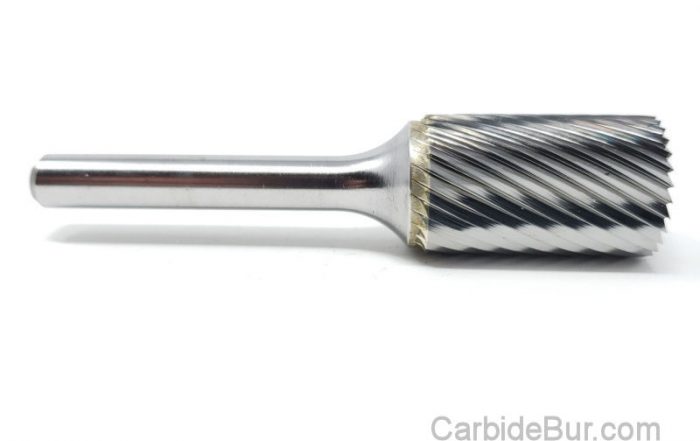
How to Deburr Holes With a Carbide Burr
How to Deburr Holes With a Carbide Burr Most people think any tool will do for deburring holes. The truth is, using the right carbide burr with the correct size and shape changes everything. In [...]
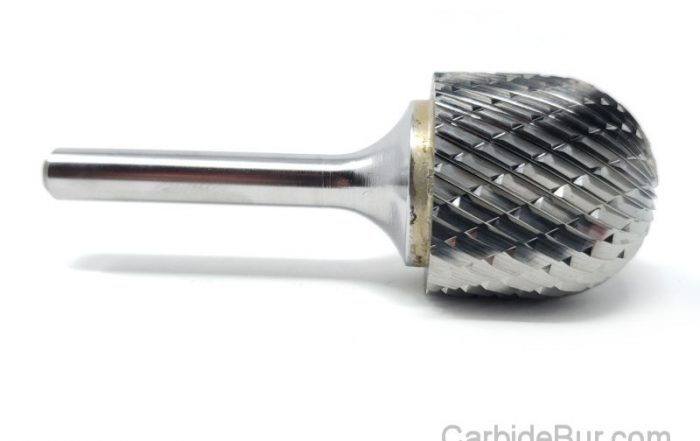
How to Choose the Correct Carbide Burr Shank Size
How to Choose the Correct Carbide Burr Shank Size Many machinists lose hours troubleshooting tool issues caused by the wrong carbide burr shank size. Using a shank that doesn’t fit your grinder can lead to [...]
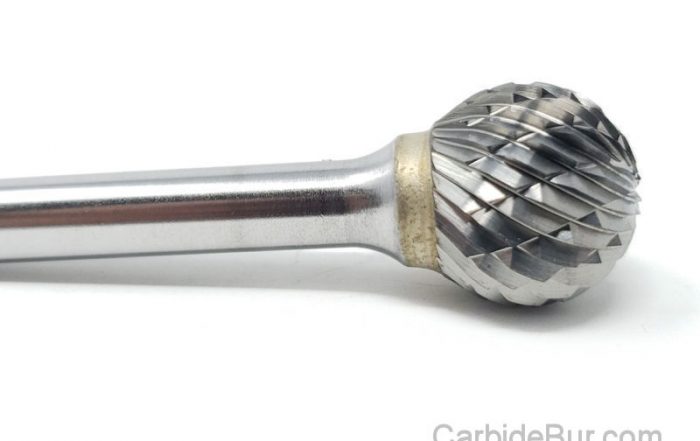
How to Remove Casting Flash With a Carbide Burr
How to Remove Casting Flash With a Carbide Burr Casting flash ruins the look and fit of your metal parts. You’ve tried sanding or grinding, but the results aren’t clean or fast enough. Learning how [...]
Best Carbide Burr for Enlarging a Hole in Metal
Best Carbide Burr for Enlarging a Hole in Metal When you need to enlarge a hole in metal, grabbing the wrong carbide burr can turn a simple task into a frustrating mess. Picking the best [...]
Carbide Burr Safety: 15 Mistakes That Can Cause Injury or Damage
Carbide Burr Safety: 15 Mistakes That Can Cause Injury or Damage Carbide burr safety is often overlooked until a costly mistake happens. Many metalworkers and DIYers make the same errors that lead to injuries or [...]
Can You Use a Carbide Burr in a Drill?
Can You Use a Carbide Burr in a Drill? Most people think a standard drill can’t handle a carbide burr, but that’s not true. Using carbide burr in the right drill can speed up your [...]
Carbide Burrs for Removing Rust: What Works Best?
Carbide Burrs for Removing Rust: What Works Best? Rust can turn your favorite tools into useless junk faster than you expect. Removing it without ruining the metal underneath takes more than just elbow grease—it demands [...]
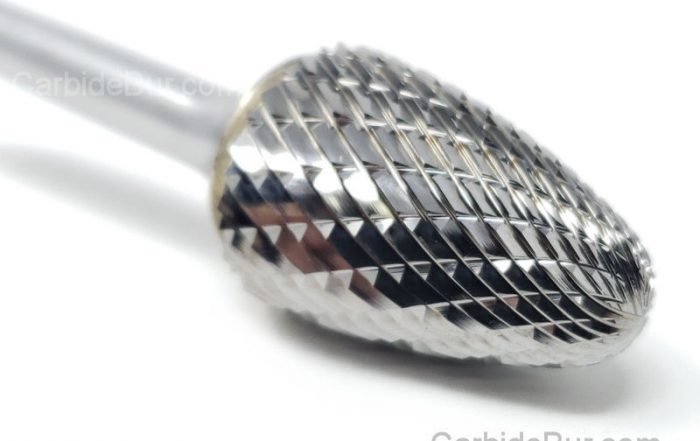
How Much Pressure Should You Use With a Carbide Burr?
How Much Pressure Should You Use With a Carbide Burr? Most people think pressing harder with a carbide burr speeds up the job. That’s not true—too much pressure wears out your tool and ruins the [...]
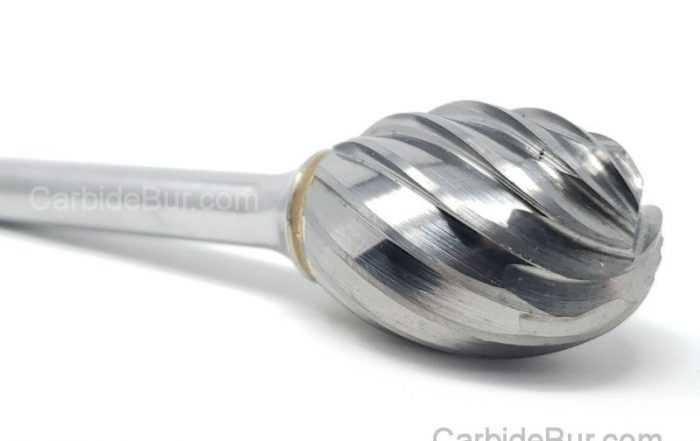
Can You Use Carbide Burrs With an Air Die Grinder?
Can You Use Carbide Burrs With an Air Die Grinder? Most people don’t realize how well carbide burrs work with air die grinders until they try them. If you’ve ever struggled with finding the right [...]
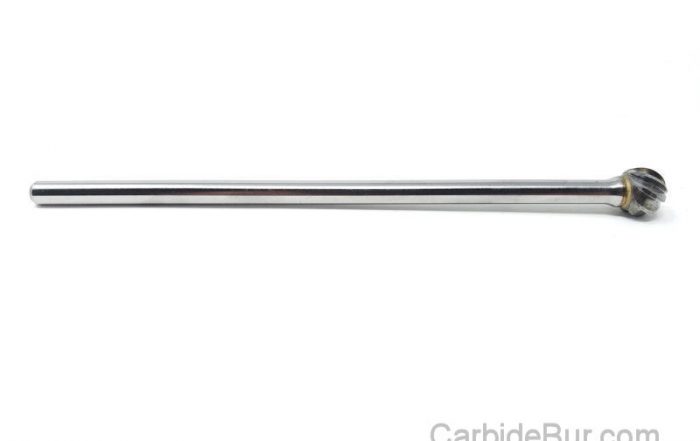
Best Long Reach Carbide Burr for Deep Metal Work
Best Long Reach Carbide Burr for Deep Metal Work Long reach carbide burrs often promise deep metal access, but many fall short where it counts most. You need a tool that cuts cleanly, lasts through [...]
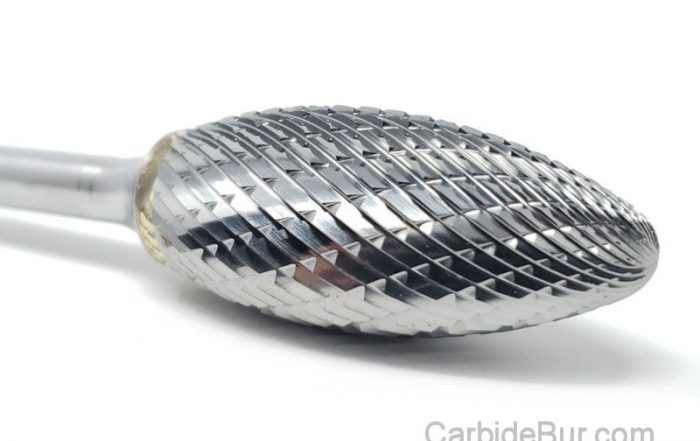
What RPM Should You Use for a 1/8 Inch Carbide Burr?
What RPM Should You Use for a 1/8 Inch Carbide Burr? Most people guess the right carbide burr RPM by feel—and waste hours redoing work. If you want cleaner cuts and longer tool life, your [...]
