
A Deep Dive into Dremel Grout Removal Bits for Effective Home Improvement
Home improvement projects often come with their fair share of challenges, especially when it comes to tackling stubborn grout. Enter Dremel grout removal bits, a game-changer for DIY enthusiasts and professional contractors alike. These specialized grout removal tools are designed to make the tedious task of grout removal not only manageable but also efficient. Whether you’re a seasoned pro or a weekend warrior, understanding the variety of Dremel bits available can significantly impact your project’s success. In this post, we’ll delve into the best Dremel bits for grout removal, share DIY grout removal tips, and guide you through selecting the right tools for your specific needs.
Understanding Dremel Grout Removal Bits
Grout removal is a critical step in many tile renovation projects. Dremel grout removal bits are designed to speed up the process and improve results. Understanding the different types of bits and their specific uses is essential for achieving a professional finish.
Types of Dremel Bits
Dremel bits come in various shapes and sizes, each serving a unique purpose. Rotary bits are among the most popular, known for their precision and ease of use. Carbide bits are another category, recognized for their durability and ability to handle tough grout.
-
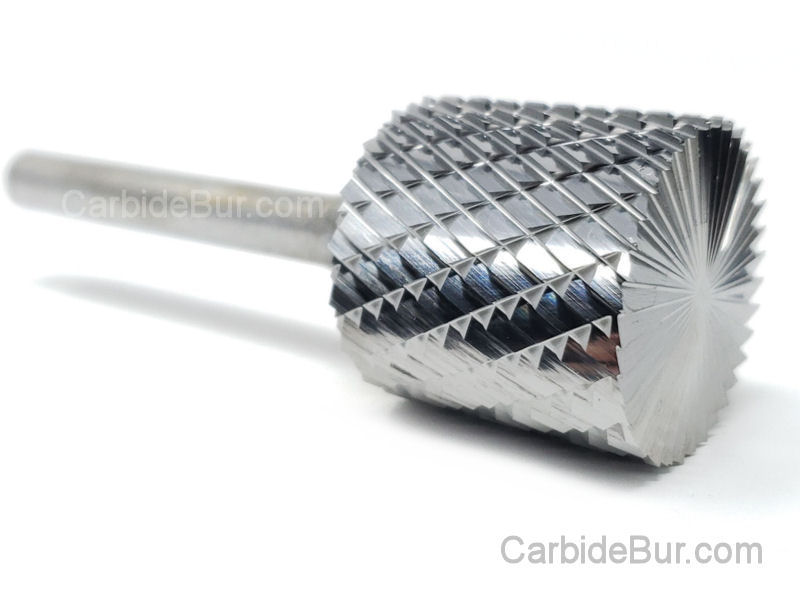
Carbide Grout Removal Bits: These bits, such as Dremel’s 569 model, are perfect for tackling hard grout due to their robust construction.
-
Diamond Bits: Known for their superior cutting power, diamond bits are ideal for detailed work.
-
Silicon Carbide Grinding Stones: Useful for smoothing out surfaces after grout removal.
Choosing the right type of bit depends on the project requirements and the grout’s hardness.
Best Dremel Bits for Projects
Selecting the best Dremel bits for a project requires understanding the task at hand. For large-scale grout removal, carbide bits are recommended due to their strength and longevity. On the other hand, precision tasks may benefit from using diamond bits, which offer fine control.
-
Dremel Wall & Floor Grout Removal Kit: This comprehensive kit, available here, includes various bits ideal for different grout types.
-
Consider the bit’s size: Larger bits cover more area but may lack precision, whereas smaller bits provide detailed control.
Understanding project scope helps in selecting the most effective bits, enhancing efficiency and reducing wear on the tool.
Comparing Dremel and Other Tools
When comparing Dremel tools to other grout removal options, several factors come into play. Dremel tools are known for their versatility and user-friendliness, making them a favorite among DIY enthusiasts. By contrast, manual tools require more physical effort and time.
|
Feature |
Dremel Tools |
Manual Tools |
|---|---|---|
|
Precision |
High |
Moderate |
|
Ease of Use |
High |
Low |
|
Time Efficiency |
High |
Low |
Example: A homeowner using a Dremel tool reported completing a bathroom renovation in half the time compared to previous manual efforts, highlighting the tool’s efficiency and ease of use.
Selecting the Right Bit for Your Project
Choosing the right Dremel bit is crucial for project success. Consider your specific needs, such as grout type and tile materials, to ensure optimal performance. This section will guide you through assessing and selecting the best bits for your project.
Assessing Your Grout Removal Needs
Before selecting a bit, assess the grout’s condition. Determine the grout type, as some are more challenging to remove than others. Consider if the grout is cracked or old, which might require tougher bits.
-
Hard Grout: Requires carbide bits for effective removal.
-
Soft Grout: May be handled with less durable bits, such as silicon carbide stones.
Understanding these factors helps in choosing the right bit, ensuring efficient and smooth grout removal.
Tips for Choosing the Best Dremel Bits
Selecting the best Dremel bit involves more than just looking at the bit’s size. Here are some tips to guide you:
-
Research bit materials: Different materials like carbide and diamond offer varying levels of durability and precision.
-
Check compatibility: Ensure your chosen bit fits your Dremel tool model.
-
Review user feedback: Insights from platforms like carbideburr.net can offer valuable tips.
These considerations help in selecting bits that align with your project’s needs, providing both efficiency and value.
Matching Bits to Tile Materials
Different tile materials require different approaches. Ceramic tiles, for instance, are more fragile than stone tiles, necessitating careful bit selection:
-
Ceramic Tiles: Use precision bits to avoid damaging the tile.
-
Stone Tiles: Require durable bits, such as carbide or diamond, to withstand the hard surface.
Matching the correct bit to the tile material ensures a clean removal process and prevents tile damage.
DIY Grout Removal Tips and Techniques
Embarking on a DIY grout removal project requires preparation and the right techniques. This section offers essential tips and guides to help you achieve a smooth, professional finish.
Preparing Your Workspace
A well-prepared workspace is critical for safety and efficiency. Start by clearing the area of obstacles and securing the tiles.
-
Clear the area: Remove any items that can obstruct your movement.
-
Secure the tiles: Ensure tiles are firmly attached to avoid accidents.
-
Wear safety gear: Use goggles, gloves, and a mask to protect against debris.
Proper preparation minimizes risks and sets the stage for effective grout removal.
Step-by-Step Grout Removal Guide
Follow these steps for efficient grout removal using Dremel tools:
-
Choose the right bit: Select a bit suited for your grout type.
-
Set the tool speed: Start at a low speed and gradually increase as needed.
-
Apply steady pressure: Gently guide the bit along the grout line.
This method ensures precision and reduces the risk of tile damage, resulting in a clean removal process.
Safety Tips for Effective Removal
Safety is paramount during grout removal. Always prioritize protecting yourself and your surroundings:
-
Wear protective gear: Goggles and gloves are essential.
-
Ensure proper ventilation: Work in a well-ventilated area to avoid dust inhalation.
-
Check tool condition: Regularly inspect your Dremel tool for wear and tear.
These precautions help prevent accidents and promote a safe working environment.
Achieving Professional Results
Achieving a professional finish requires avoiding common mistakes and using the right tools. This section explores how to enhance your results and ensure a perfect finish.
Common Grout Removal Mistakes
Avoiding common mistakes is essential for a smooth grout removal process. Over-aggressive grinding is a frequent issue, which can lead to tile damage. Inadequate tool maintenance can also result in inefficient performance.
-
Ensure consistent pressure: Apply steady, gentle pressure to avoid damaging the tiles.
-
Maintain your tools: Regularly clean and inspect your Dremel tool for optimal performance.
Awareness of these pitfalls helps in achieving a cleaner, more professional finish.
Enhancing Efficiency with the Right Tools
Efficiency in grout removal hinges on using the right tools and techniques. Dremel tools are designed to enhance productivity and precision, reducing project time.
-
Use appropriate bits: Match the bit to the project requirements for faster results.
-
Regular tool maintenance: Keep your Dremel in top shape for consistent performance.
These practices ensure your project proceeds smoothly and efficiently, delivering professional-grade results.
Finishing Touches for a Perfect Finish
Completing grout removal with finesse involves careful attention to detail. Once the grout is removed, ensure all surfaces are smooth and clean:
-
Inspect tile edges: Check for any rough spots or debris.
-
Clean thoroughly: Wipe down the area to remove dust and small particles.
These final touches contribute to a polished and professional finish, enhancing the overall appearance of your project.
Benefits of Using Dremel Tools
Dremel tools offer numerous benefits in home improvement projects, from cost-effectiveness to versatility. Understanding these advantages helps justify their use in grout removal tasks.
Cost-Effectiveness and Durability
Investing in Dremel tools offers long-term savings due to their durability and efficiency. Carbide bits, available on carbideburr.net, are particularly known for their longevity.
-
Initial investment: Though initial costs may be higher, the reduced need for frequent replacements lowers long-term expenses.
-
Durability: High-quality materials ensure that Dremel tools withstand rigorous use.
Opting for Dremel tools can significantly reduce project costs while maintaining superior performance.
Versatility in Home Improvement
Dremel tools are renowned for their versatility, making them suitable for a range of home improvement tasks beyond grout removal. Whether cutting, sanding, or carving, their adaptability is a significant asset.
-
Multi-functional: Capable of handling different tasks with ease.
-
Wide range of accessories: From grout removal bits to cutting discs, the options are extensive.
This versatility makes Dremel tools a valuable addition to any DIY enthusiast or contractor’s toolkit.
Professional vs. DIY: When to Consult Experts
While Dremel tools empower DIY enthusiasts, certain situations may warrant professional intervention. Larger projects or those involving valuable tiles might benefit from expert handling.
-
Complex projects: Consider hiring a professional for intricate tasks.
-
Valuable materials: Expertise ensures delicate tiles are not damaged.
Recognizing when to seek professional assistance ensures your project is completed efficiently and with high-quality results.
Carbide Burr Safety: 15 Mistakes That Can Cause Injury or Damage
Carbide Burr Safety: 15 Mistakes That Can Cause Injury or Damage Carbide burr safety is often overlooked until a costly mistake happens. Many metalworkers and DIYers make the same errors that lead to injuries or [...]
Can You Use a Carbide Burr in a Drill?
Can You Use a Carbide Burr in a Drill? Most people think a standard drill can’t handle a carbide burr, but that’s not true. Using carbide burr in the right drill can speed up your [...]
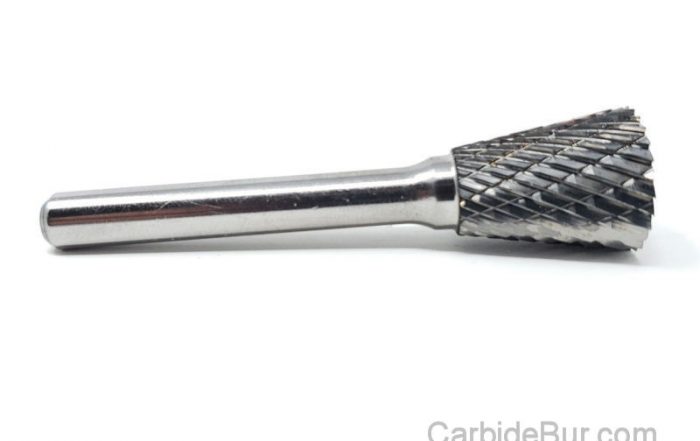
Carbide Burrs for Removing Rust: What Works Best?
Carbide Burrs for Removing Rust: What Works Best? Rust can turn your favorite tools into useless junk faster than you expect. Removing it without ruining the metal underneath takes more than just elbow grease—it demands [...]
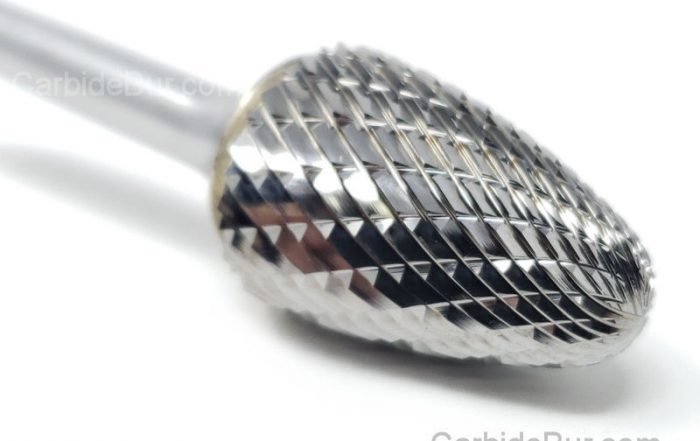
How Much Pressure Should You Use With a Carbide Burr?
How Much Pressure Should You Use With a Carbide Burr? Most people think pressing harder with a carbide burr speeds up the job. That’s not true—too much pressure wears out your tool and ruins the [...]
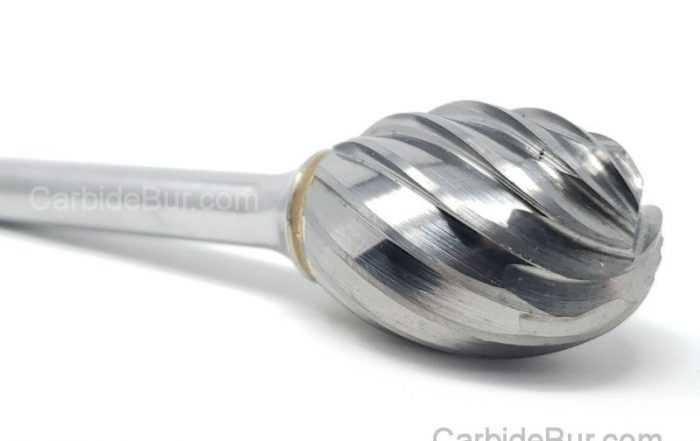
Can You Use Carbide Burrs With an Air Die Grinder?
Can You Use Carbide Burrs With an Air Die Grinder? Most people don’t realize how well carbide burrs work with air die grinders until they try them. If you’ve ever struggled with finding the right [...]
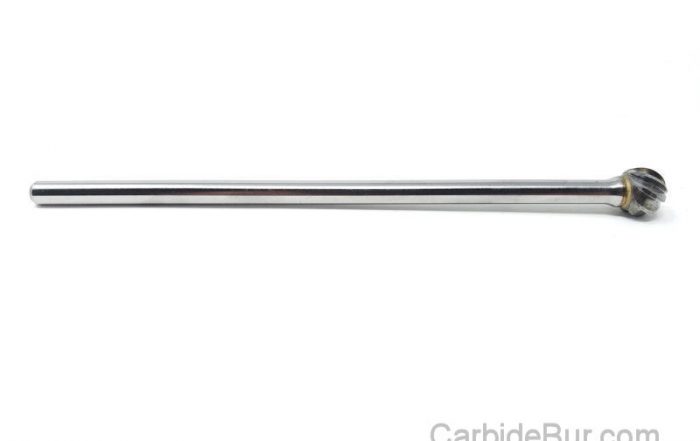
Best Long Reach Carbide Burr for Deep Metal Work
Best Long Reach Carbide Burr for Deep Metal Work Long reach carbide burrs often promise deep metal access, but many fall short where it counts most. You need a tool that cuts cleanly, lasts through [...]
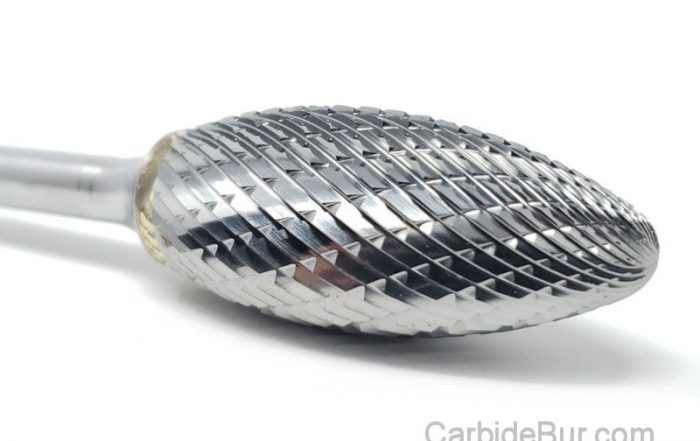
What RPM Should You Use for a 1/8 Inch Carbide Burr?
What RPM Should You Use for a 1/8 Inch Carbide Burr? Most people guess the right carbide burr RPM by feel—and waste hours redoing work. If you want cleaner cuts and longer tool life, your [...]
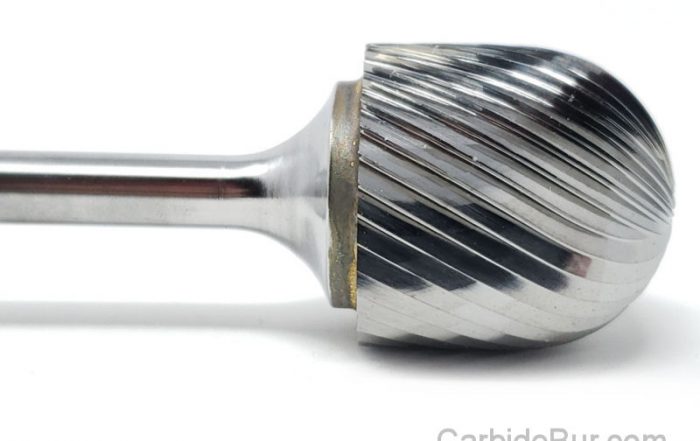
Carbide Burrs for Tight Spaces: Choosing the Right Shape
Carbide Burrs for Tight Spaces: Choosing the Right Shape Tackling tight spaces with the wrong carbide burrs wastes time and risks damaging your work. Choosing the right burr shape makes all the difference when working [...]
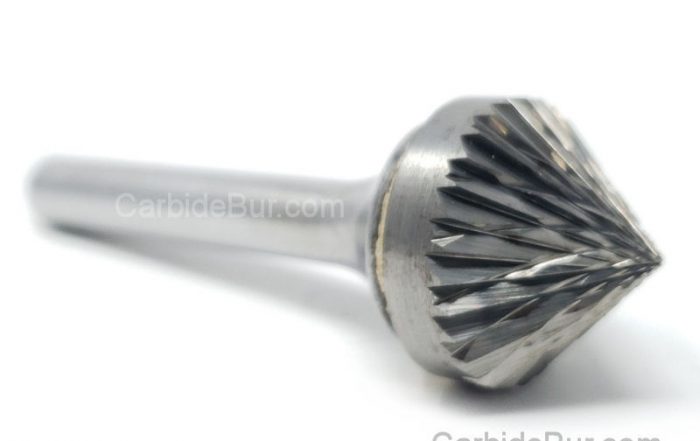
Can Carbide Burrs Remove Paint From Metal?
Can Carbide Burrs Remove Paint From Metal? Stripping paint from metal often feels like a tough chore that risks damaging the surface underneath. Many turn to carbide burrs hoping they can speed things up without [...]
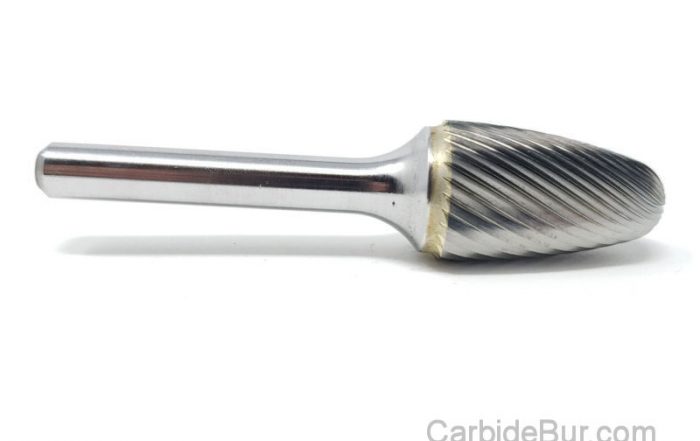
How to Grind a Groove in Metal With a Carbide Burr
How to Grind a Groove in Metal With a Carbide Burr Most metalworkers struggle to cut clean grooves without wasting time or ruining their workpiece. Many try different metalworking tools but end up with uneven [...]
Can Carbide Burrs Cut Through Welds?
Can Carbide Burrs Cut Through Welds? Cutting through welds can feel like a battle, especially when you need clean results without harming the base metal. Carbide burrs offer a sharp edge in this fight, but [...]
How to Use a Carbide Burr With a Die Grinder
How to Use a Carbide Burr With a Die Grinder Most people treat a carbide burr like just another tool, but using it with a die grinder takes skill. If you’ve struggled with burr installation [...]
