
From Grinding to Chemicals: A Guide to Safe Weld Removal Methods
Grinding welds without care can ruin your metal project faster than you realize. Many try cutting or chemical weld removers but end up with unwanted damage or rough finishes. This guide breaks down weld removal techniques that protect your metal and leave a smooth finish after weld removal. You’ll get clear tips on choosing the right tools like carbide burrs and handling delicate spots with care. For more insights, visit this link.
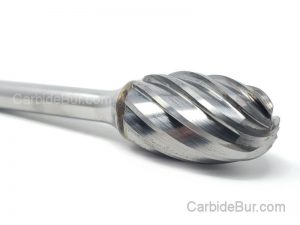
Which carbide bur tool works best for your job?
Understanding Weld Removal Techniques
Choosing the right weld removal technique can save your project. Each method offers unique benefits. Your goal is to find the one that fits your project’s needs and protects the metal.
Choosing the Right Method
Start by assessing your project. Each weld removal technique has its place. Grinding, cutting, and chemical removers are common. Your choice depends on the metal and finish desired. Are you working with thick steel or delicate aluminum? For thicker metals, grinding might be ideal. Chemicals work well for intricate details. Before deciding, know your metal and what the job requires.
Ensuring Metal Integrity
Maintaining the original condition of your metal is crucial. Improper techniques can cause warping or cracks. Always prioritize metal integrity. Using correct methods ensures the metal remains strong. Focus on tools that avoid excess pressure or heat. For example, carbide burrs are excellent for gentle removal. They preserve the metal while providing precision.
Minimizing Heat and Stress
Heat and stress can harm your metal. They lead to warping or distortion. To combat this, choose methods that reduce friction. Grinding can generate heat, so use it cautiously. Opt for tools that offer control. Reduce heat by frequently pausing your work. This not only protects the metal but also ensures safety. The longer you wait, the more risk there is for damage.
Grinding Welds Safely
Once you choose to grind, safety becomes key. Grinding offers precision but requires careful handling. Keep your focus on control and accuracy.
Selecting Appropriate Tools
The right tool makes all the difference. For grinding, choose a tool that matches the material. Diamond wheels are popular. They handle steel well. For softer metals, softer wheels work better. Tool selection impacts the outcome. It dictates the finish and the safety of your metalwork.
Techniques for Effective Grinding
Effective grinding involves skill and patience. Begin by using light pressure. Let the tool do the work. Avoid forcing the grinder into the metal. This prevents unwanted marks or overheating. Keep the grinder moving. Stationary grinding leads to uneven surfaces. Consistent movement ensures a smooth finish.
Avoiding Common Mistakes
Mistakes during grinding are common. Many apply too much pressure or stay in one spot. Oversights like these damage the metal. Always keep moving and adjust your pressure. Another mistake is ignoring safety gear. Protect your eyes and hands. Safety is as important as technique. Most people rush, but patience pays off.
Cutting Welds with Precision
Cutting is another common method. It offers precision and control when done right. Your focus should be on clean, accurate cuts.
Using the Right Equipment
Choosing the right cutting tool is critical. Plasma cutters are powerful and precise. They work well for most metals. For smaller jobs, hacksaws or cutting discs are better. Match your tool to the metal and project size. The wrong tool leaves rough edges. Precision requires the right equipment.
Steps for Clean Cuts
Achieving clean cuts takes practice. Start by marking your cut line clearly. This ensures accuracy. Use slow, steady movements. Rushed cuts lead to mistakes. As you cut, focus on the line you’ve marked. Keep the tool sharp. Dull tools make messy cuts and increase effort. Clean cuts are your goal, but practice is needed.
Managing Delicate Areas
Delicate areas need special attention. For these, small tools offer the best control. Consider using a dremel or small saw. They provide precision without excess force. Handle these tools gently. Apply minimal pressure to avoid damage. Your goal is to maintain the metal’s integrity while achieving a clean finish.

Chemical Weld Removers Explained
Chemical weld removers provide an alternative. They work without the need for heavy tools. Understanding their use is crucial for success.
Selecting Suitable Chemicals
Not all chemicals suit every metal. Plastic and aluminum need different solutions. Read labels carefully. Choose products compatible with your metal. Using the wrong chemical can cause discoloration. It may also weaken the metal. Select wisely to avoid these issues.
Application Procedures
Applying chemicals requires care. Start by cleaning the area. Dirt and grease interfere with chemicals. Use a brush or cloth for application. Follow the product’s instructions. Allow time for the chemical to work. Rushing leads to incomplete removal. Patience ensures complete and effective results.
Safety Measures and Precautions
Safety is vital with chemicals. Always wear gloves and goggles. Protect your skin and eyes from exposure. Work in a well-ventilated area. Chemical fumes can be harmful. Follow all safety instructions on the product. Proper precautions lead to safer, more effective results.
Achieving a Smooth Finish After Weld Removal
After removing the weld, focus on the finish. A smooth finish enhances the metal’s appearance and functionality.
Final Touches with a Carbide Burr
Carbide burrs provide excellent finishing touches. They smooth out rough spots left by removal. Use them after grinding or cutting. Light pressure is key. Too much force can cause damage. Burrs also help in tight spaces, offering precision. For more, check out this guide on carbide burrs.
Techniques for Polishing and Deburring
Polishing and deburring refine your work. Use a polishing wheel for shine. It removes small imperfections. Deburring tools smooth edges and corners. These steps prepare your metal for final use. They ensure both beauty and safety. Your project looks professional and is safe to handle.
Best Practices for Weld Removal Results
Success in weld removal comes with best practices. Always start with a clear plan. Use the right tools and techniques. Focus on safety and precision. Reflect on your process for improvements. Each project teaches something new. Embrace these lessons for better results next time.
This comprehensive guide equips you with the knowledge to remove welds effectively. Each section provides insights into best practices and techniques. By applying these methods, you ensure a smooth finish, protecting the integrity of your metalwork.
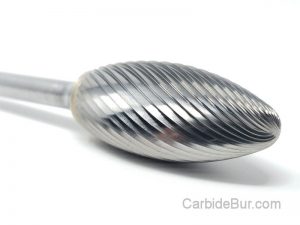
Looking for Carbide Bur Tools?
Check out our entire selection of USA made carbide bur die grinder tool bits
Follow us on Twitter

Return to CarbideBur.com
Carbide Burs – 1/4″ on 1/8″ Shanks – Accessories – Aluminum Cut – Bur Sets – End Mills – Long Shank – Solid Burs
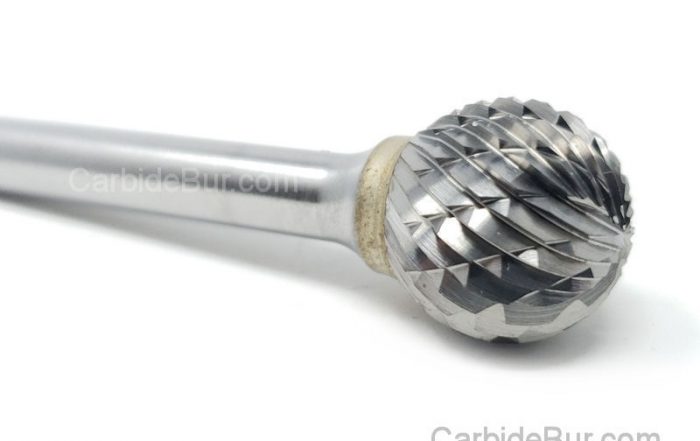
Carbide Burr vs. Grinding Stone: Which Is Better for Metal Removal?
Carbide Burr vs. Grinding Stone: Which Is Better for Metal Removal? When you need to remove metal, smooth a rough edge, or shape a metal component, two common options are carbide burrs and grinding stones. [...]
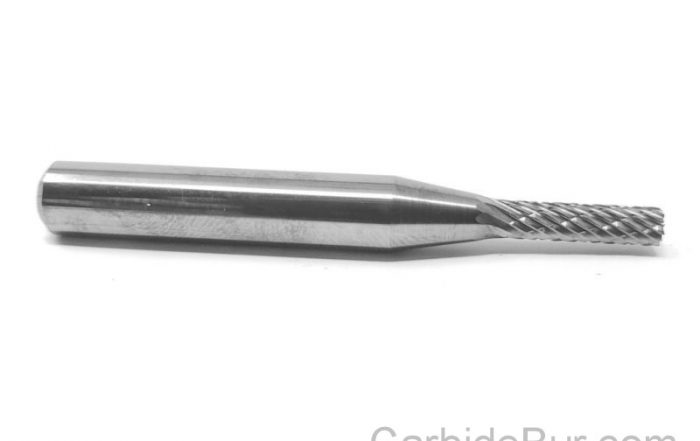
Carbide Burr Safety: RPM, Eye Protection, and Common Mistakes
Carbide Burr Safety: RPM, Eye Protection, and Common Mistakes Carbide burrs are versatile cutting tools used for metal fabrication, welding cleanup, engine porting, deburring, and general material removal. When used correctly, they can help remove [...]
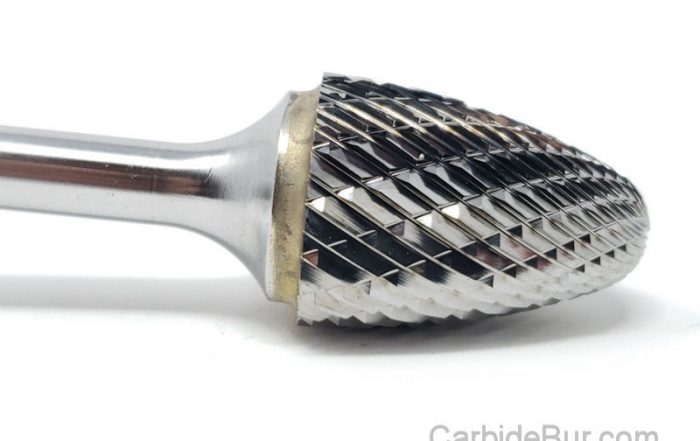
How to Stop Aluminum from Clogging Your Carbide Burr
How to Stop Aluminum from Clogging Your Carbide Burr Aluminum is widely used in automotive work, welding, metal fabrication, aerospace components, and general machining. It is lightweight, relatively easy to machine, and versatile across many [...]
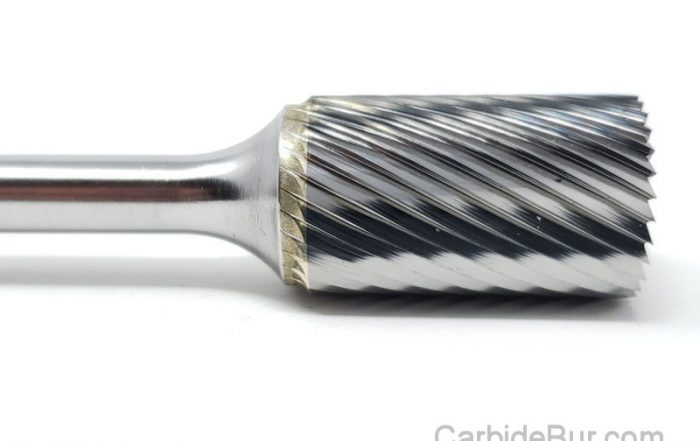
Carbide Burrs for Intake Manifolds: Shaping, Cleanup, and Fitment
Carbide Burrs for Intake Manifolds: Shaping, Cleanup, and Fitment Intake manifold work often involves more than simply bolting a component onto an engine. Depending on the application, metal intake components may have casting irregularities, rough [...]
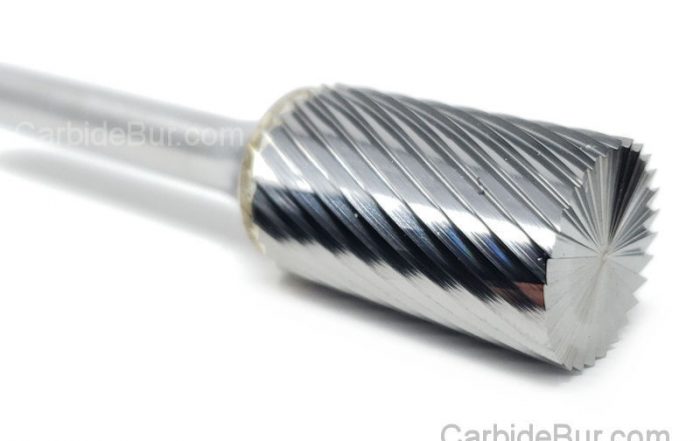
Why Long-Shank Carbide Burrs Are Useful for Hard-to-Reach Areas
Why Long-Shank Carbide Burrs Are Useful for Hard-to-Reach Areas When working on metal parts, the area that needs grinding or shaping is not always easy to reach. Recessed openings, deep cavities, interior surfaces, and complicated [...]
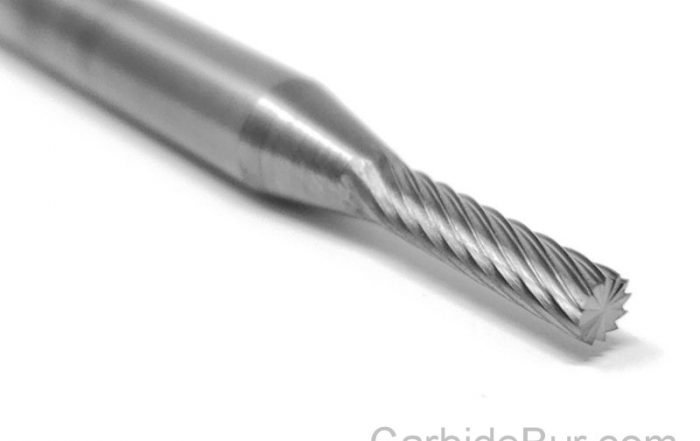
Choosing Carbide Burrs for Stainless Steel Fabrication
Choosing Carbide Burrs for Stainless Steel Fabrication Stainless steel is widely used in fabrication because of its corrosion resistance, strength, and durability. However, those same properties can make it challenging to machine and finish. Removing [...]
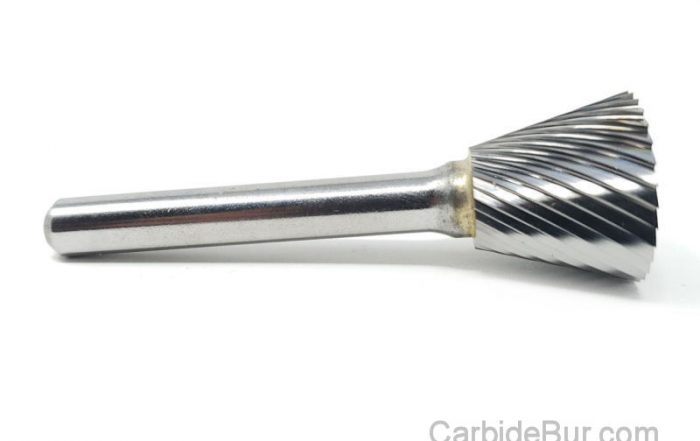
Can You Use Carbide Burrs in a Dremel? Shank Sizes Explained
Can You Use Carbide Burrs in a Dremel? Shank Sizes Explained If you use a Dremel or another rotary tool for detail work, metal shaping, or small fabrication projects, you may wonder whether you can [...]
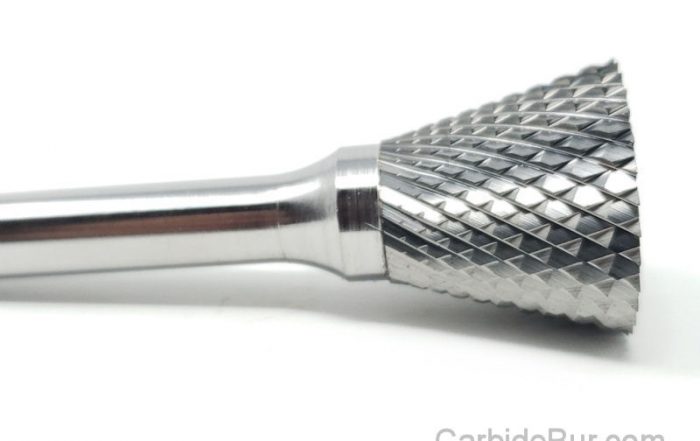
How to Choose the Best Carbide Burr for Welding and Metal Fabrication
How to Choose the Best Carbide Burr for Welding and Metal Fabrication Welding and metal fabrication often require more than joining two pieces of metal together. Once the welding is finished, fabricators frequently need to [...]
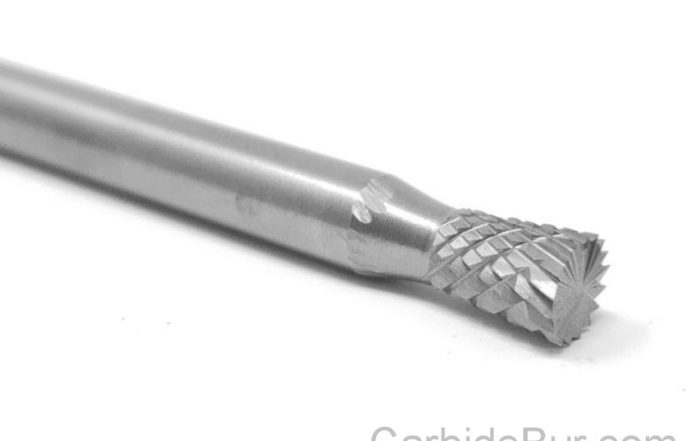
Carbide Burrs for Cylinder Heads: What Automotive Enthusiasts Need to Know
Carbide Burrs for Cylinder Heads: What Automotive Enthusiasts Need to Know Cylinder head work is an important part of engine building, restoration, and performance machining. Whether you are cleaning up casting imperfections, refining port surfaces, [...]
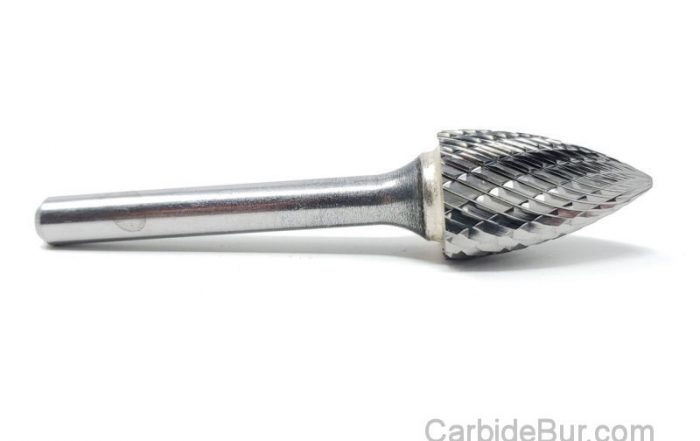
Engine Porting 101: How Carbide Burrs Help Shape Cylinder Head Ports
Engine Porting 101: How Carbide Burrs Help Shape Cylinder Head Ports Engine performance enthusiasts, automotive machinists, and engine builders often look for ways to improve airflow through an engine's cylinder heads. One technique used in [...]
When to Use a 4-Inch or 9-Inch Die Grinder Extension
When to Use a 4-Inch or 9-Inch Die Grinder Extension Metal fabrication, welding, automotive repair, and engine building often require working in places where a standard die grinder and carbide burr cannot easily reach. Recessed [...]
Why Buy USA-Made Carbide Burr Tools? What Buyers Should Compare
Why Buy USA-Made Carbide Burr Tools? What Buyers Should Compare When shopping for carbide burr tools, it's tempting to compare products based on price alone. However, professionals who use rotary cutting tools for welding, metal [...]
