
From Mess to Masterpiece: Preventing Welding Defects with Proper Cleanup
Welding cleanup often feels like a chore you want to rush through, but skipping the right steps can lead to costly defects and frustrating rework. Many welders fall into the trap of using wrong methods or ignoring safety, which ruins the final weld finishing and wastes materials. Let’s break down the most common welding mistakes and show you practical tips to keep your work clean, safe, and defect-free. Your projects deserve more than a quick fix—they need proper care from start to finish. Check out this guide on welding defects for more insights.
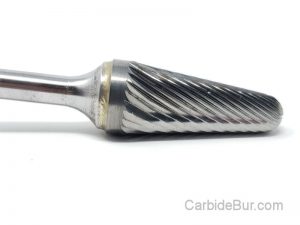
Have you tried using carbide burr tools for your job?
Understanding Welding Cleanup
Let’s start by exploring why proper cleanup is crucial for welding. Neglecting this step can lead to unsatisfactory results and more work down the line.
Importance of Proper Cleanup
Proper cleanup is key to strong, durable welds. Without it, impurities and debris can compromise the weld’s integrity. Investing time in cleaning ensures longevity and reliability in your projects. It helps you achieve the desired finish and prevents costly repairs.
Common Welding Mistakes
Many welders overlook crucial steps in the cleanup process. Skipping cleaning between passes often results in defects. Using wrong cleaning tools can damage the surface, impacting the weld’s appearance and strength. Failing to remove slag and spatter leaves behind imperfections that weaken the weld. Avoid these errors to maintain quality.
Impact on Weld Quality
Ignoring proper cleanup affects weld quality significantly. Residual contaminants can cause porosity, weakening the weld and leading to failures under stress. Clean surfaces ensure better fusion and reduce the risk of defects. A well-prepared surface leads to a more aesthetic finish, enhancing both appearance and functionality.
Essential Welding Safety Tips
Safety should be your top priority when welding. Protecting yourself and your workspace is vital to a successful project. Here’s how you can stay safe.
Personal Protective Equipment
Always wear appropriate gear to prevent injuries. Essential items include a welding helmet, gloves, and protective clothing. Your helmet should have a proper shade to protect your eyes from harmful rays. Ensure your gloves are flame-resistant to shield your hands from burns and sparks. Prioritizing safety keeps you focused on precision and quality.
Safe Handling of Tools
Handling tools correctly prevents accidents and ensures efficiency. Always check your equipment before use. Secure your work area to avoid tripping hazards. Maintain a clutter-free space to move freely and minimize risks. Proper tool management enhances your workflow and keeps you safe.
Hazardous Material Awareness
Understanding the materials you’re working with is crucial. Some metals release toxic fumes during welding. Ventilate your workspace to minimize exposure. Be aware of substances that require extra precautions. Knowing potential hazards helps mitigate risks and protects your health.
Best Practices for Effective Weld Finishing
After understanding the importance of safety, focus on achieving smooth, flawless finishes. Here’s how to make your welds stand out.
Choosing the Right Tools
Using the correct tools is key to a perfect finish. Wire brushes and grinders help remove excess material effectively. Select tools based on your project’s specific needs. Quality tools make the process easier and the results more polished. Investing in the right equipment pays off in better weld quality.

Techniques for Smooth Finishes
Achieving smooth finishes requires proper technique. Make consistent passes with your grinder. Use a steady hand to avoid gouging the metal. Practice control to maintain even pressure. These techniques ensure a clean, professional look and enhance the weld’s strength and appearance.
Inspecting and Testing Welds
Inspection is the final step in ensuring quality. Check for visible defects like cracks or incomplete fusion. Use non-destructive testing methods for internal flaws. Regular inspection prevents failures and maintains project integrity. Consistent quality checks lead to reliable and durable welds.
Preventing Welding Defects
With the basics covered, let’s focus on preventing defects to maintain high standards in your work.
Identifying Potential Issues
Spotting potential issues early saves time and materials. Look for telltale signs of defects during the welding process. Keep an eye on bead shape and size. Watch for visible inconsistencies that may indicate problems. Early detection allows for quick corrections, preserving quality.
Corrective Measures for Defects
When a defect occurs, knowing how to fix it is essential. Grind out imperfections and re-weld the area if necessary. Adjust your technique to avoid repeating mistakes. Using corrective measures ensures your welds meet industry standards. Proper handling of defects maintains the integrity of your project.
Maintaining Consistent Quality
Consistency is key to professional-grade welds. Follow a standardized process for each project. Document settings and conditions that yield the best results. Regularly review and refine your techniques. Consistent quality builds trust and establishes your reputation for excellence.
Expert Tips for Welding Success
You’re now equipped with the essentials. Let’s explore how continuous improvement can lead to even greater success.
Learning from Industry Leaders
Stay informed by learning from experts in the field. Attend workshops and read articles from seasoned professionals. Join communities where you can ask questions and share experiences. Learning from industry leaders enhances your skills and keeps you updated on best practices. Explore this Facebook group discussion for community insights.
Continual Skill Development
Never stop honing your craft. Practice regularly to develop new skills and refine existing ones. Stay curious and open to new techniques. Embrace the growth mindset to push your boundaries. Continual skill development turns challenges into opportunities for improvement.
Resources for Further Learning
Expand your knowledge with available resources. Books, online courses, and tutorials offer valuable insights. Use these tools to deepen your understanding and inspire new ideas. Accessing diverse resources supports your journey towards mastery. Check out this guide on welding defects for more comprehensive learning.
In conclusion, applying these insights ensures your welding projects are not just functional but exemplary. Take the time to refine your craft, and you’ll see significant improvements in your work. Happy welding!
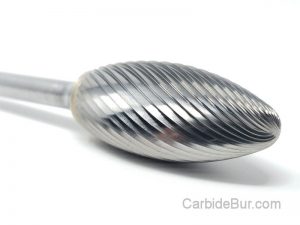
Looking for Carbide Bur Tools?
Check out our entire selection of USA made carbide bur die grinder tool bits
Follow us on Twitter

Return to CarbideBur.com
Carbide Burs – 1/4″ on 1/8″ Shanks – Accessories – Aluminum Cut – Bur Sets – End Mills – Long Shank – Solid Burs
Can You Use Carbide Burrs in a Dremel? Shank Sizes Explained
Can You Use Carbide Burrs in a Dremel? Shank Sizes Explained If you use a Dremel or another rotary tool for detail work, metal shaping, or small fabrication projects, you may wonder whether you can [...]
How to Choose the Best Carbide Burr for Welding and Metal Fabrication
How to Choose the Best Carbide Burr for Welding and Metal Fabrication Welding and metal fabrication often require more than joining two pieces of metal together. Once the welding is finished, fabricators frequently need to [...]
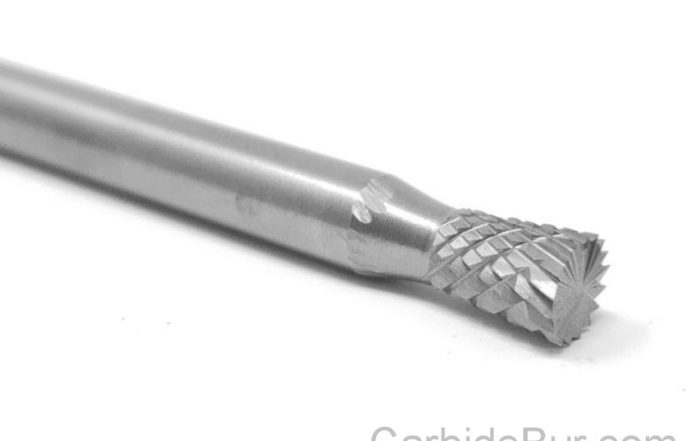
Carbide Burrs for Cylinder Heads: What Automotive Enthusiasts Need to Know
Carbide Burrs for Cylinder Heads: What Automotive Enthusiasts Need to Know Cylinder head work is an important part of engine building, restoration, and performance machining. Whether you are cleaning up casting imperfections, refining port surfaces, [...]
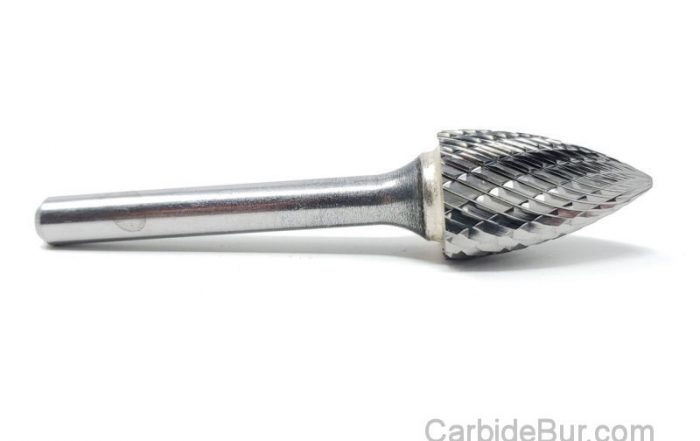
Engine Porting 101: How Carbide Burrs Help Shape Cylinder Head Ports
Engine Porting 101: How Carbide Burrs Help Shape Cylinder Head Ports Engine performance enthusiasts, automotive machinists, and engine builders often look for ways to improve airflow through an engine's cylinder heads. One technique used in [...]
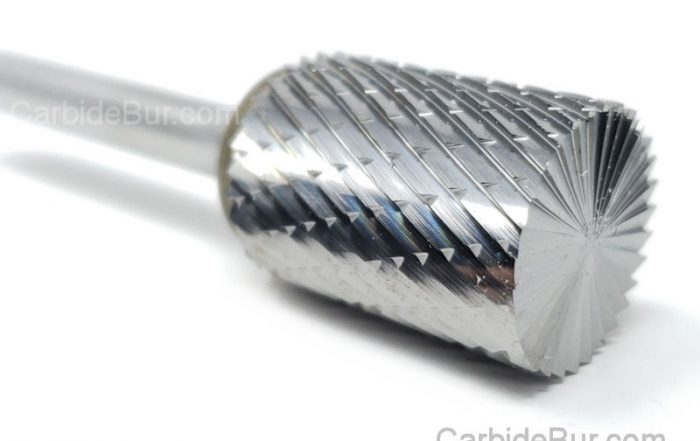
When to Use a 4-Inch or 9-Inch Die Grinder Extension
When to Use a 4-Inch or 9-Inch Die Grinder Extension Metal fabrication, welding, automotive repair, and engine building often require working in places where a standard die grinder and carbide burr cannot easily reach. Recessed [...]
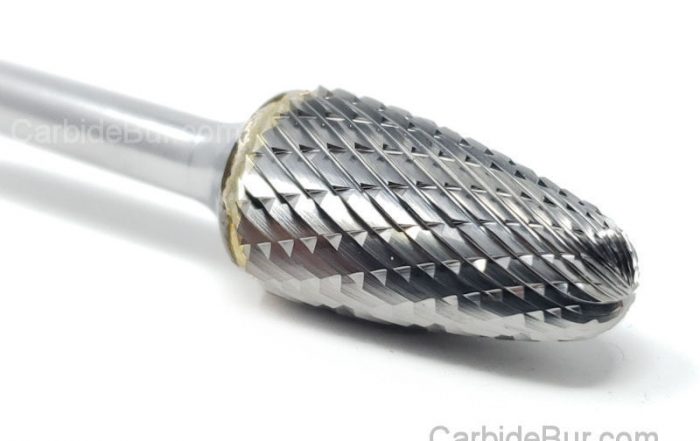
Why Buy USA-Made Carbide Burr Tools? What Buyers Should Compare
Why Buy USA-Made Carbide Burr Tools? What Buyers Should Compare When shopping for carbide burr tools, it's tempting to compare products based on price alone. However, professionals who use rotary cutting tools for welding, metal [...]
How to Use 1/8-Inch Rotary Bits with a Die Grinder
How to Use 1/8-Inch Rotary Bits with a Die Grinder Die grinders are popular tools for metalworking, fabrication, deburring, and precision material removal. However, many die grinders use a 1/4-inch collet, while smaller rotary tools [...]

Can You Use a Carbide Burr With an Electric Die Grinder?
Can You Use a Carbide Burr With an Electric Die Grinder? Most people don’t realize how much a carbide burr can change the way an electric die grinder works. Using the right burr type can [...]
How to Deburr Holes With a Carbide Burr
How to Deburr Holes With a Carbide Burr Most people think any tool will do for deburring holes. The truth is, using the right carbide burr with the correct size and shape changes everything. In [...]
How to Choose the Correct Carbide Burr Shank Size
How to Choose the Correct Carbide Burr Shank Size Many machinists lose hours troubleshooting tool issues caused by the wrong carbide burr shank size. Using a shank that doesn’t fit your grinder can lead to [...]
How to Remove Casting Flash With a Carbide Burr
How to Remove Casting Flash With a Carbide Burr Casting flash ruins the look and fit of your metal parts. You’ve tried sanding or grinding, but the results aren’t clean or fast enough. Learning how [...]
Best Carbide Burr for Enlarging a Hole in Metal
Best Carbide Burr for Enlarging a Hole in Metal When you need to enlarge a hole in metal, grabbing the wrong carbide burr can turn a simple task into a frustrating mess. Picking the best [...]
